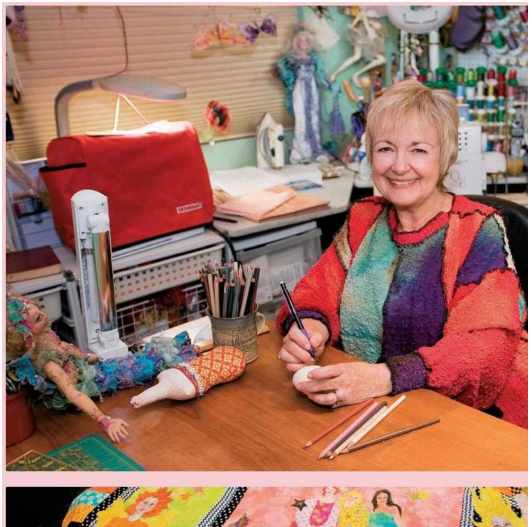
Prolific — Patti Medaris Culea’s Contribution to the Cloth Doll Making World is Prolific. And much of her contribution is recorded in her vast network of books and videos about the art and craft of making cloth dolls.
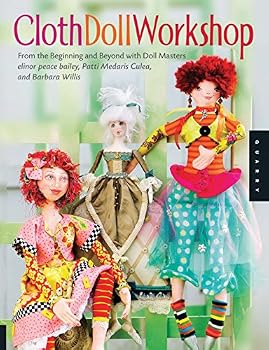
The following notes are from Culea’s Book: Cloth Doll Workshop
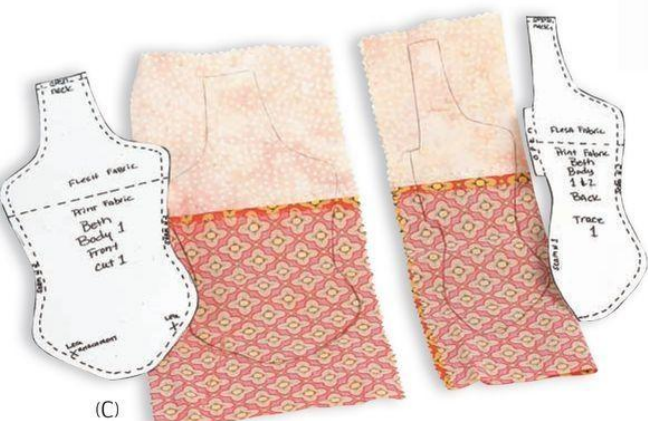
Tracing the Patterns
There are a few ways to copy the pattern pieces. It is easiest to place the
pattern pieces on a light box and trace directly onto the wrong side of the
chosen fabric. Or you can make templates as on page 16.
Trace the templates or copy the pattern pieces onto the fabric with
matching colored pencils. Sometimes pencil marks show through to the
right side, but if you use a colored pencil that is slightly darker than the
fabric, yet still visible, the markings won’t show on the right side.
In the “Gallery,” you’ll see even more ways to be creative with these
pattern pieces.
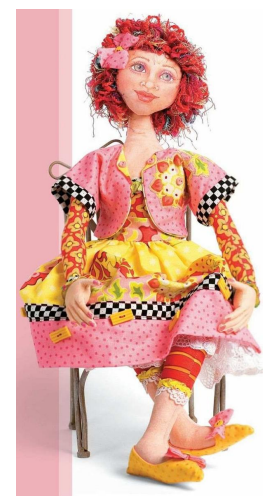
BETH
MATERIALS LIST for BETH
• basic doll-making supply kit (page 14)
• specific doll-making and face painting supplies list (page 15)
• tissue paper
• double-sided bonding sheet
• cut-away stabilizer remnant
• ⅓ yard (30.5 cm) flesh-colored cotton fabric
• 18″ × 22″ (45.7 × 55.9 cm) printed cotton for arms and torso
• 5″ (12.7 cm) length of narrow trim to cover body seam
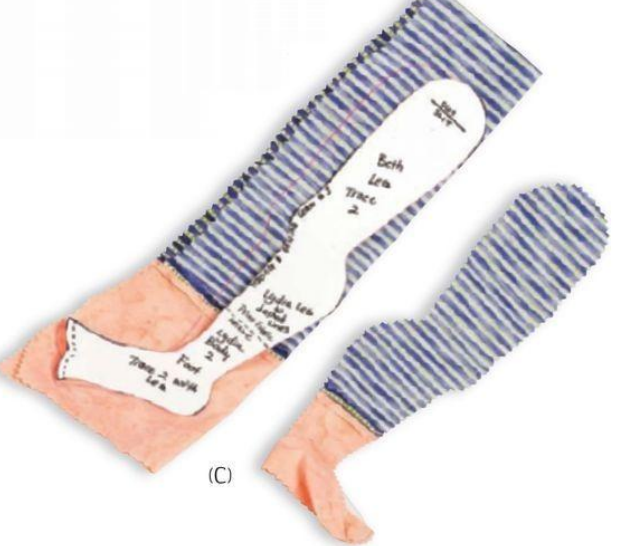
• 18″ × 22″ (45.7 × 55.9 cm) striped cotton for legs
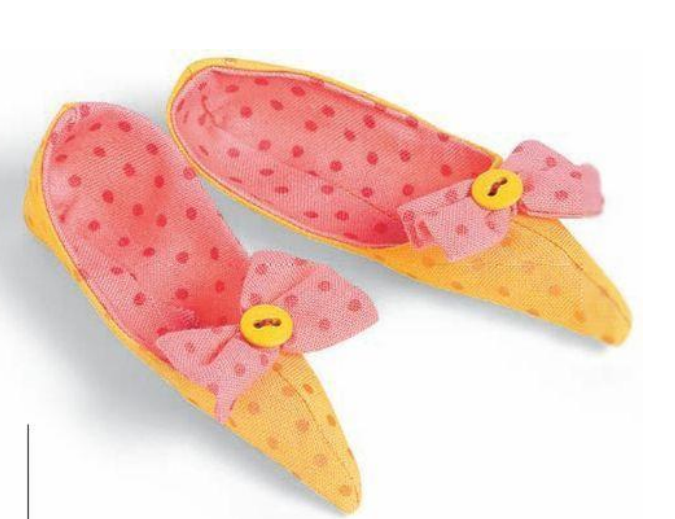
• 3-5 different ¼ yd. (22.9 cm) printed fabrics for clothing, bolero,
lining and shoes
• ¼ yard (22.9 m) fine netting or tulle for slip
• 2 yards (1.8 m) of 1½″ (3.8 cm) -wide lace trim for slip
• ⅛″ (3 mm) -wide elastic for slip waistband
• 4 two-hole buttons to attach legs and arms
• threads to match all fabrics
• 3 yards (2.7 m) each of various trims for the clothing
• decorative buttons for bolero and skirt
• small snaps for clothing
• good quality fiberfill
• 14 pipe cleaners for fingers and neck
• wire coat hanger
• 5 yards (4.6 m) of three different yarns for hair
• workable fixative and/or a textile medium for sealing faces
• safety pin
CREATE THE FACE AND HEAD
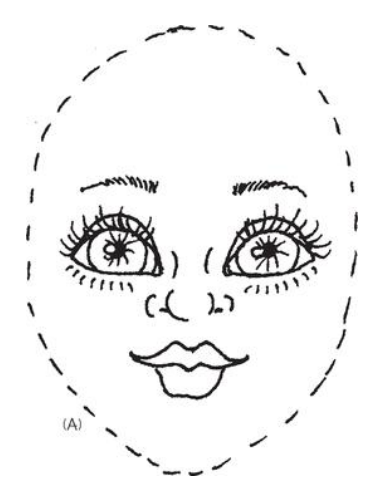
1. Trace the Face onto the wrong side of a single square of flesh fabric.
Notice the grainline arrow and cut the face so the arrow is parallel to the
fabric selvage. Cut carefully on the traced line with straight-edged scissors.
2. Trace the Head Back onto the wrong side of the single layer of flesh
fabric. Pin the traced head to a second piece of the same fabric with the right
sides together. Sew the center-back seam (dotted line shown here), leaving a
break in the stitching as indicated. Cut out the head back with a scant seam
allowance at the seam, a tab at the break in the stitching, and directly on the
remaining solid marked line. (A)
3. Pin the head back to the face with the right sides together. To guarantee
that the pieces match, fold the face in half, match the edges, and fold a small
crease at the chin and top of head. Open the face and match the creases to
the seams on the head back; sew all the way around. Clip the curves and turn
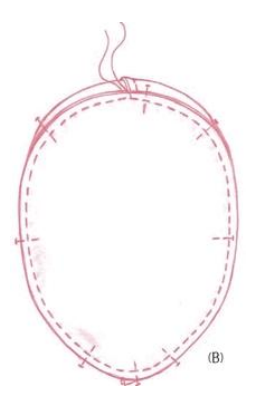
the face and head back right side out through the opening. Fill the head
firmly with stuffing (page 17). (B)
TIP
Wrinkles along the seamline means there isn’t enough stuffing inside.
It’s amazing how much stuffing can be placed into such a small item.
Keep pushing the stuffing in until the wrinkles disappear.
Torso
3.
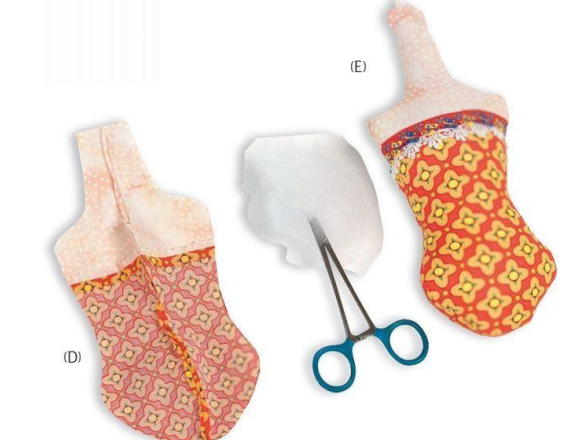
Sew the center-back seam (indicated on the pattern) directly on the solid line, leaving a break in the stitching at the tab, and backstitching at the top of
the neck. Cut out the body back with a scant seam allowance at the seam,
around the tab and along the remaining solid marked line. Press the seam
open. (D)
TIP
I find it helpful to slip a pipe cleaner inside the neck opening to give the
neck more stability. Using a hemostat, slide the pipe cleaner down
along the back seam of the body back. Continue to add stuffing around
the pipe cleaner.
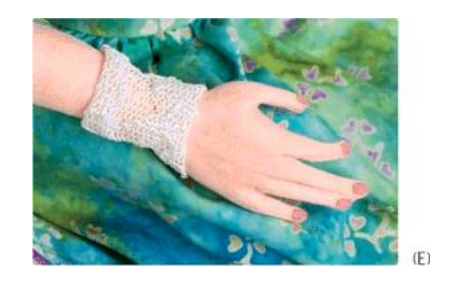
4. Pin and stitch narrow trim to the right side of the body front to cover the
seam. Pin the body front to the body back with right sides together. Machine
sew from the neck opening all the way around to the other side of the neck
opening, easing the stitching around the curves and leaving the neck
unstitched; backstitch at the neck opening. Turn the body right-side out
through the opening and fill it firmly with stuffing. When the stuffing starts
popping out of the back opening, ladder stitch it closed, and finish filling the
body through the neck opening. (E)
TIP
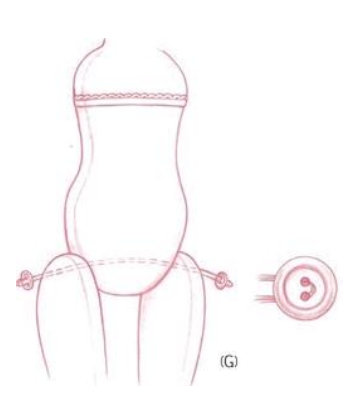
Use buttons with just two holes to attach the legs; four-hole buttons
don’t allow the legs to move freely.
3. To bury the thread tails inside the hands, thread a needle with the two
existing threads on each side of the fingers. Carefully push the needle inside
the hand, and come out at the wrist opening taking care not to catch any of
the hand fabric. Remove the threads from the needle and tie a double knot,
pulling the knot tightly against the inside of the finger. Cut the threads.
Repeat for each finger and with each side. (I)
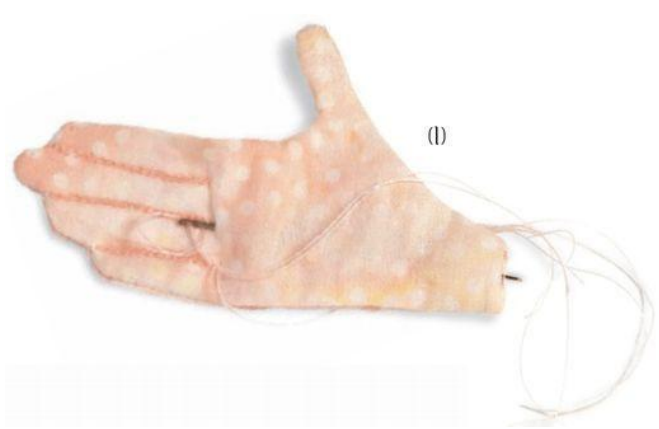
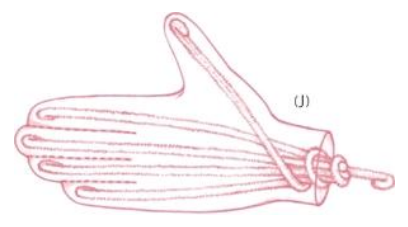
4. Bend back both ends of six pipe cleaners, and then bend four pipe
cleaners in half. Insert one of the folded pipe cleaners so one end goes in
the first finger and the other end goes in the next finger. Repeat for the two
remaining fingers and the other hand. Insert a straight pipe cleaner in one of
the thumbs, and then wrap it around the centerfold of the other two pipe
cleaners. Leave about 2½″ (6.4 cm) of the straight pipe cleaner sticking out
of the hand. Repeat for the other hand. (J)
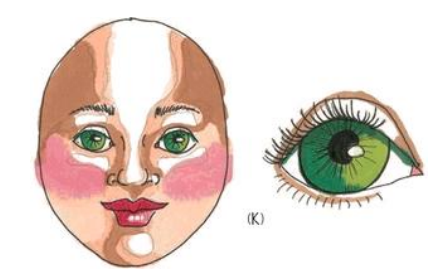
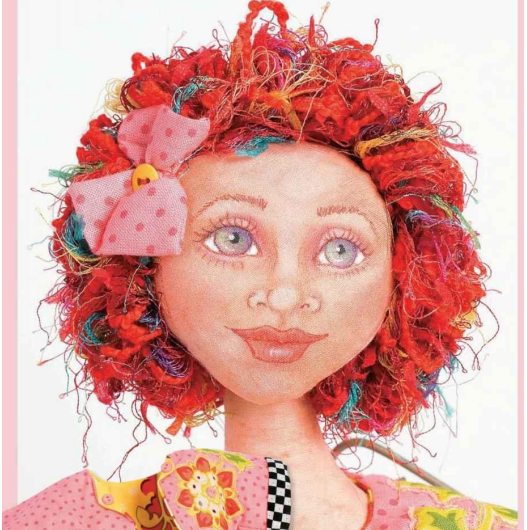
4. Choose three colored pencils for the eyes: a light, medium, and dark. Fill
in the irises with the lightest color (Patti used Celadon Green, Peacock Blue,
and Mulberry). Over the lightest color, use the medium color to shade
underneath the upper eyelid and down one side of the iris and all the way to
the pupil. Apply the darkest color on top of the medium color under the
upper eyelid and just slightly along the outer edge of the iris. (K)
5. Choose a medium and dark-colored pencil to color the lips (Patti used
Carmine Red and Crimson Red). Fill in both the upper and lower lip with the
medium color. Since the upper lip is generally curved inward use the darker color to darken and shade this lip. Extend the darker color a little bit to one
side of the lower lip that would be more shaded, like the eyes.
TIP
At this point I usually spray the face with workable fixative. There are
several good ones on the market. Krylon and Prismacolor are easy to
find at your local craft and/or art store.
6. Finish the face by highlighting it with permanent pens and gel pens.
Blacken the pupils with a black pen. Outline the irises with a darker colored
pen. Draw the rods that radiate out from the pupils with the same pen. With a
brown pen, draw the eyelashes and eyebrows. Go over the eyelids, nostrils,
and flare of the nose with the brown pen. With a red pen, outline the lips and
draw the creases in the upper and lower lip. With the white gel pen whiten
the whites of the eyes and add a highlight on the light side of the pupil.
Smear a little of the white gel from the pen on the lower lip.
7. Seal the face with either the fixative used previously or a textile medium.
color to darken and shade this lip. Extend the darker color a little bit to one
side of the lower lip that would be more shaded, like the eyes.
TIP
At this point I usually spray the face with workable fixative. There are
several good ones on the market. Krylon and Prismacolor are easy to
find at your local craft and/or art store.
6. Finish the face by highlighting it with permanent pens and gel pens.
Blacken the pupils with a black pen. Outline the irises with a darker colored
pen. Draw the rods that radiate out from the pupils with the same pen. With a
brown pen, draw the eyelashes and eyebrows. Go over the eyelids, nostrils,
and flare of the nose with the brown pen. With a red pen, outline the lips and
draw the creases in the upper and lower lip. With the white gel pen whiten
the whites of the eyes and add a highlight on the light side of the pupil.
Smear a little of the white gel from the pen on the lower lip.
7. Seal the face with either the fixative used previously or a textile medium.
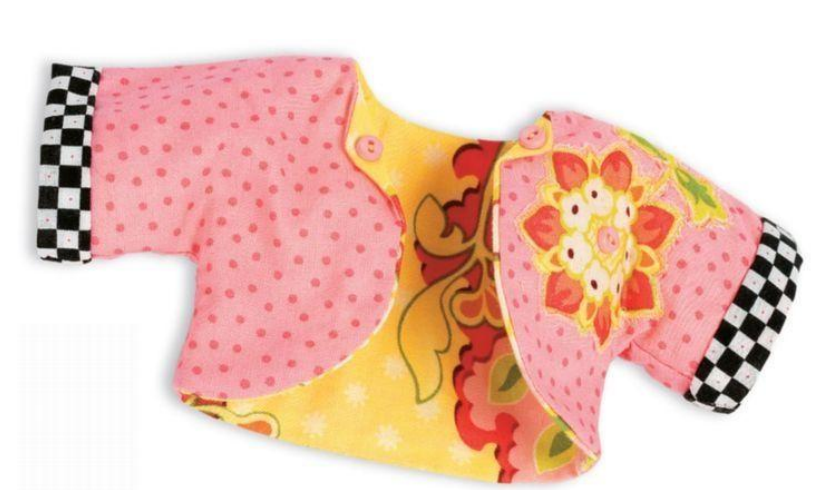
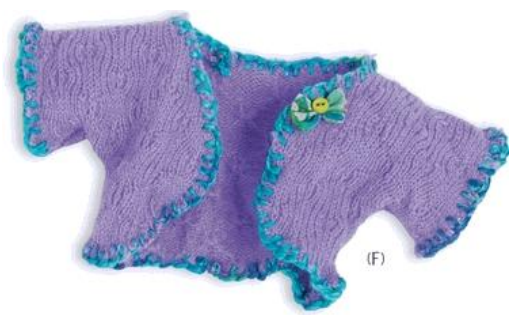
CREATE THE BOLERO
1. Trace the Bolero pattern onto both the outside and lining fabric and cut
them out.
2. Choose a motif from the print fabric for an appliqué to decorate the
bolero. Press a double-sided bonding sheet to the wrong side of the print
fabric, and cut out the design. Remove the backing paper and fuse the design
to the right side of the bolero fabric. Pin a piece of cut-away stabilizer
slightly larger than the appliqué to the wrong side of the bolero under the
appliqué. Machine sew a straight stitch around the appliqué catching the
stabilizer in the stitching.
3. Cut two strips of fabric 1½″ × 5¾″ (3.8 × 14.6 cm) for the sleeve hem
bands (black and white checked fabric was used). Machine stitch the bands
to the end of the sleeves on the lining fabric with the right sides together.
4. With the right sides together, pin the underarm seams of the outside fabric
and stitch from the ends of the sleeves to the lower hem edge. Repeat with
the lining fabric. (O)
CREATE THE HAIR
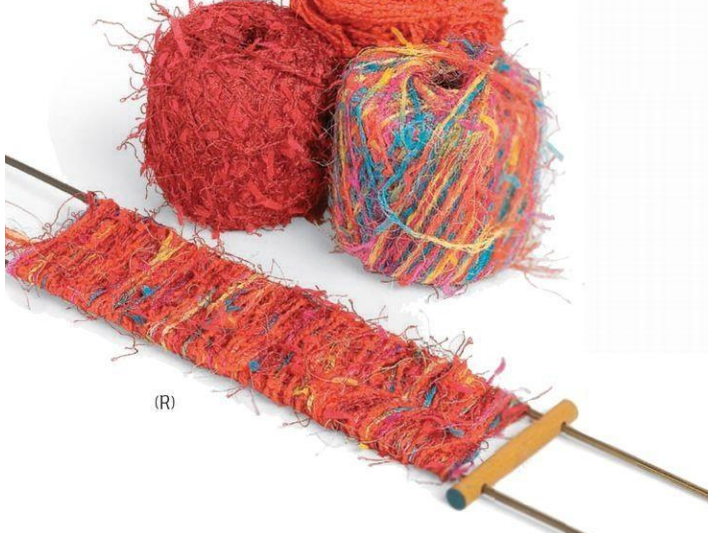
1. Bend a coat hanger in half so the wires are 3″ (7.6 cm) apart. Wrap the
three yarns you’ve chosen for hair around the wires to create a 14″ (35.6 cm)
length of wrapped yarn. It helps to have something at the end to keep the two
wires separated. (R)
2. With your sewing machine, sew down the center of the wrapped yarn with
either a zigzag or a straight stitch. Slip the stitched yarn off the wires and pin
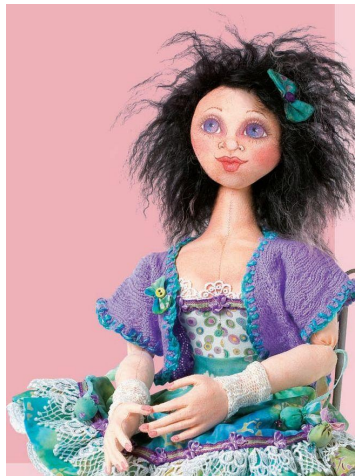
it to the doll’s head, starting at the back and wrapping it along the face seam.
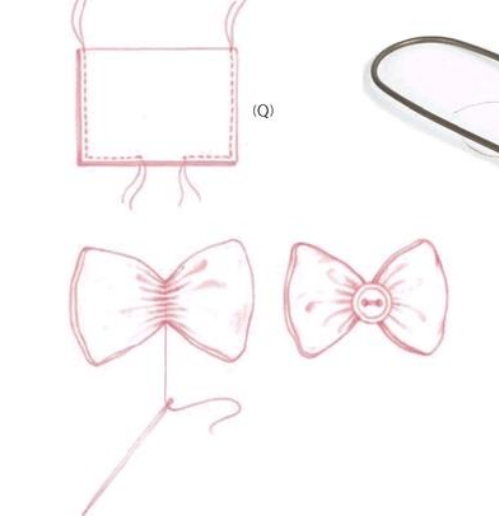
Tack the hair to the head in several places, and tack or glue a small bow in
her hair.
Lydia
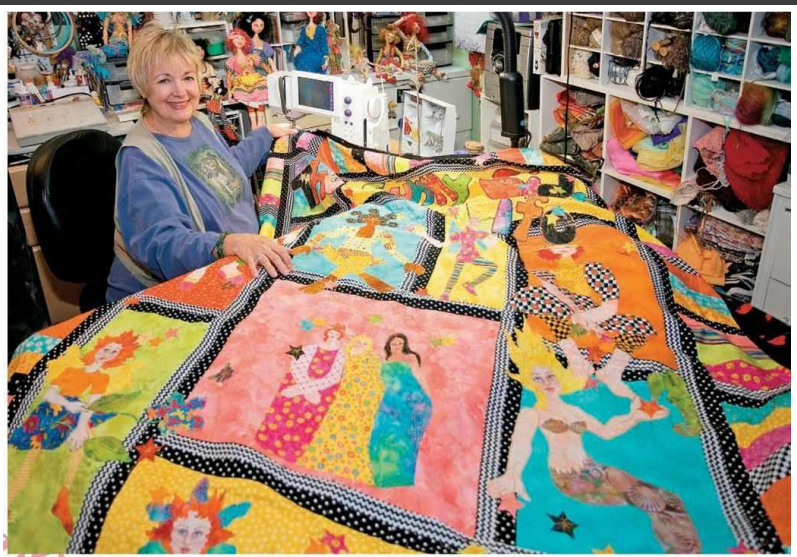
PATTI WITH HER QUILT
(above)Curves and sculpting are the predominant features of my art;
however, I have also found great enjoyment in creating things that are flat.
For more than a year, I’ve been working on this quilt. I can “flat out” tell
you it was a major learning experience. The quilt has been a personal
journey as it reflects many of the dolls in my pattern line who also are part of
my family.
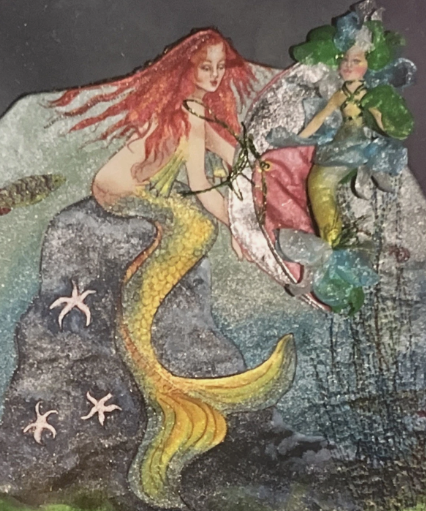
Stargazer Journal Series
[Note: I admire great dollakers, and I have made several cloth dolls, But the process of stuffing tedious joints exhausts my creativity. At this point, I am eager to jump into the dolls as modes for journal pages, collages, and other dives into fabric as art.. I have purchased Patti’s book 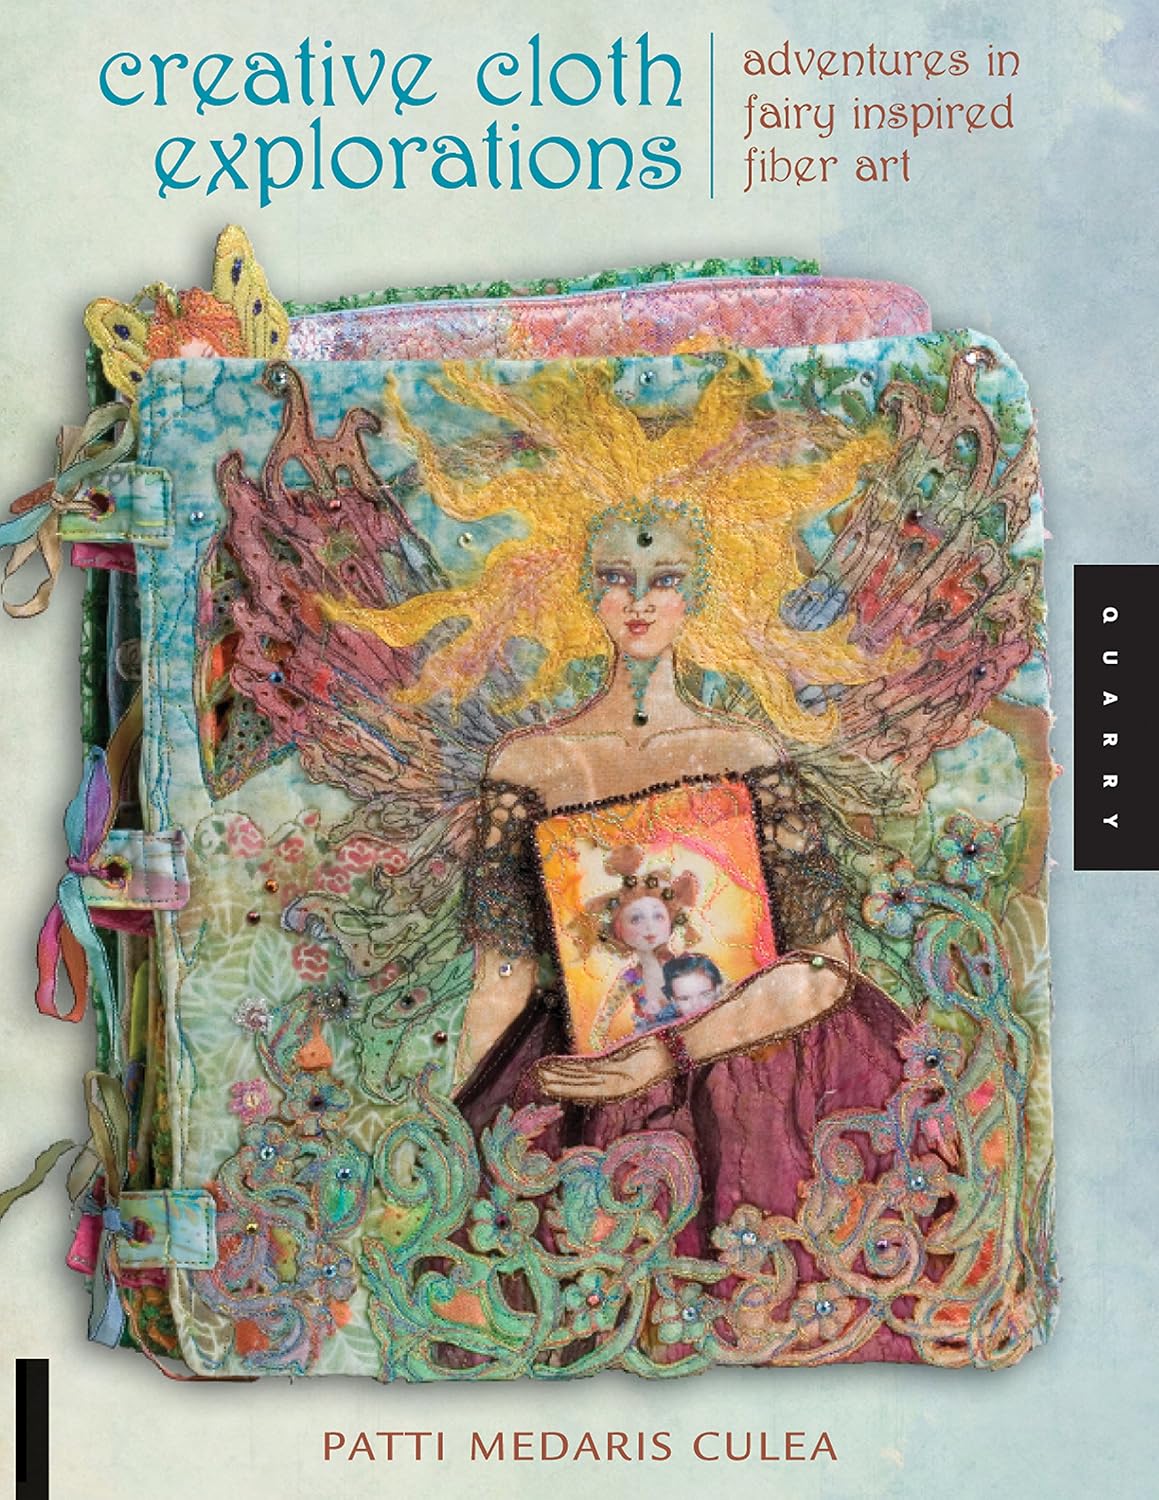
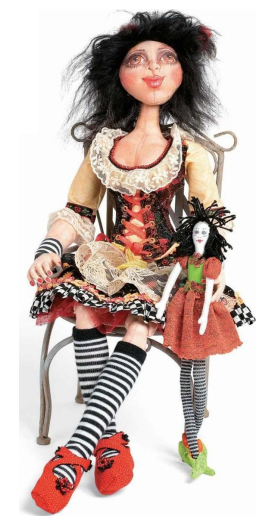
MIKAELA AND LIZZY
Mikaela and Lizzy are samples from one of my patterns, and Mikaela
is my answer to the popular ball-jointed dolls. The ball joints enables the
doll to sit and make a variety of poses.
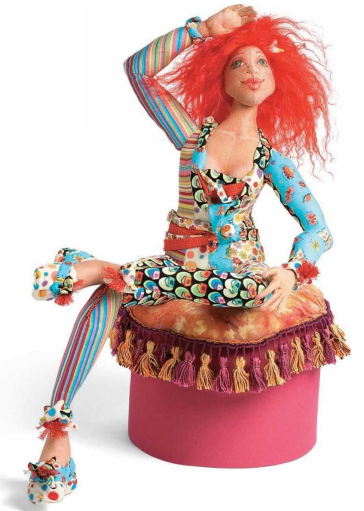
MARLY
An idea I had when writing doll-making books for Quarry Books was
to use the same-size doll in each book so people could mix and match body
parts and create their own doll. Marly is a sample of that technique and is
made from body parts from Creative Cloth Doll Making and Creative Cloth
Doll Faces.
Discover more from Jacki Kellum
Subscribe to get the latest posts sent to your email.