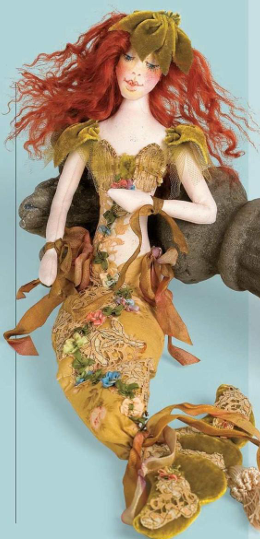
Shy – The Mermaid
20″ Tall
Barbara Willis Cloth Doll
Cloth Doll Workshop
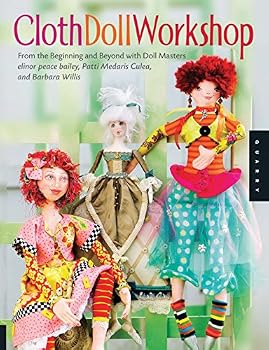
Barbara Willis’s Mermaid Doll Shy’s Pattern is available in the book Cloth Doll Workshop-which is an invaluable resource for Cloth Doll Makers.
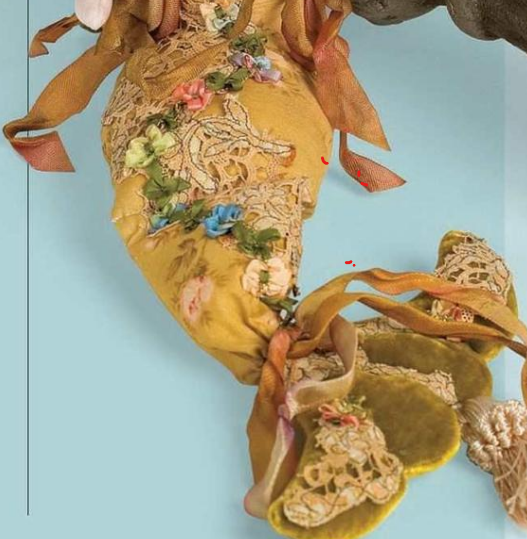
I like the fact that Shy’s lower body is a space for creative fibers, laces, and needlework to combine in exciting ways. The possibilities for this are limitless.
The fact that this doll’s lower body and feet are missing makes the Barbara Willis Doll Shy the Mermaid an easier doll to make than many others. She is a good place to dive in.
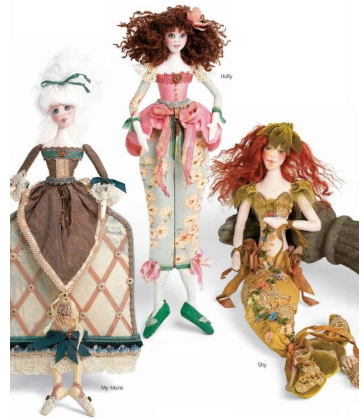
Barbara Willis’s Shy Doll is part of a trio of dolls–the parts and faces are interchangeable–with adjustments one pattern can make many different cloth dolls
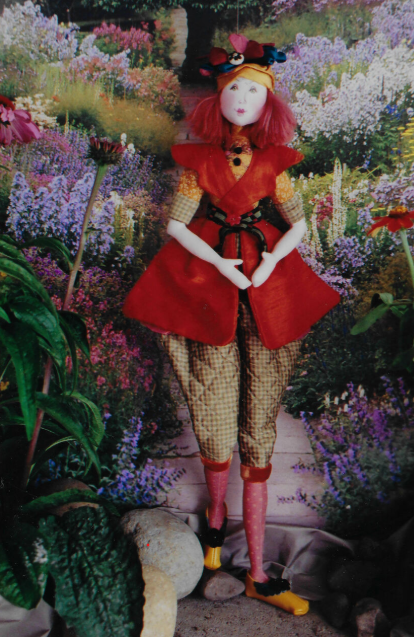
Shy is a 20″ Doll– about the same size as Barbara Willis’s Poppy Doll–which has an optional stamp to simplify the process of painting the doll’s face.
Barbara Willis Doll Patterns with Face Stamps to Help with Painting Their Faces
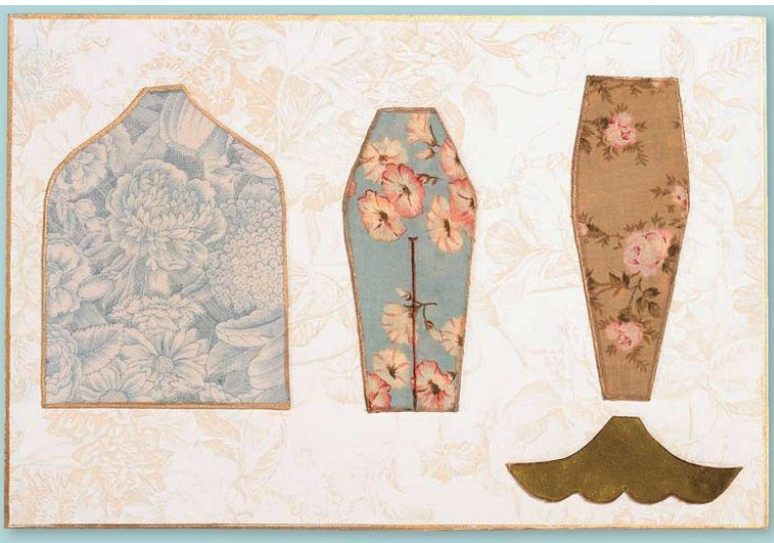
3 Lower Body Choices- All are interchangeable.
“The basic doll pattern was built around a doll I fittingly named My Marie. My Marie is a lovely rendition of an earlier era with a wide skirt made of French toile fabric. But, if the skirt is narrowed at the hips and hem, you create a totally different look, such as a casual lounge outfit reminiscent of Holly Golightly from Breakfast at Tiffany’s fame, and so this doll is appropriately named Holly. A more drastic narrowing of the lower hem edge of the lower pattern piece transforms this design (with a little bit of stuffing
and a velvet tail) into Shy, a lovely mermaid.” Barbara Willis
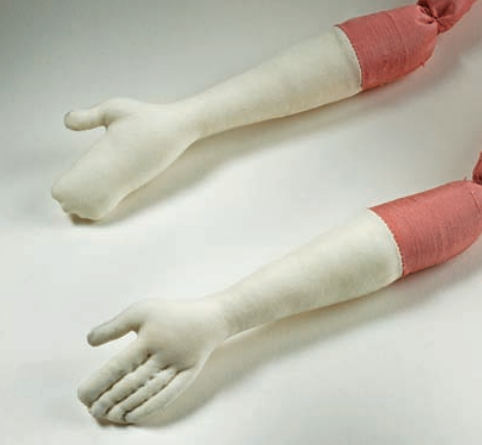
“The basic pattern includes two Arm/Hand options, one with a thumb and one without. The thumb is small and a bit fussy to sew, so you can choose to make the hand with or without the thumb—both are lovely and delicate—simply choose the option that is right for you.” Barbara Willis
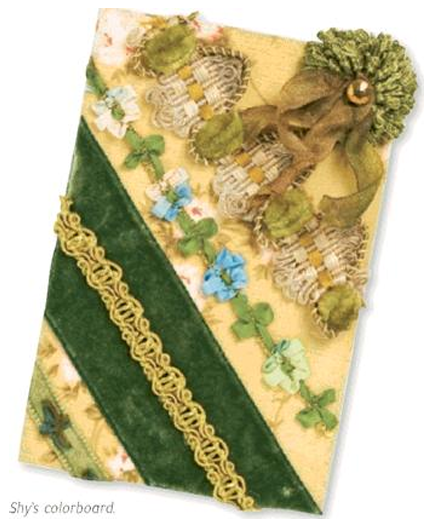
The First Step for Creating any Art Doll is to Create a Color Board
“First, you’ll want to choose the main costume fabric, which will lead you to your ribbon choices, button selections, and embellishment options. So spread out all your selections, and enjoy the emotion and feeling they provide, and then get ready to play dolls! Barbara Willis
The Personal Selection of Materials for a Project Is What Separates an Art Doll from the Herd of Craftsy Crapsy Stuff.
“When I am starting a project, I pull from my stash more fabrics and embellishments than I will use, but the mountain of color, fiber, texture, and glitz gets me jump-started without hesitation. I consider the mountain of stuff the casting call or audition, while the finished project is the final result of the sorting, incorporating, and eliminating.” Barbara Willis
“First, you’ll want to choose the main costume fabric, which will lead you to your ribbon choices, button selections, and embellishment options. So spread out all your selections, and enjoy the emotion and feeling they provide, and then get ready to play dolls!” Barbara Willis
Wrap the sleeve caps over each shoulder and pull the threads to gather the shoulder edges. Knot the threads under the arms and bury the thread tails. Wrap a small strip of green tulle around each arm just below the sleeve caps. (B]
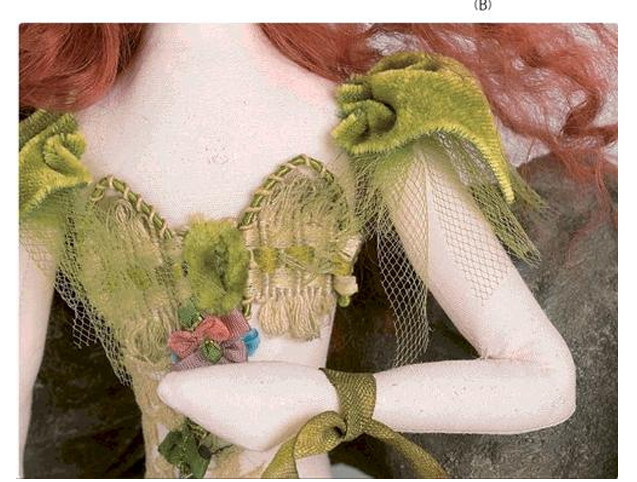
“Shy’s lace adornment is from a vintage collar, which was randomly cut up and glued to fabric to create her clothing and tail decoration. Be creative by mixing and matching bits of the lace and trim to cover her upper chest and parts of her tail and fin. The chic trim on her chest is from an old lampshade and the tassel is a piece of upholstery trim (which are the perfect size for doll décor).” Barbara Willis
[Jacki Note: The doll maker’s color boards should be framed. They are works of art. Exhibit the framed mood board next to the doll created from that collection–make several–make a series–Have a Show!]
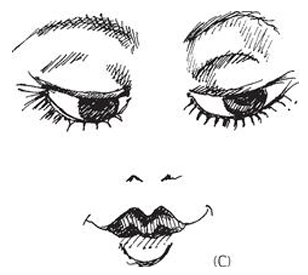
3. Make the face (pages 72-73) with a slight variation for Shy’s downcast eyes. Notice that only the lower half of the football shape was drawn in with black Pigma pen. With the mechanical pencil, draw a football shape around the eye dot to create the outer line. Directly over the inked line draw another half football shape, leaving a ″ (1.6 mm) slit between the two lines. Go over the pencil lines with a black Pigma pen. Draw a very small
iris with blue or green gel pen off to one side in each eye as shown. (C)
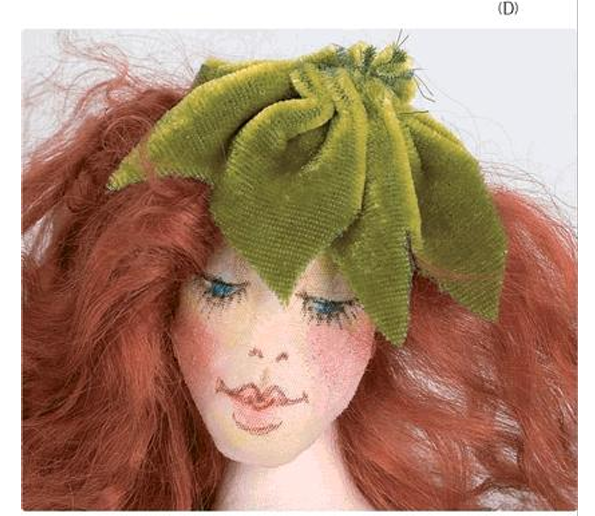 7. Make the seaweed cap by cutting a strip of leftover velvet approximately 2″ × 5″ (5.1 × 12.7 cm). Sew a running stitch along one long edge and pull the threads to gather it tight. Knot the threads securely. Cut deep notches into the lower edge of the velvet, and glue or pin the cap to Shy’s head. (D)
8. Lots of trim and lace are used to add fun to the costume, and all are glued securely to her with the exception of the tassel at the bottom of her fin, which is tacked securely in place. Add some glitter glue to her cheeks and body to give her a just-out-of-the-ocean look.
Discover more from Jacki Kellum
Subscribe to get the latest posts sent to your email.