
Daffodil – Jacki Kellum Sketch in Procreate – March 29, 2022
Off and on, I have been watching Procreate tutorials. Youtube is a great resource for adding to your understanding of how to create in Procreate, but I have also purchased several tutorials along the way.

Polly’s Friend in Green – Insprired by Aveline Stokard
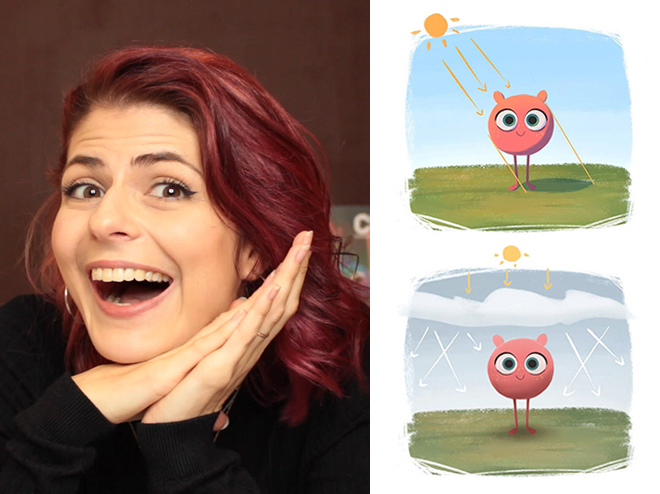
Recently, I discovered some of Avenline Stokard’s tutorials, and to help me better understand how to apply light and shade in Procreate, I purchased full access to all of the tutorials at 21Draw: https://www.21-draw.com/
I was specifically interested in Aveline’s class, which is the best Procreate class that i have ever taken. But I don’t recommend it as a very first class in Procreate. Aveline’s class in light and shade is great for a deeper dive. In fact, it is the best that I have ever seen for understanding light and shade. I could have purchased only Aveline’s class on 21 Draw for about $10, but I opted to purchase access to all of the classes there for $60, which is reasonable. Honestly, Aveline’s class on 21 Draw is invaluable, but there are also Beginner Procreate courses on that site:
First step information Is Covered in Erika Wiseman’s Class Digital Drawing for Beginners in Procreate
https://www.21-draw.com/course/drawing-in-procreate-beginners/
#1 Creating a New Canvas in Procreate
#2 Understanding the Procreate Workspace
#3 Intro to Procreate Layers
#4 Understanding Procreate Brushes
#5 Create Perfect Straight Lines and Shapes Every Time!
Have you ever wondered how to draw precise shapes and lines in Procreate? Well, the good news is, Procreate has a super intuitive feature just for this! Want a perfectly straight line? All you have to do is to freehand draw your line and then hold down your pen for a moment at the end of the gesture until it straightens out. This trick works perfectly for shapes as well, so you never have to worry about trying to create the perfect freehand circle ever again!
#6 Fill shapes in one simple step!
Many beginners to Procreate often don’t realize that you can simply drag a color from your palette to fill in a section of your illustration. All you have to do is select your desired color on the Color Wheel and then drag it down onto wherever you wish to fill. This trick is great as it allows you to quickly test out different colors in your illustrations!
#7 Make your own custom brushes!
Have you ever been using a default Procreate brush, and thought that with a few tweaks it would be perfect? Well luckily, with a few simple steps, you will be able to edit or create any brushes you want!
To edit an existing brush, simply swipe left on it in the Brush menu and select ‘Duplicate’. Once you have duplicated your chosen brush, simply double tap on it to open its settings. There are so many different aspects of the brush you can play with including, Shape, Stroke-path, Taper, Stabilisation, Grain, Mixing and Color dynamics! With so much customization available, you are sure to be able to create the brush you are looking for! Looking to create a brush from scratch? Simply press the little plus icon at the top of the Brush menu and get creating!
#8 Use Liquify to warp your illustration!
The Liquify tool is one that often gets overlooked in Procreate, even though it has many awesome uses! The tool can be easily accessed via the Adjustments drop-down menu in the top left-hand corner. Once it is selected, you will be able to adjust or warp parts of your illustration simply by dragging them with your pen. This tool is great if you need to make any minor edits to your illustration, such as slightly changing the shape of an eye or moving the corner of a character’s mouth. Liquify can also be used to create some really cool abstract effects in your work!

Tree – Jacki Kellum Sketch in Procreate – March 28, 2022
The amazing thing about Procreate is that you can also sketch in that platform. To create my sketches, I begin with the Procreate Brush 6B.

By increasing or lowering the % of your Brushstrokes, you change the size of the lines.
By increasing or decreasing your pressure, you can change the lightness or darkness of your lines.
In the same way that you draw with a regular graphite pencil on paper, you can hold your Apple pencil sideways to create shaded fills. To create regular lines, you draw with the pencil tip or point.
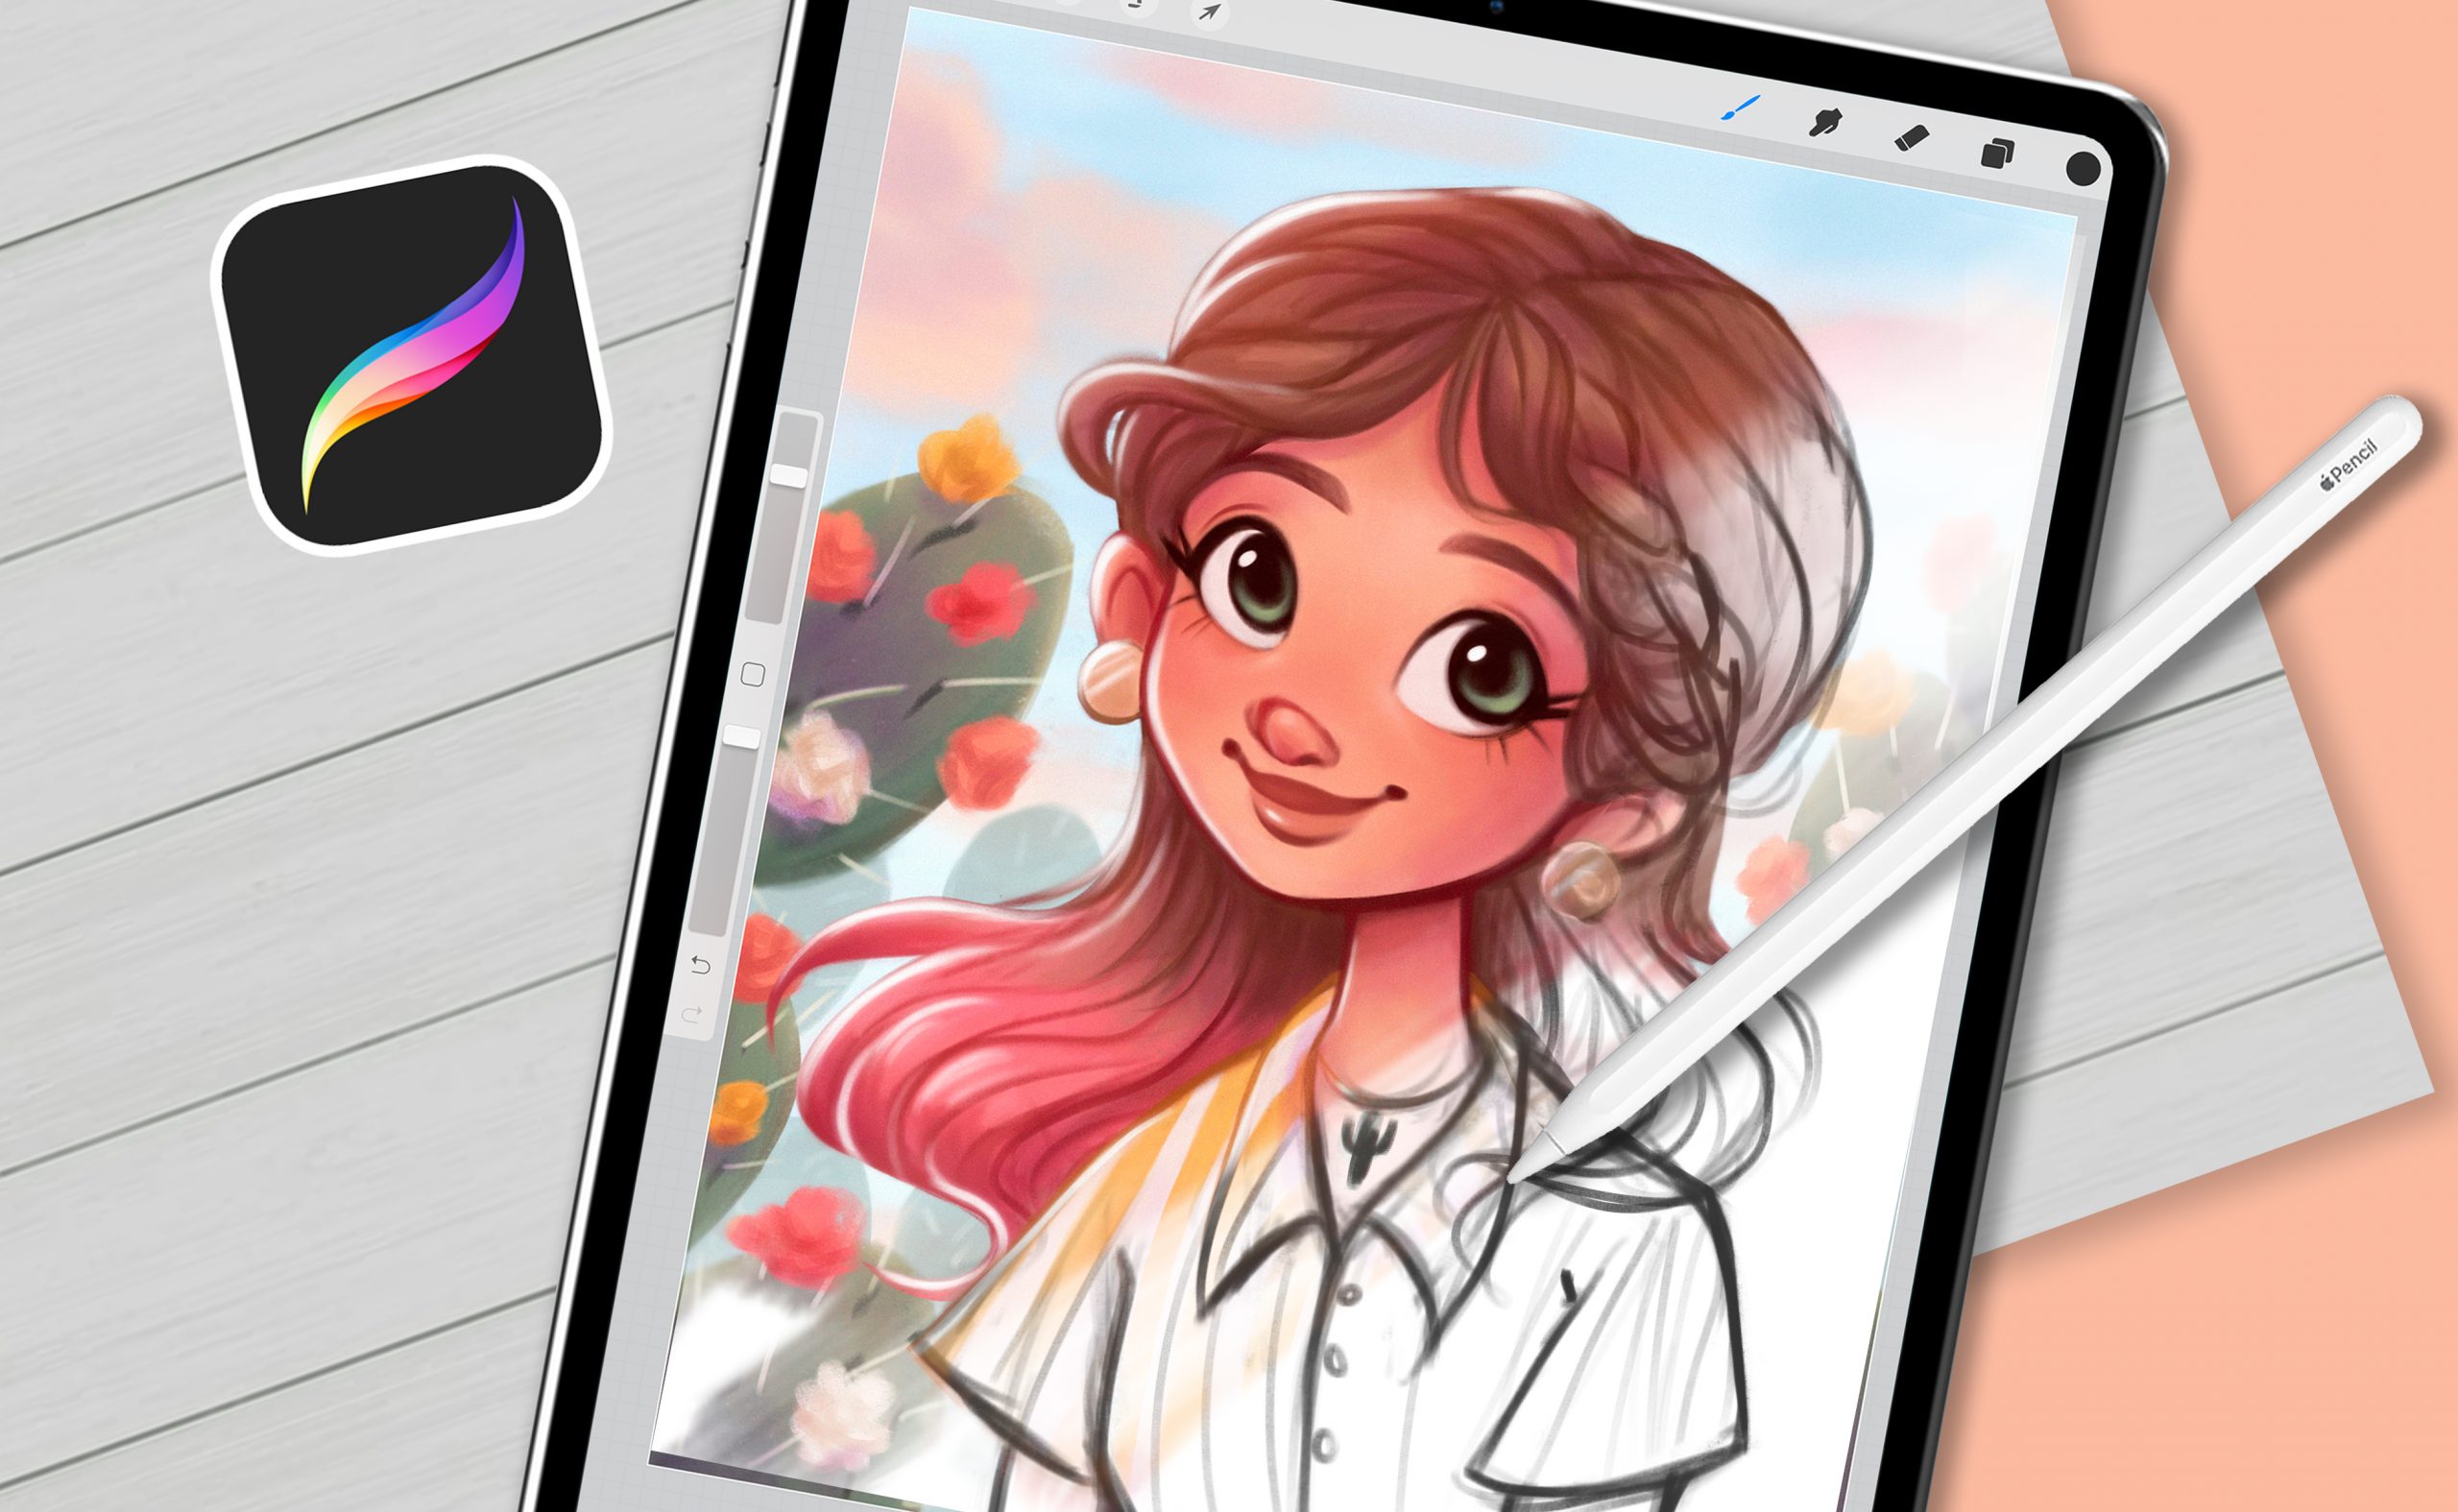
In the following image, you see the first step of my new Apple pencil sketch in Procreate. I drew this limb with the tip of my 6B Apple Pencil.
After I have completed this first step, I’ll use a variety of other brushes. Some of those brushes come with Procreate, but I have purchased other brushes.
Fo sketching, I recommend buying the Gouache MaxPack of brushes: https://maxulichney.gumroad.com/l/GouacheMaxPack

‘
Discover more from Jacki Kellum
Subscribe to get the latest posts sent to your email.