Image Credit: Alecia Lauren
This entire post first appeared in Flower Mag
https://flowermag.com/how-to-make-a-tussie-mussie/
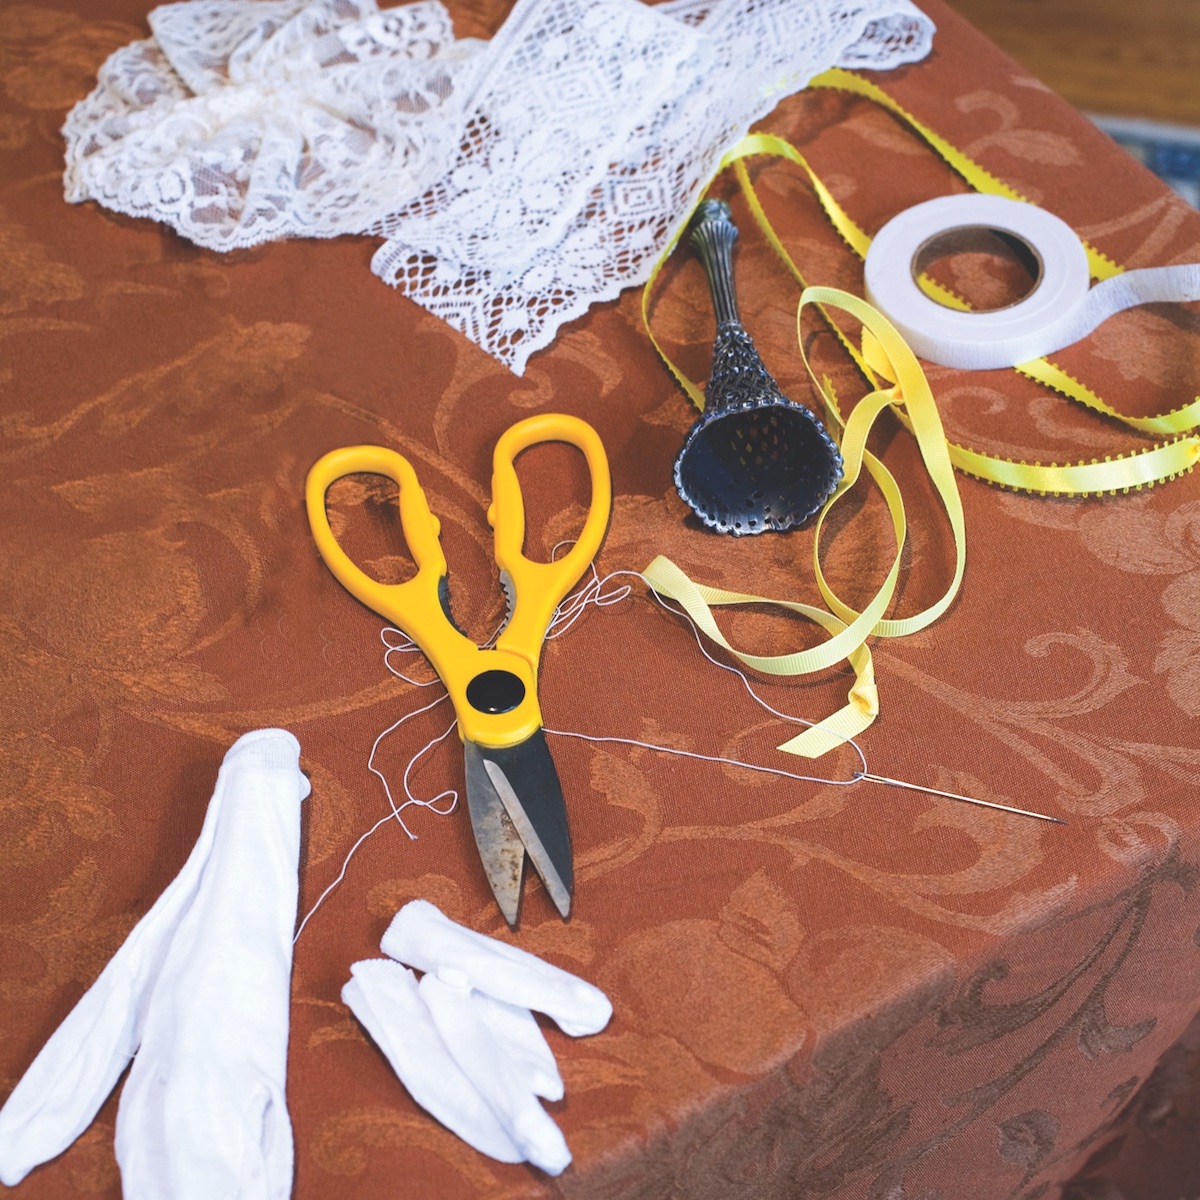
SUPPLIES
- Fresh rose(s), herb sprigs, small flowers, leaves
- Waxed floral tape
- 1 yard of 3-inch-wide lace, elastic thread, and tapestry needle
- One finger cut from a (disposable) cotton glove
- 1 yard of double-sided satin ribbon about 1/2 inch wide to match the flower colors
STEP 1
“Plan the message, check the Language of Flowers glossary, and then choose and assemble the herbs and flowers. (TIP: For a formulaic tussie-mussie, gather a fat rosebud of appropriate color for the center flower, then five sprigs each of three kinds of herbs, five mini carnations or button mums, and five glossy galax

Photo by Alecia Lauren
STEP 2
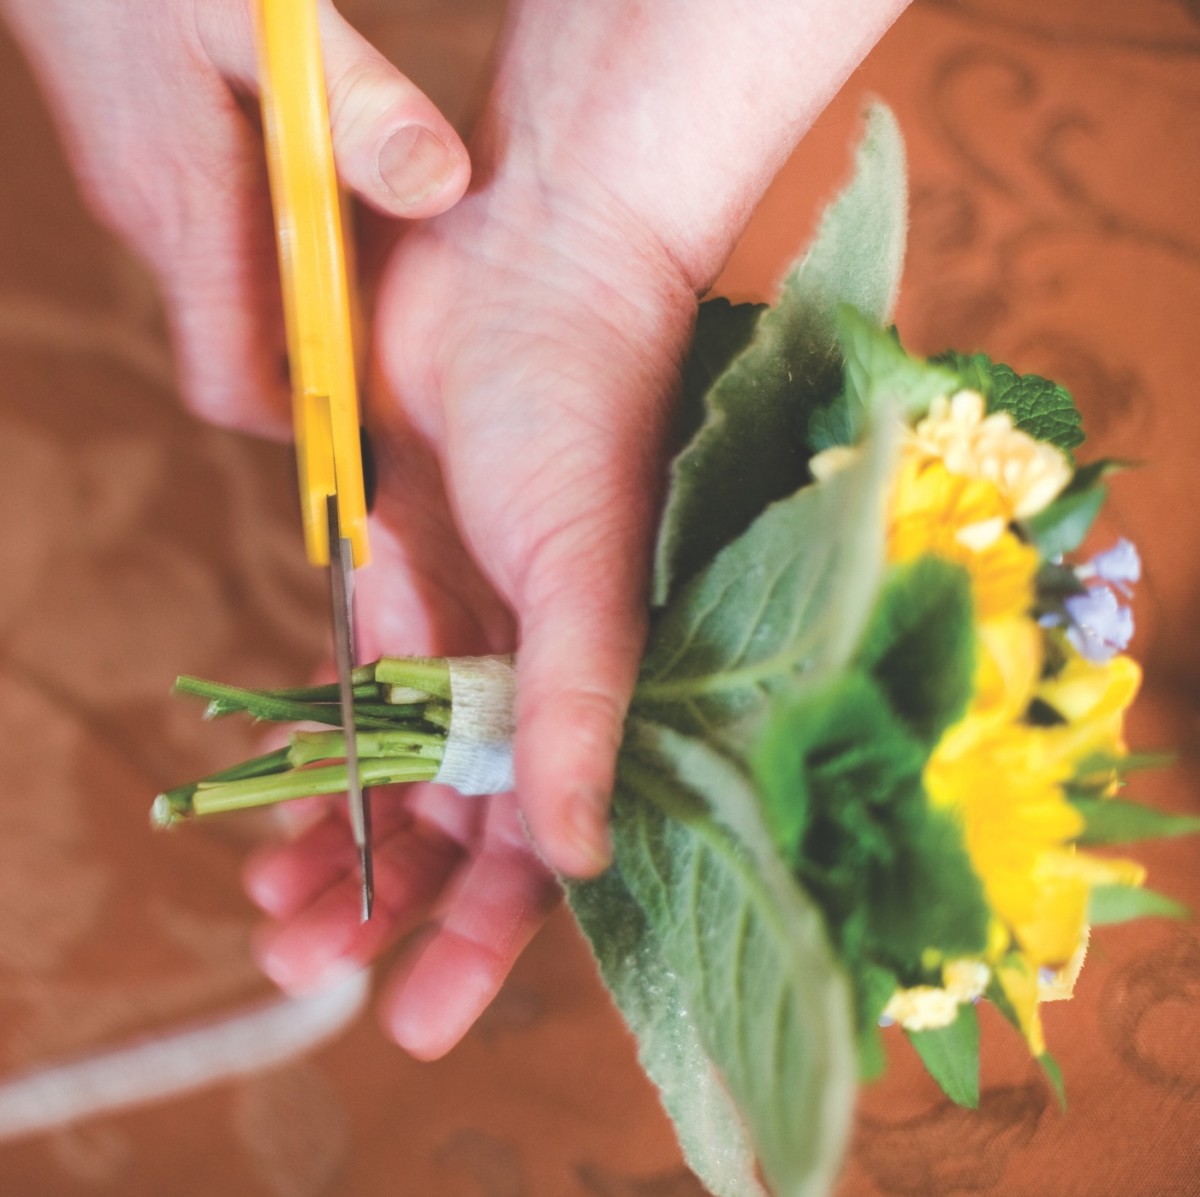
“Trim all stems to 5–6 inches long, and strip the lower leaves off the stems.
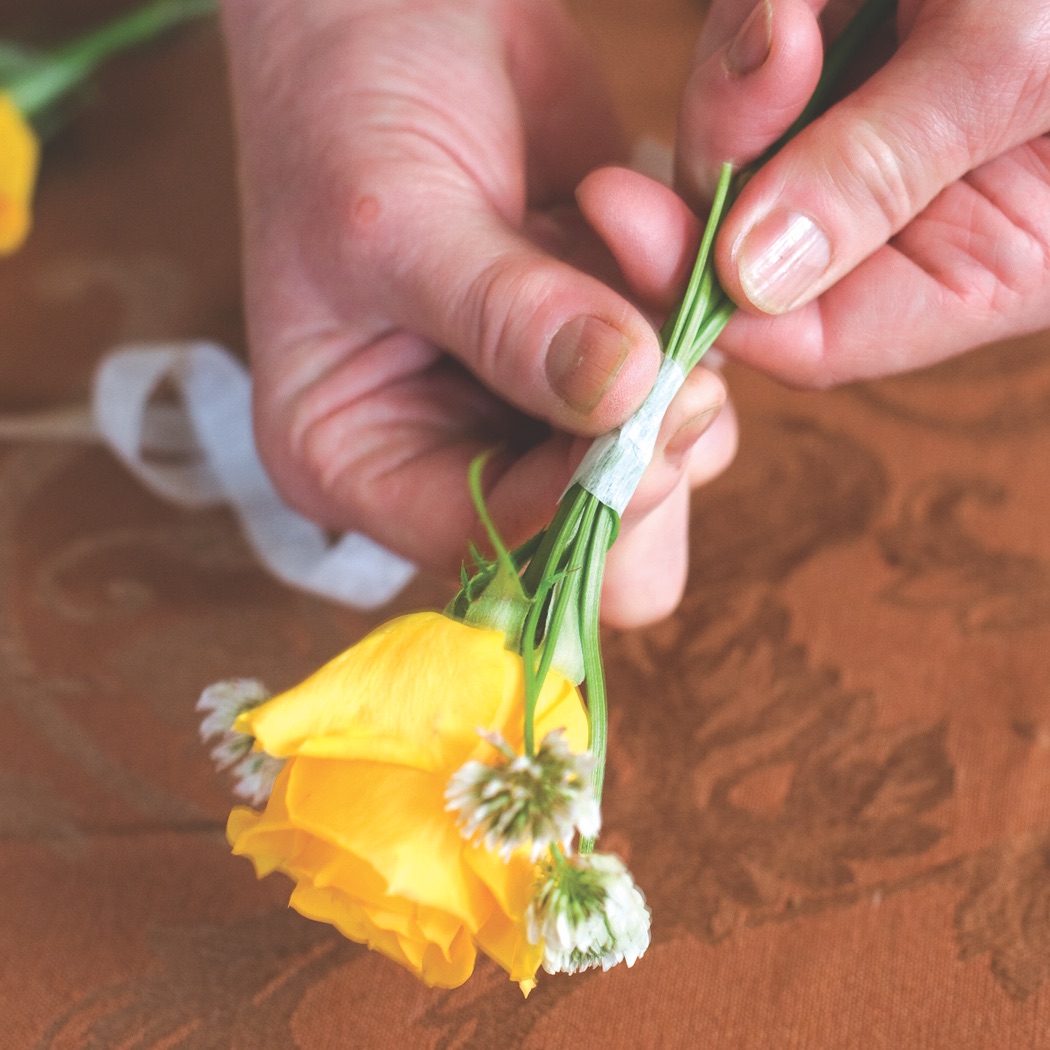
Photo by Alecia Lauren
STEP 3
Start with a rose (or three sweetheart rosebuds) for the center, surround it with sprigs of herbs, and bind them together with floral tape. (TIP: The warmth from your hand makes the waxed tape stick to itself as it is stretched around the stems.)
Photo by Alecia Lauren
STEP 4
Surround the center flowers with concentric circles of herbs, alternating with flowers. As each circle is added, secure it with floral tape. Take care to keep the tops of the herbs and flowers even, forming a mounded or mushroom silhouette. Keep adding until the tussie-mussie is 4–5 inches in diameter, and all the floral symbolism is included.
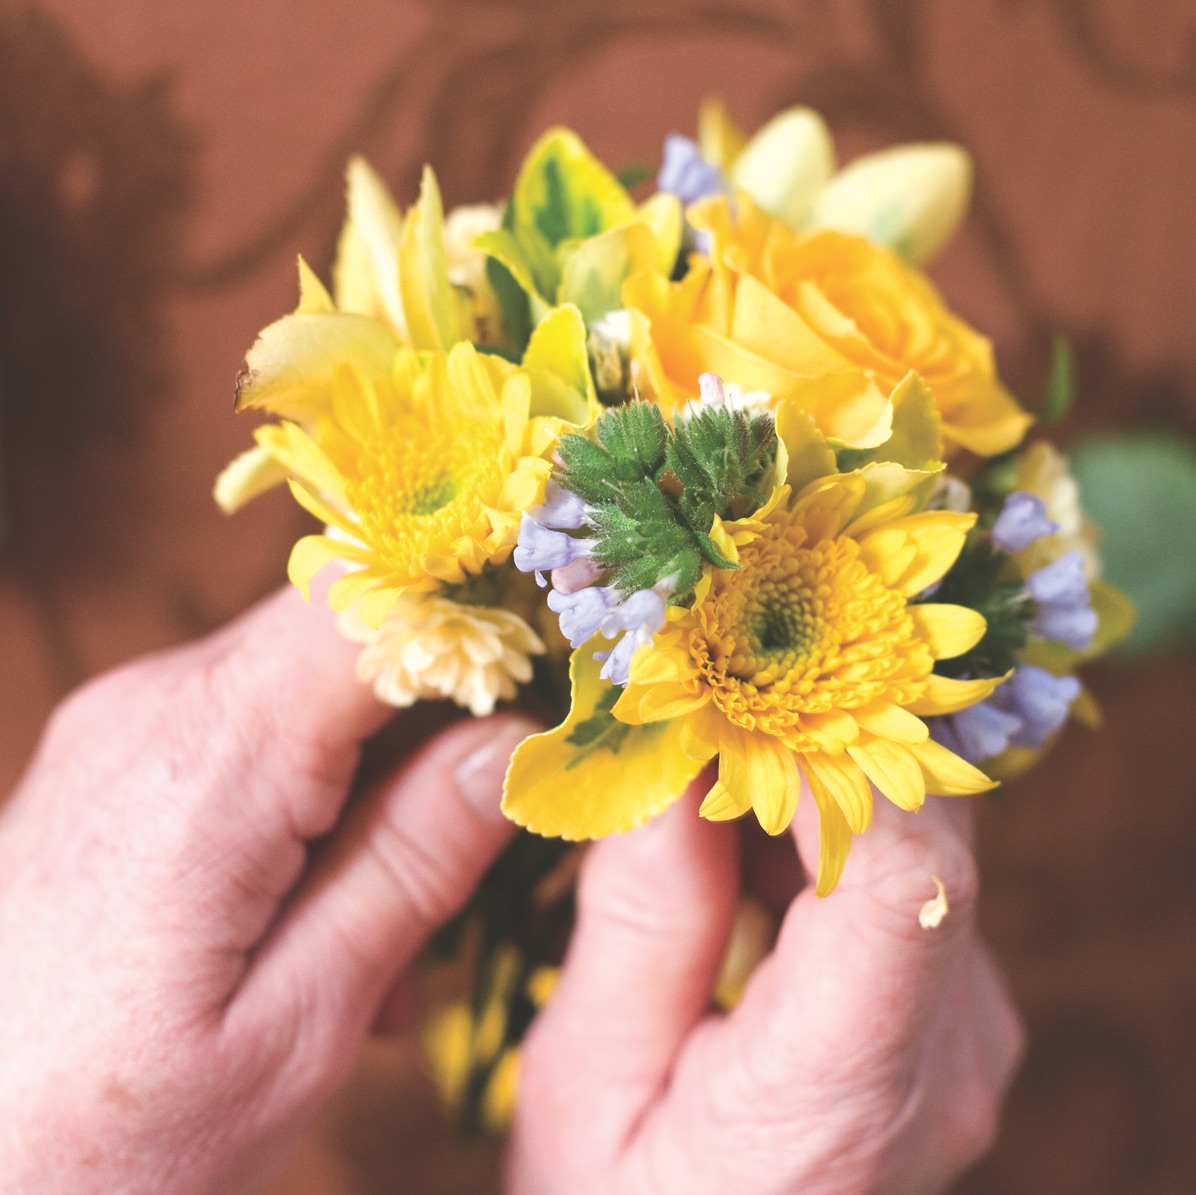
Photo by Alecia Lauren
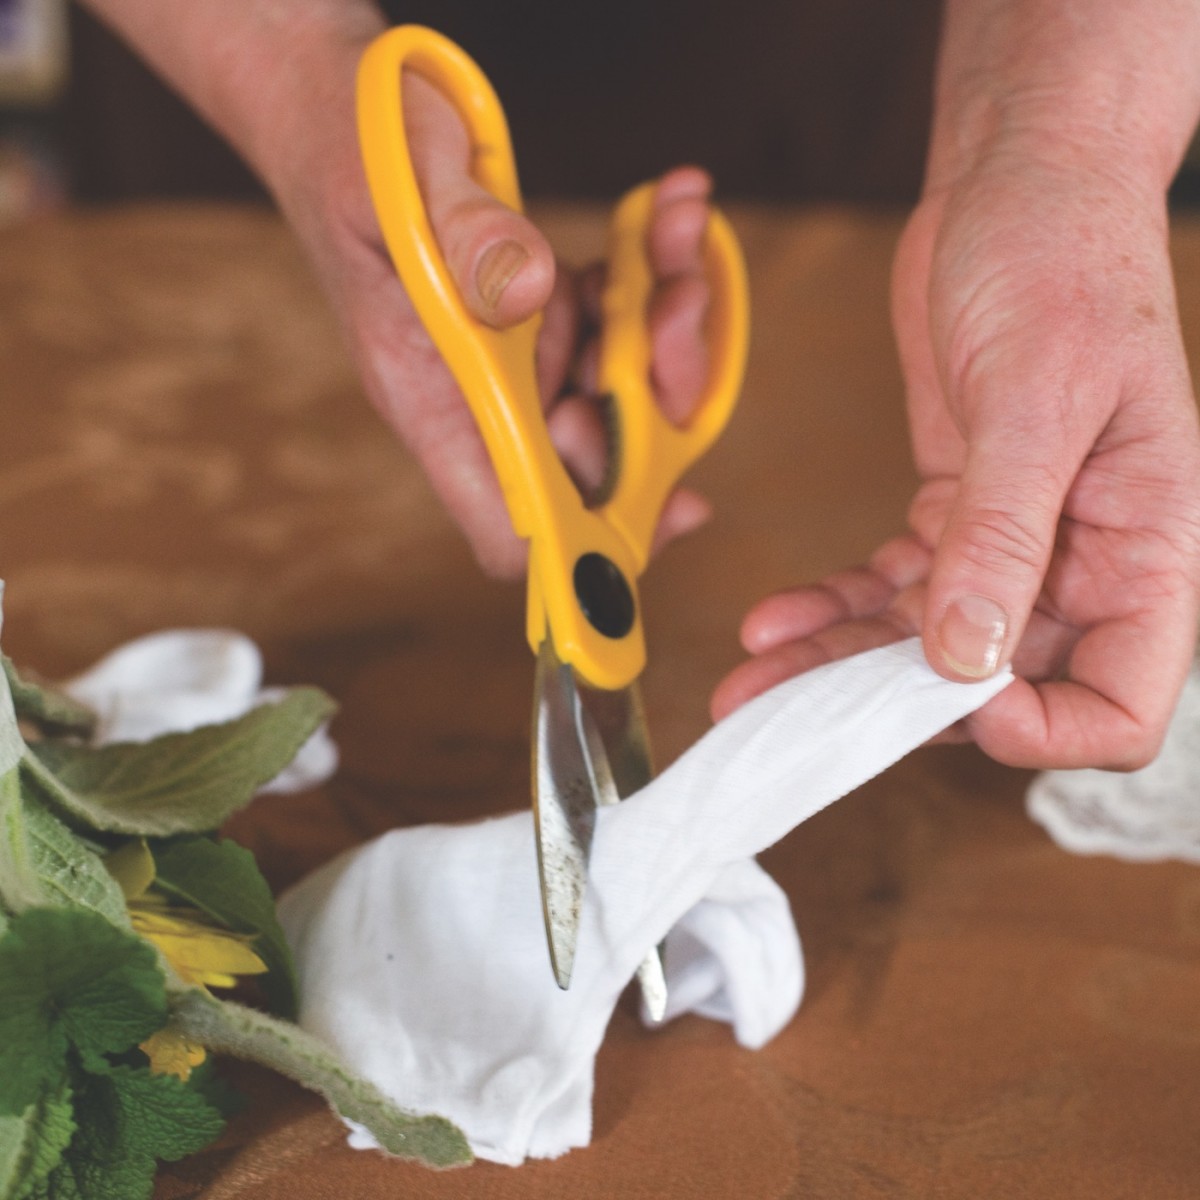
STEP 7
Slip the glove finger over the cut stems. The reason for this is threefold: it covers the tacky floral tape; it provides a smooth “handle” by which to carry the tussie-mussie; and when wet, the absorbent nature of the cotton glove will keep the stems of the tussie-mussie moist and refresh them. (I use inexpensive cotton knit gloves from the photography store, and it works out to about a dime per finger.)
Discover more from Jacki Kellum
Subscribe to get the latest posts sent to your email.