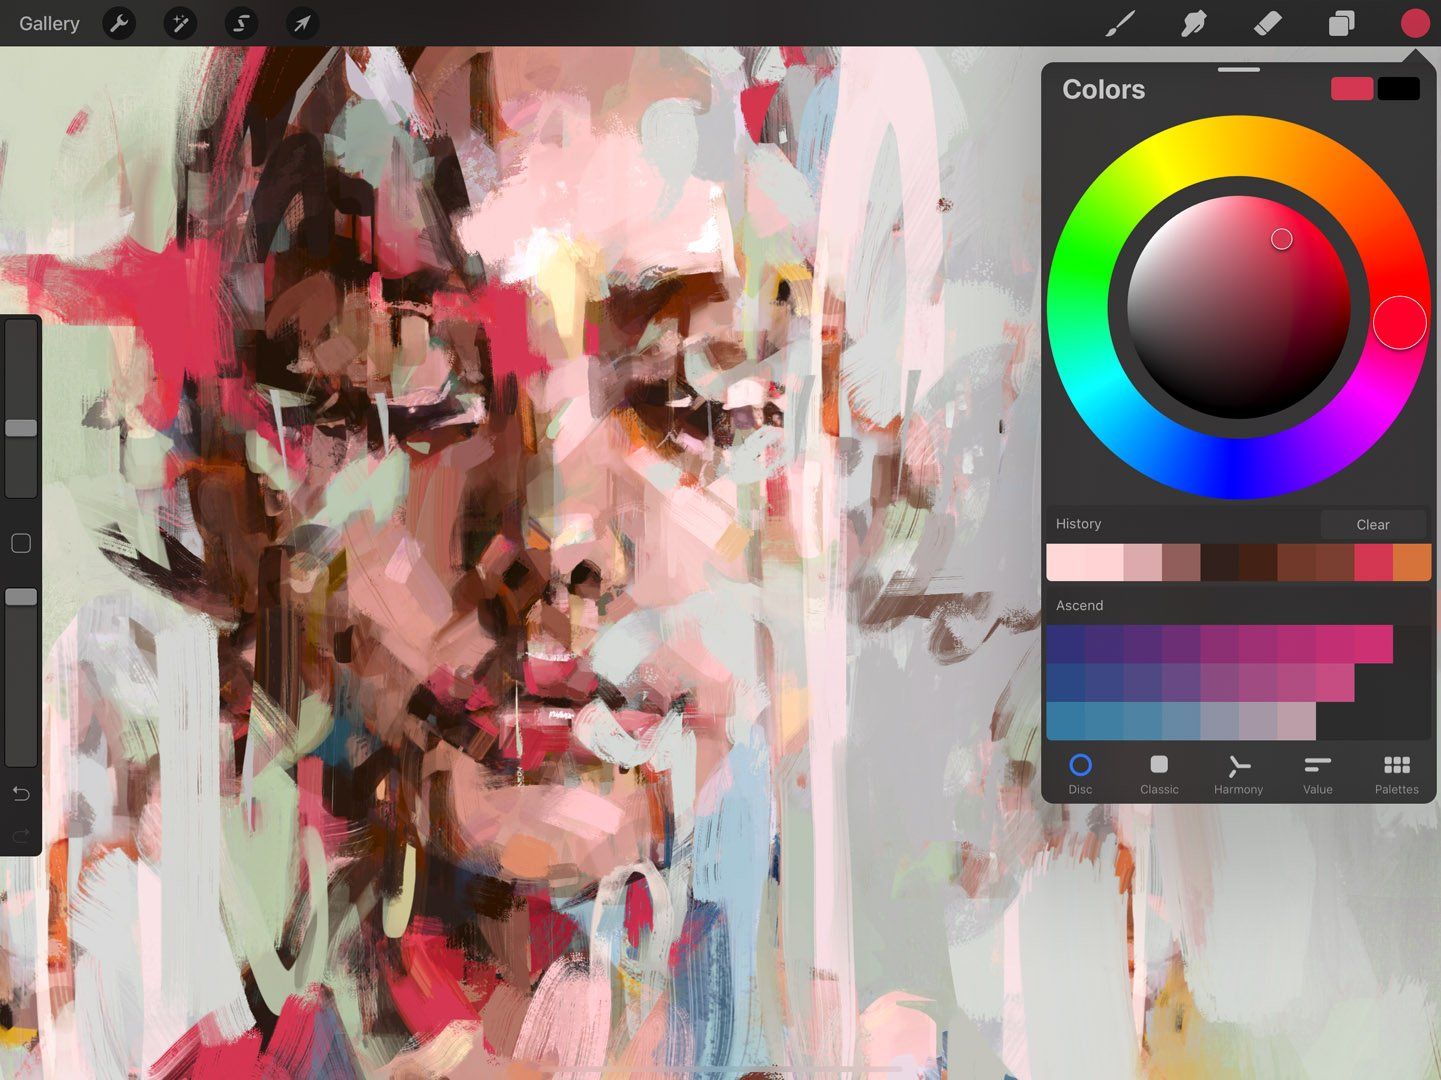
Image Credit: Procreate Handbook
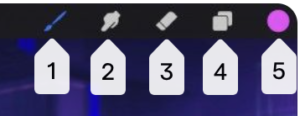
To access and mange the color in your Procreate project, click on the Color Button, which is labeled 5 in the above image.
Color
Select, adjust, and harmonize the color in your creation. Do this using various interface options to suit your workflow. Save, import and share palettes, plus drag and drop color into your art.


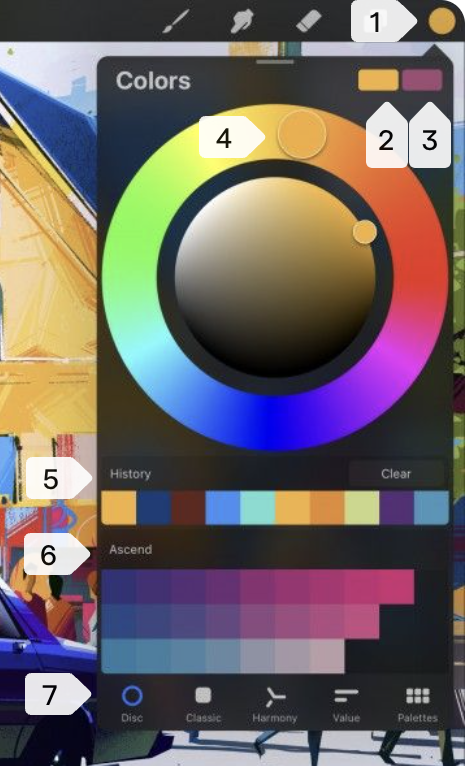
1. Color Button – Show Current Color
Tap the Color Button to open the Color Panel.
2. Active Color
In the top right corner of the Color Panel, a pair of side by side rectangles display your active color (left) and secondary color (right).
3. Secondary Color
Learn more about using a secondary color in Color Dynamics .5
5. History
The History section displays the last ten colors you’ve used.
When you first open a new document, the History section is empty. Colors are added automatically as you select them, until the ten most recent colors are displayed. Each new color chosen after that point will bump the oldest color off the grid.
The History can be found in the Color Panel on the Disc, Classic, Harmony, and Value tabs.
Tap Clear to wipe the History clean.
Compatibility
History is available on all iPad Pros, excluding the iPad Pro 9.7″.
Default Palette
At the bottom of the Color Panel, the current default palette is displayed.
The Default Palette can be found at the bottom of the Color Panel on the Disc, Classic, Harmony, and Value tabs. It can also be seen on the Palettes tab.
You can change the Default Palette on the Palettes tab.
Discover more from Jacki Kellum
Subscribe to get the latest posts sent to your email.
