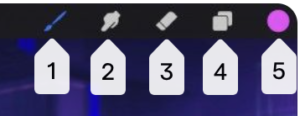
Image Credit: Pancreate Handbook
Brush Button
Shaped like a paintbrush, the Brush button sits in the top right menu bar of the Procreate interface. On the above image, it is labeled 1. Tap it once to activate the Brush tool, and tap it again to bring up the Brush Library.

Image Credit: Procreate Handbook
Procreate comes with over 100 brushes, but you can also add more brushes
Separate Brushes are Stored Beneath Groups or Sets of Brushes.
The Brush Sets are Listed on the Left Side of the Brush Library [Labeled 1 on the above image].
Once you click on a Set of Brushes on the left, the brushes within that set open on the right side of the brush library [Labeled 2 on the above image]
In the above menu, the Sketch Set of Procreate Brushes has been selected.
On the right, you see various Sketch Brushes. [In traditional art, most of these would be called either pencils or pens.]
The brushes in the Sketch Set of Brushes are:
- Peppermint
- Derwent
- Procreate Pencil
- Technical Pencil
- HB Pencil
- 6B Pencil
- Narinder Pencil
- Soft Pastel
- Oil Pastel
- Artist Crayon
My number one go-to pencil for Procreate is the 6B pencil, which you can find under the hood of the Sketch brushes.
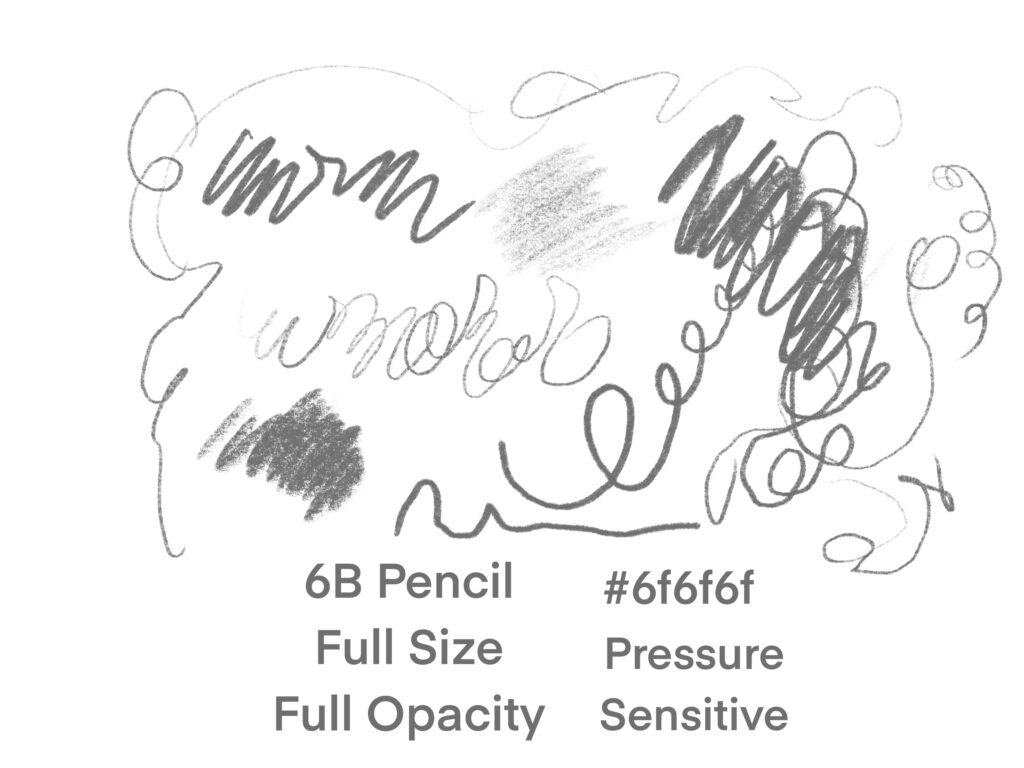
The 6B can be used from the side–to shade–and it has pressure Sensitivity–Meaning that it wil make darking or lighter marks in reaction to how hard you press.
I Use the 6B Pencil when I sketch.
Just as you would in a traditional pencil drawing you can shade with your 6B Procreate Pencil held on its side. Bottom Line: With the Procreate 6B Pencil, I can draw the way I have always drawn with traditional 6B pencils and Ebony pencils.
I use the Eraser tool both in procreate and when I draw traditionally.
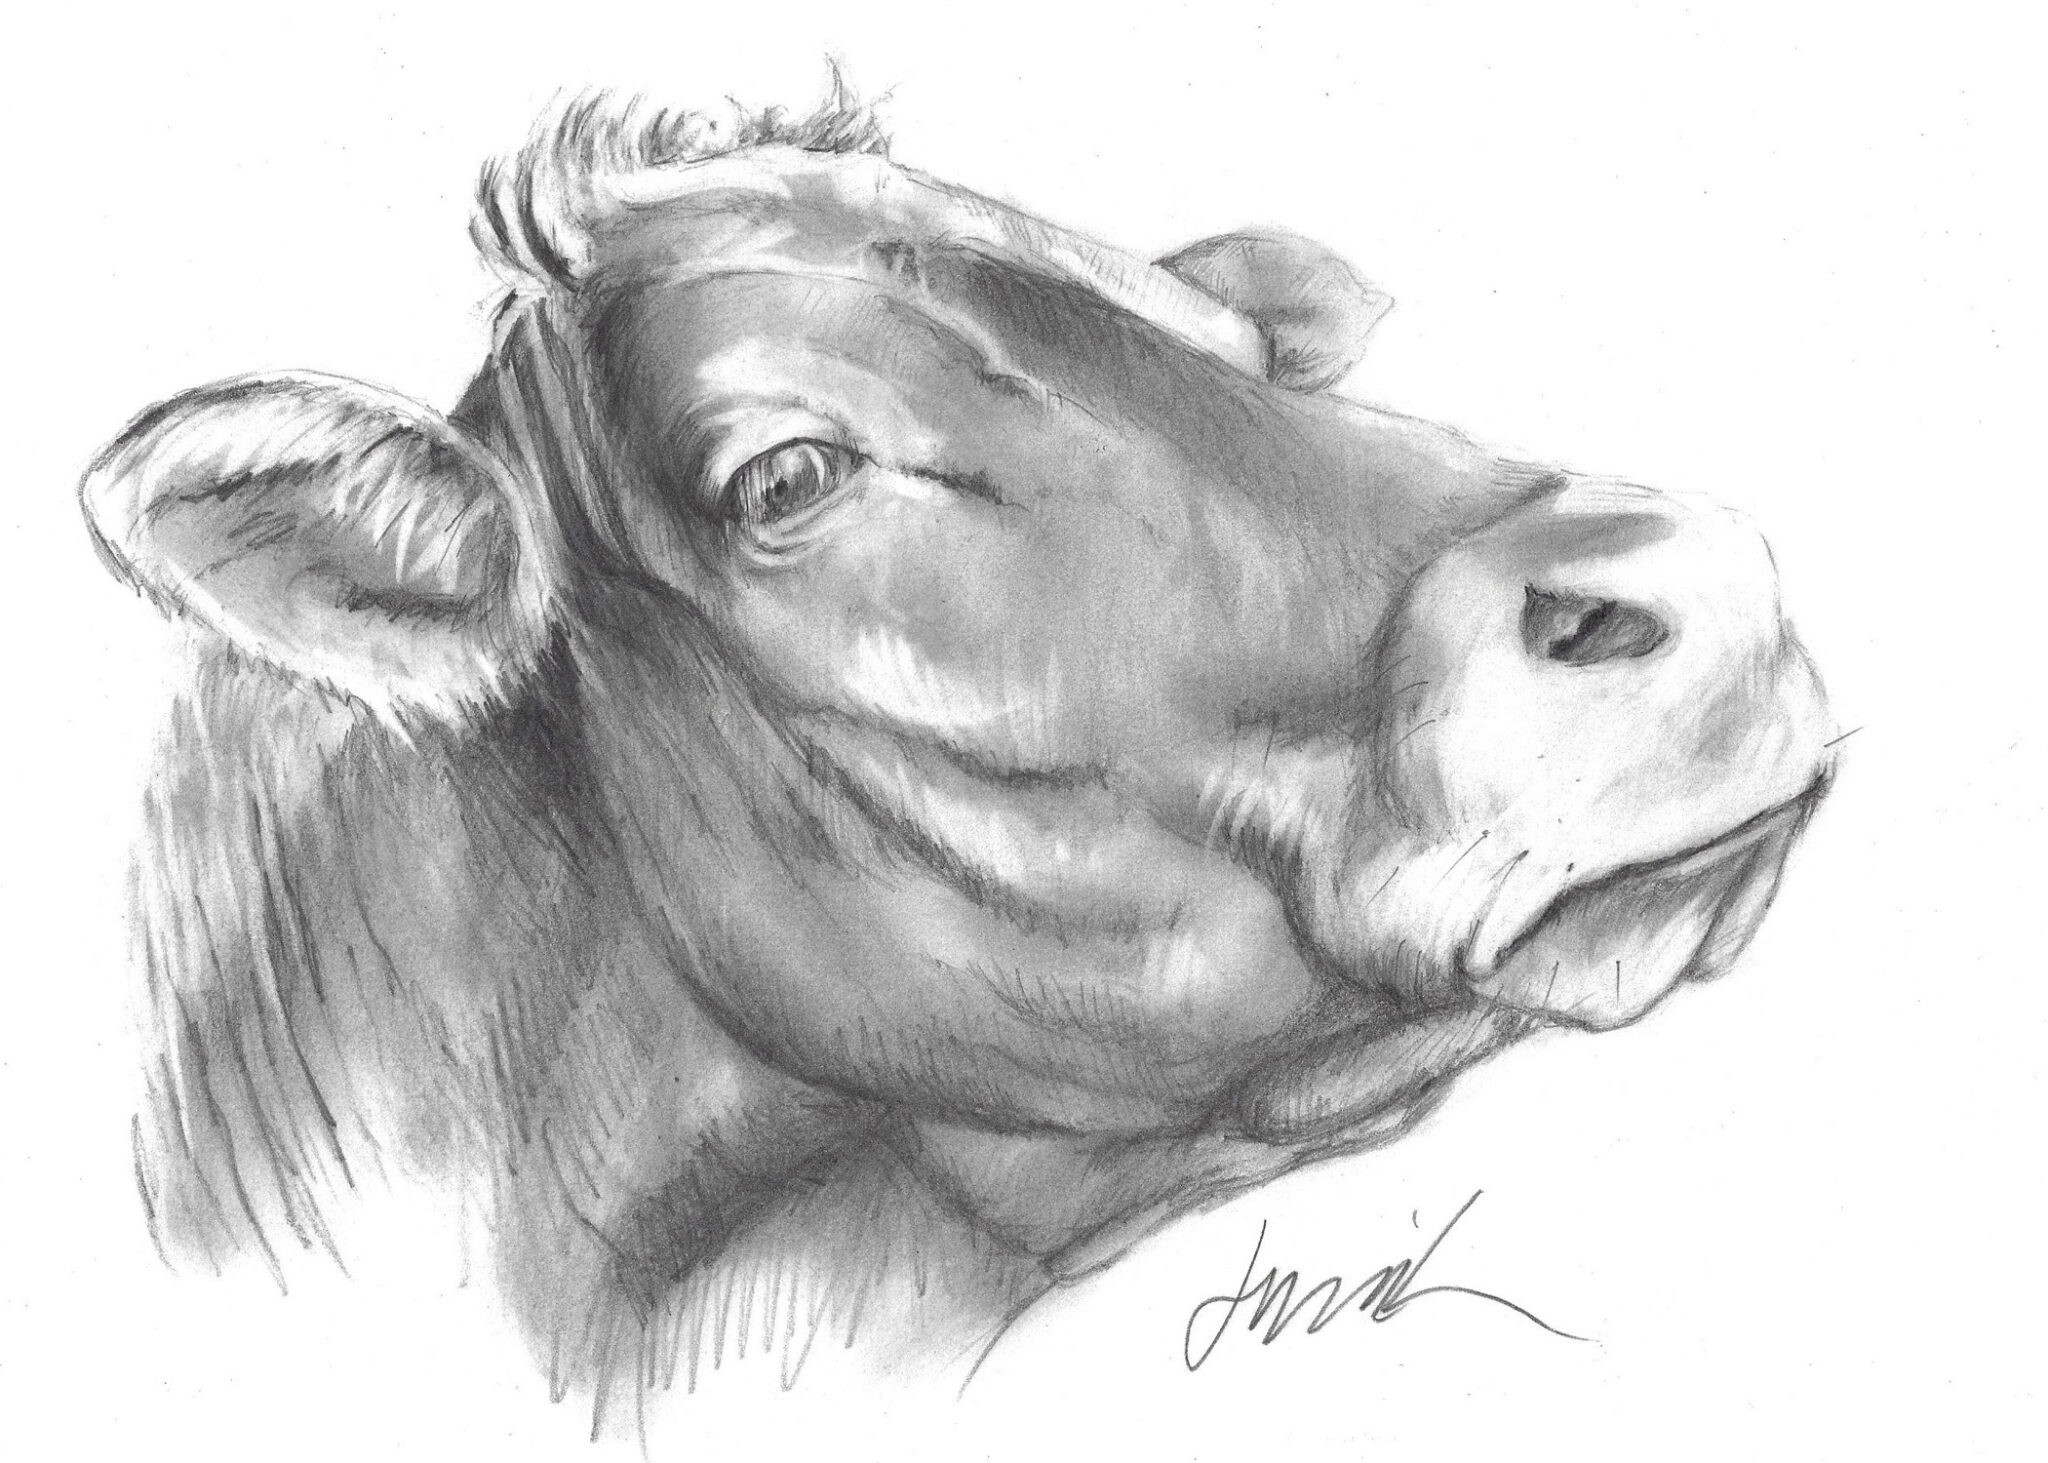 Cow – Jacki Kellum Traditional Pencil Drawing
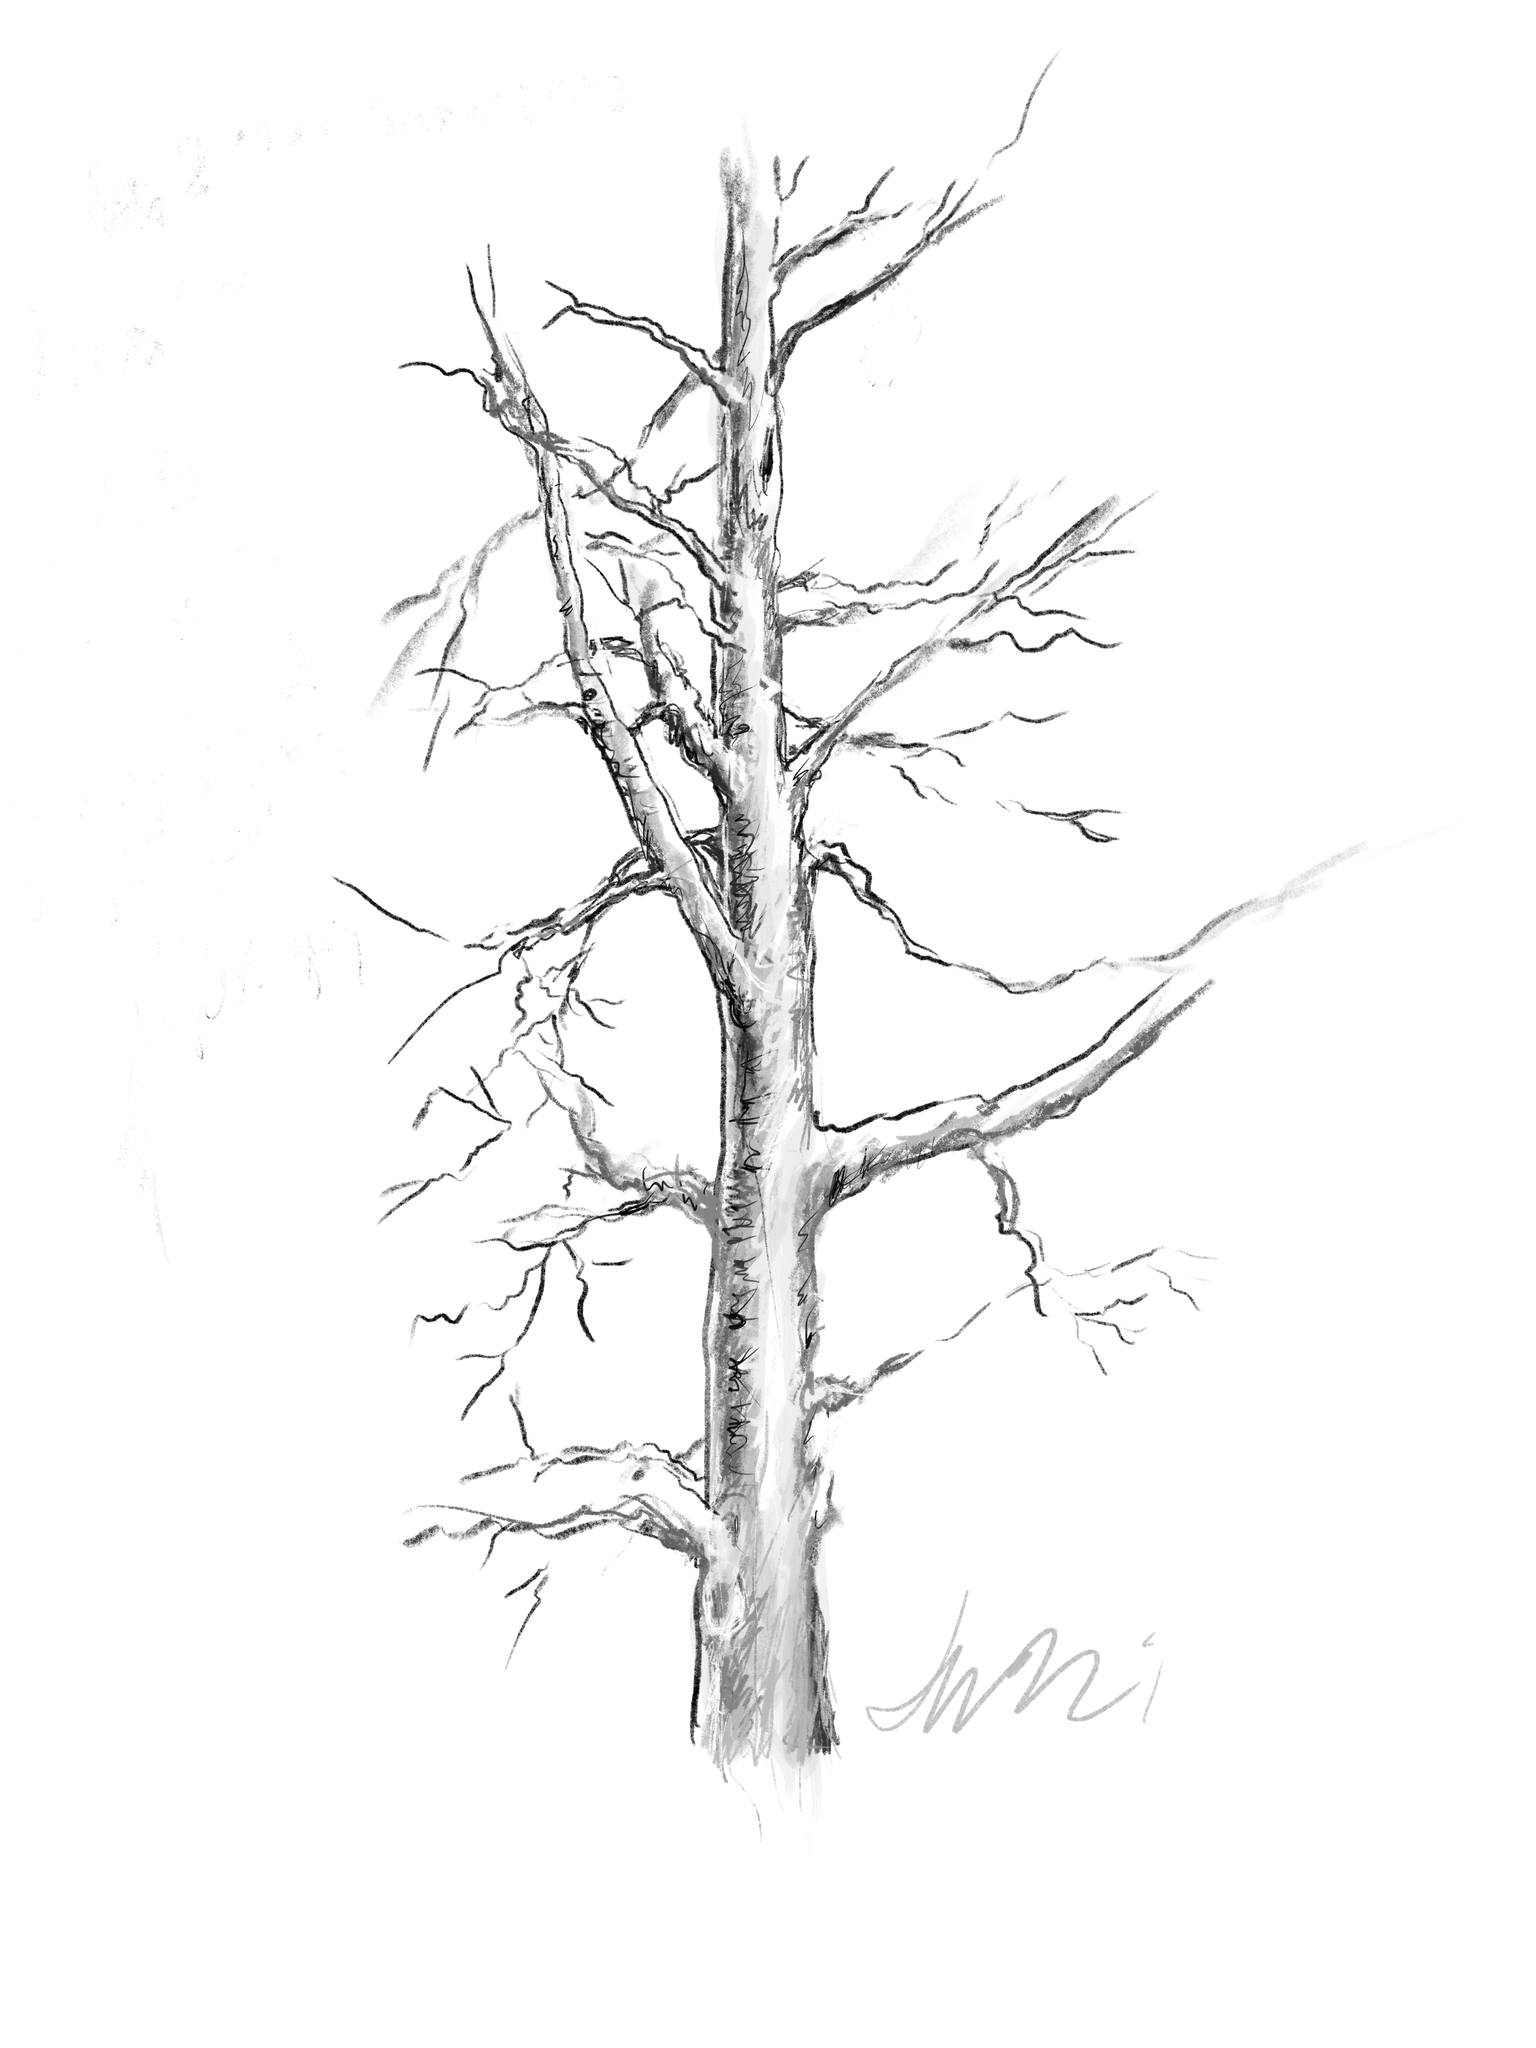 Tree – Jacki Kellum – Drawn in Procreate
As I said, you can make larger or smaller and/or darker or lighter marks by pressing the 6B procreate pencil harder or less hard, but as with all brushes, you can also reduce alter your marks with tools on the left side of your ipad.
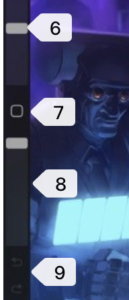
Sidebar (left side)
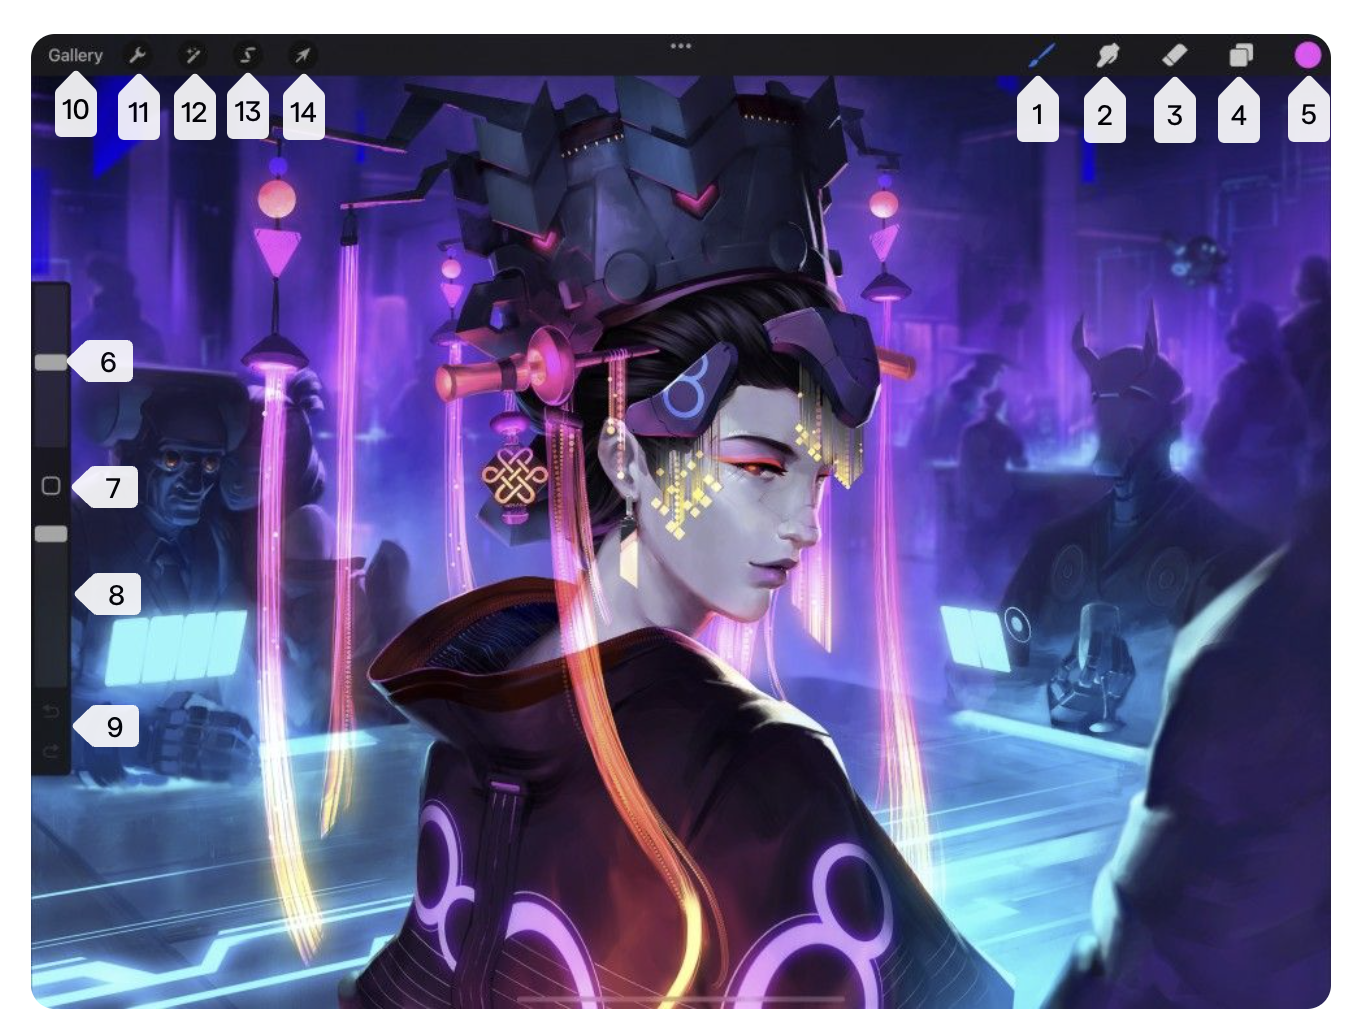
The modification tools are all accessible on the left sidebar. Use the sidebar to adjust your brush sizes and opacity. Plus access Undo, Redo and the Modify button with your free hand while you work.
Brush size Labeled 6
Increase the size of your brush tip for a thicker stroke by dragging the top slider [on the left side] up to. Make a smaller brush tip and achieve a thinner line by dragging the top slider down.
Brush opacity Labeled 8
To increase or decrease your brush opacity from transparent to solid, drag the bottom slider up or down. To more accurate opacity changes, hold the slider and drag your finger sideways. Without lifting your finger, drag up or down. Notice that the slider now moves in smaller increments.
Undo / Redo arrows Labeled 9
Tap the top arrow to Undo the last thing you did. Tap the bottom arrow to Redo it. A notification will appear at the top of the interface to let you know which action your Undo or Redo affected. You can Undo up to 250 actions.
Tap and hold either arrow to rapidly Undo/Redo multiple actions.
Discover more from Jacki Kellum
Subscribe to get the latest posts sent to your email.
