A few years ago, I painted an illustration of a ladybug in watercolor–the traditional way.
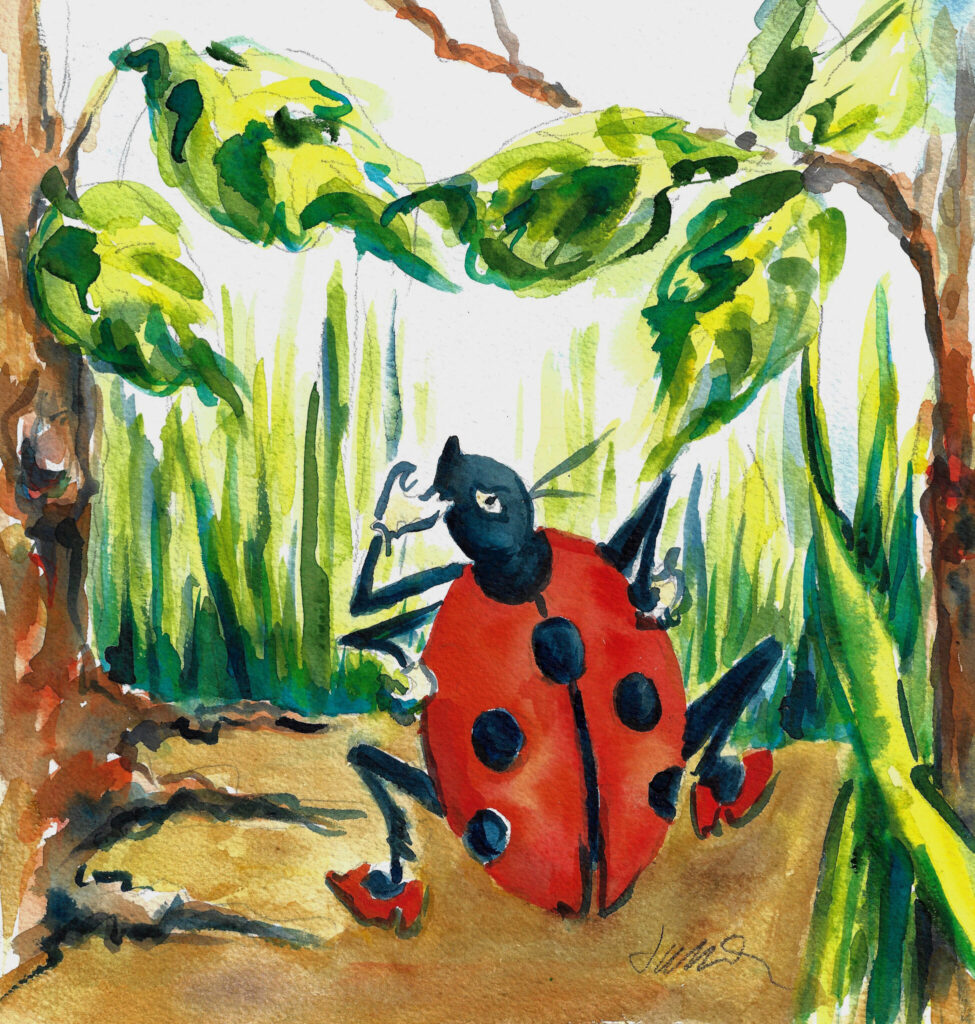
Ladybug Lou Hollers Yoo-Hoo! – Jacki Kellum Watercolor Illustration
When I studied art in college, there was no such thing as an Ipad or a painting app like Procreate. Years later, I have decided to pursue getting some of my writing for children published, and publishers seem to have a strong preference for art that is at least partially computer-created. I have finally decided to spend whatever time it takes to re-learn art, as it is created digitally. I have begun trying to step in line. This post shows how I recreated the look of my traditional watercolor painting with Procreate in Ipad Pro.
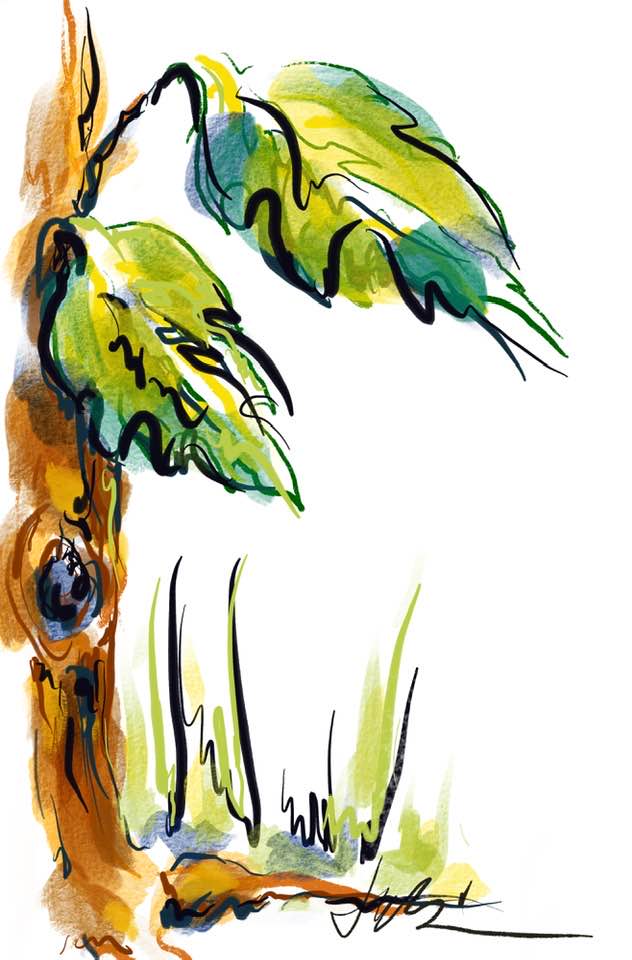
Jacki Kellum Tree Created on Procreate – July 28, 2020
If you look closely, you will see that the above tree is much like the far left side of my Ladybug Lou Illustration.
In this post, I will tell you how I created this digital piece.
First, you might like to look at the following Time-Lapse of my work. You will notice that my original watercolor is on a layer in Procreate lower than where I am working. That is one of the beauties of drawing [and tracing] via the Procreate app. Toward the end of the piece, I turned off the visibility of the original watercolor. I wanted to be able to better see what I was doing.
The greatest thing that I have learned so far about working through Procreate is that the artist has the ability to create high-resolution files that will print well.
Lids Bardot of Bardot Brushes says that on Ipad, any of the following 3 will produce images that should print well. Here
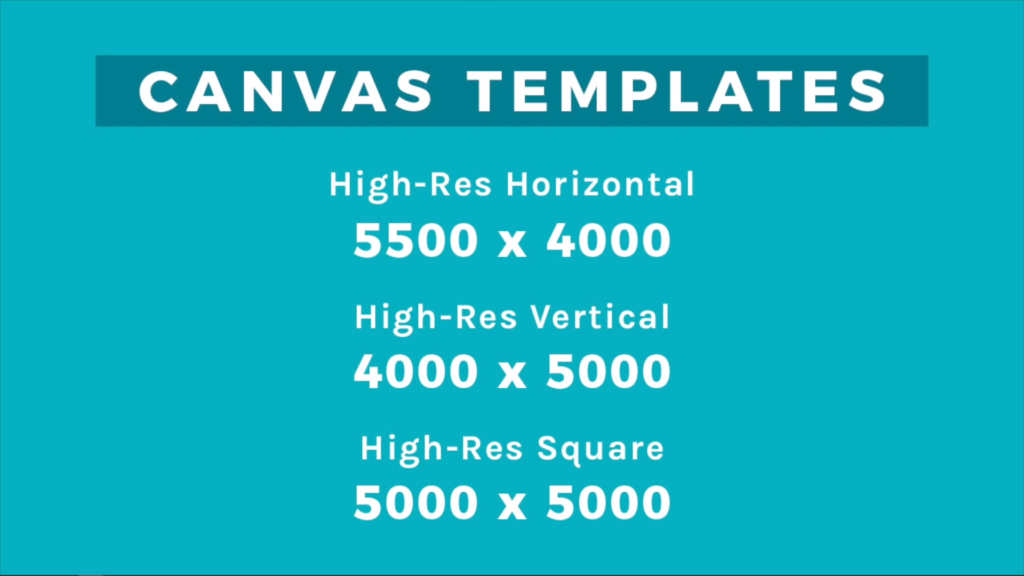
On the following video, Bardot explains how to set up a new procreate file with high resolution:
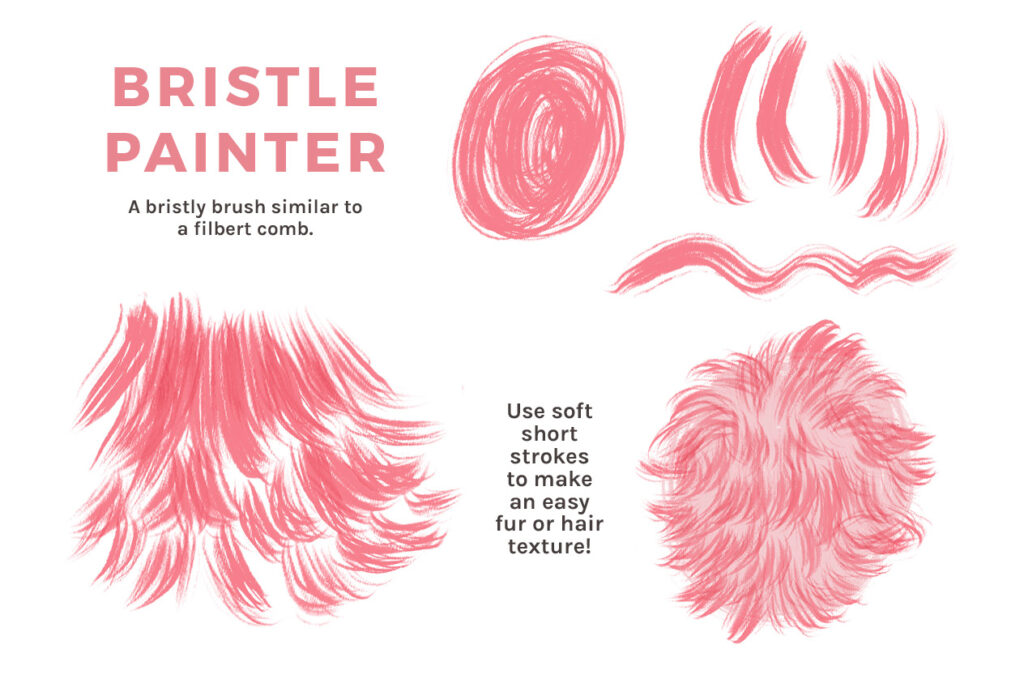
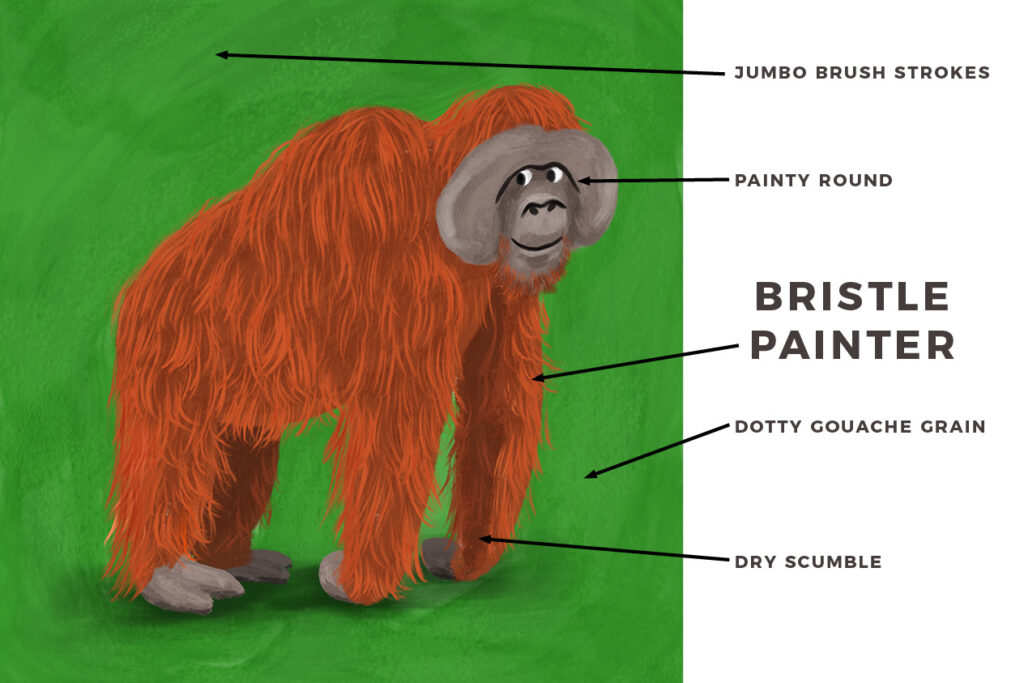
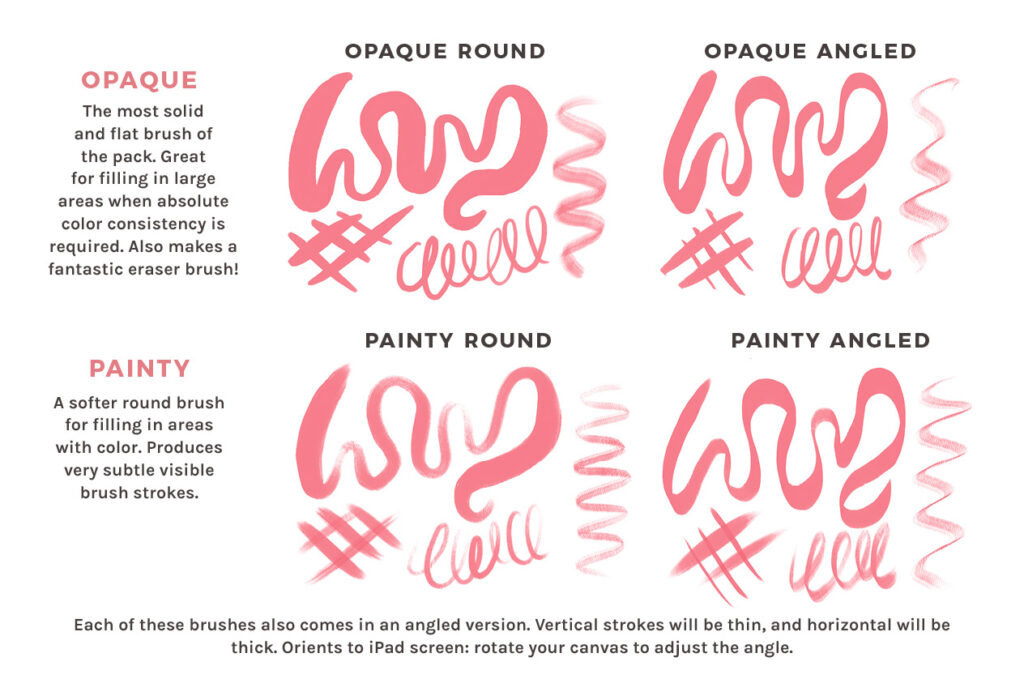
Bardot also sells a large number of brushes that she has created for people to use in Procreate. Because I have a painterly style, I like Bardot’s set of brushes that she calls the Gouache Paintbox. Here
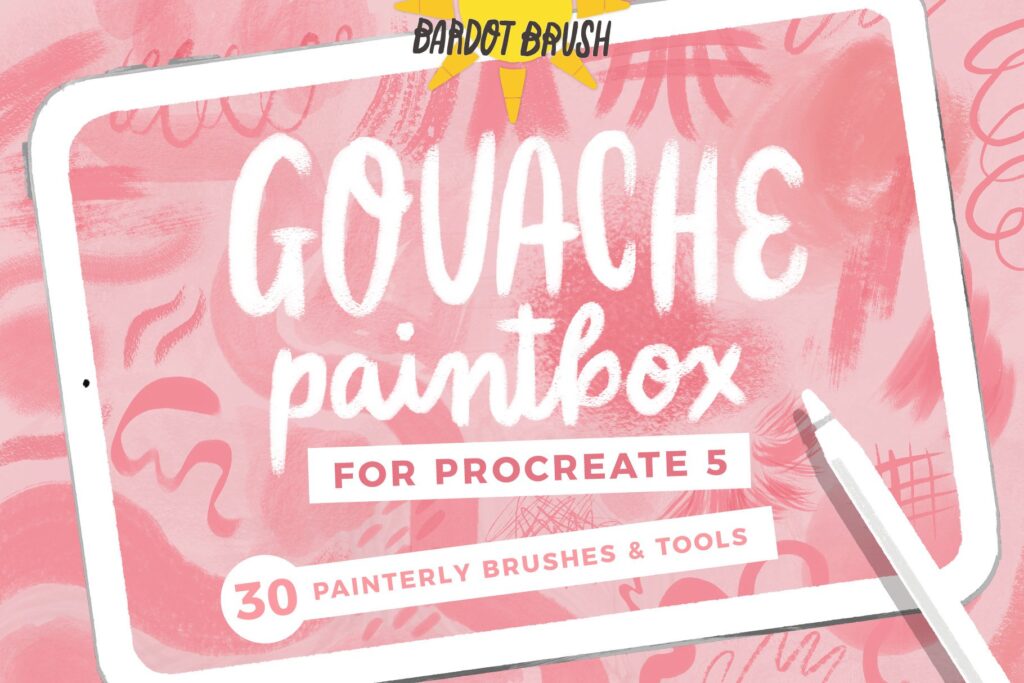
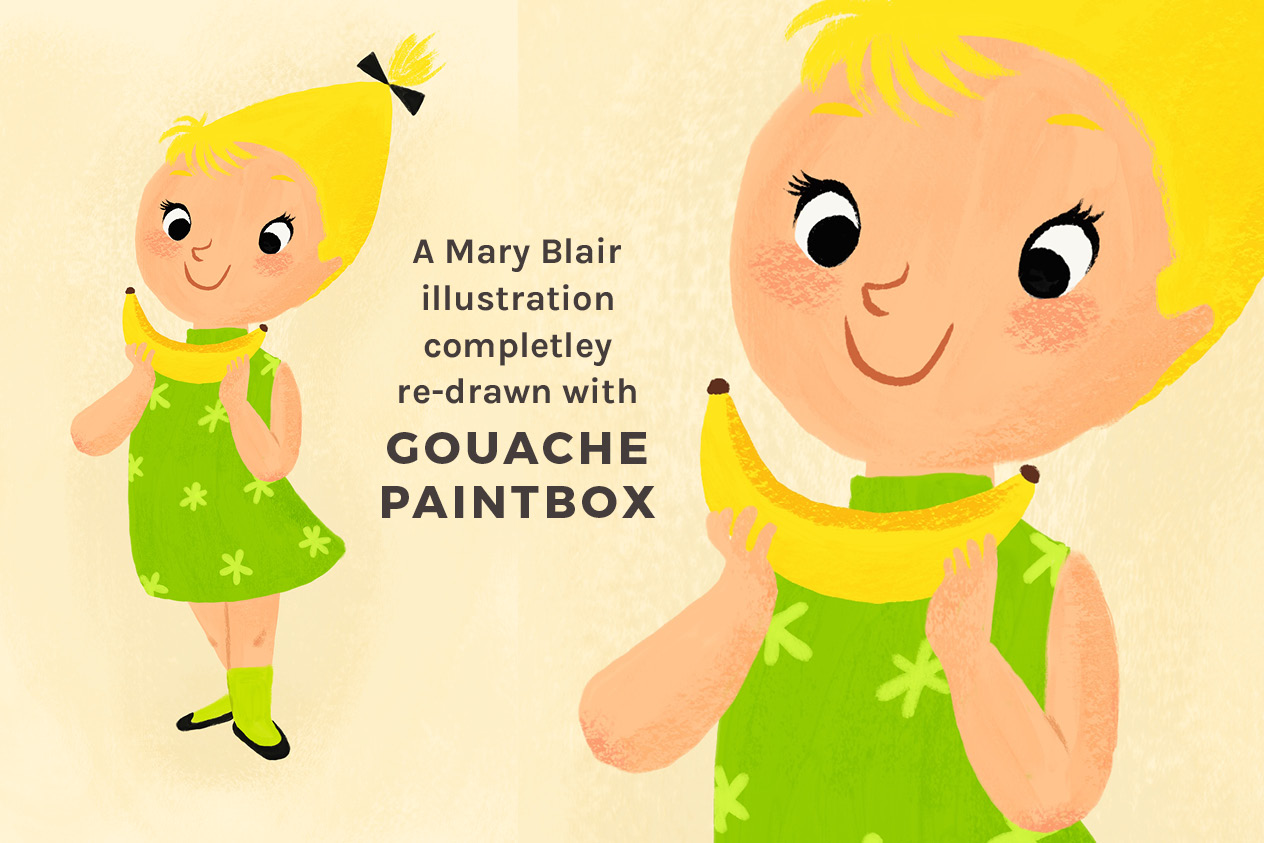
Having always been in love with the artistic style of Mary Blair and other midcentury illustrators and artists, I created this set of gouache brushes to replicate that unique style.
These illustration brushes feature loads of randomized texture to give the effect of real gouache paint on a brush.
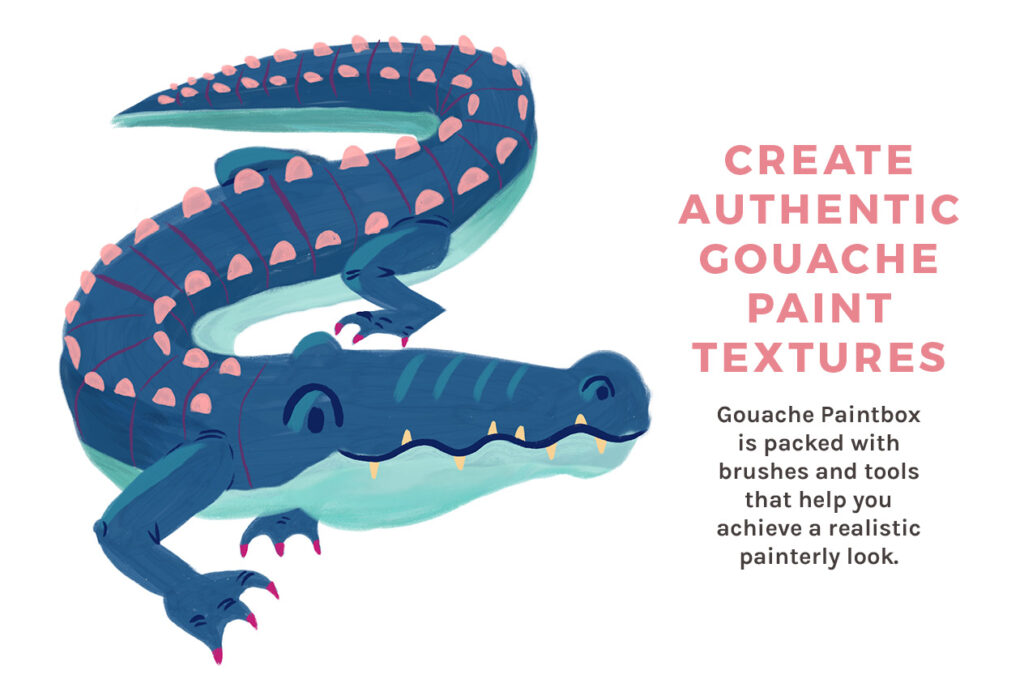
“Brushes have built-in inconsistencies, resulting in a very natural, hand-painted look. This set is packed with unique tools to produce a realistic painterly look, with realistic grain texture and visible brush strokes. They have been optimized for use with the Apple Pencil, with special sensitivities to pressure and tilt. Each brush produces it’s own very unique look and you can create endless different marks and brush strokes with each individual brush. These brushes are some of the most versatile Procreate tools available and are perfect for illustration, art, and hand-lettering.” Here
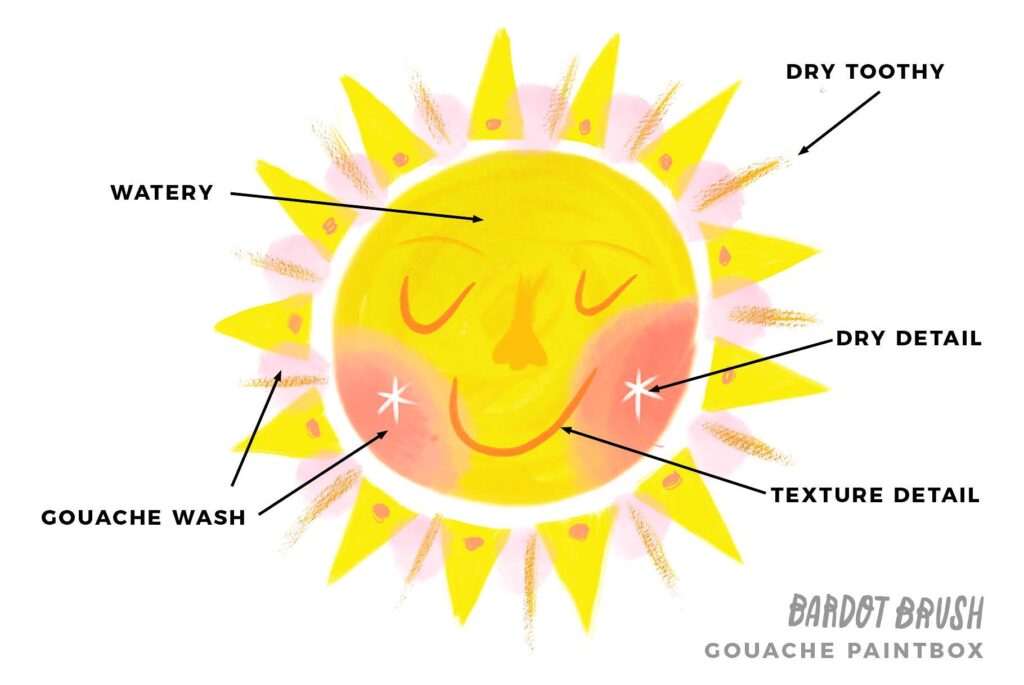
I painted most of the lines that you see with the Gouache Paintbox Brush Opaque Round.
I used several layers, and after I had outlined the drawing, I began to flood the area with a watercolor-type brush. I used Gouache Wash for that.
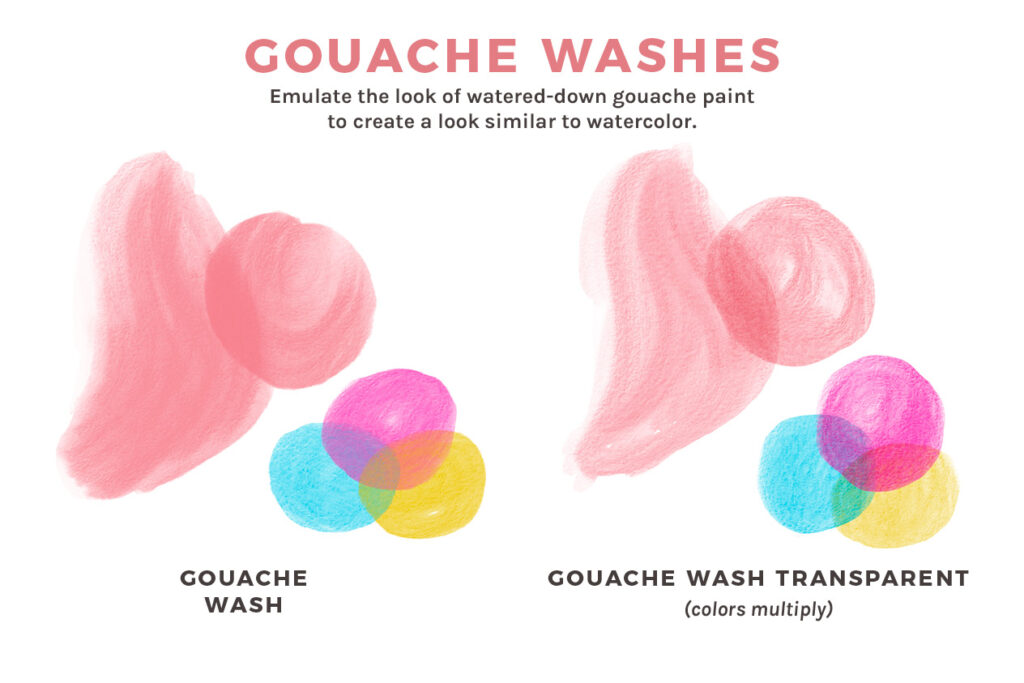
After I laid in the washes, I went back and did a bit more calligraphic outlining, and I used the Gouache Paintbox Brush Opaque Round brushed again.
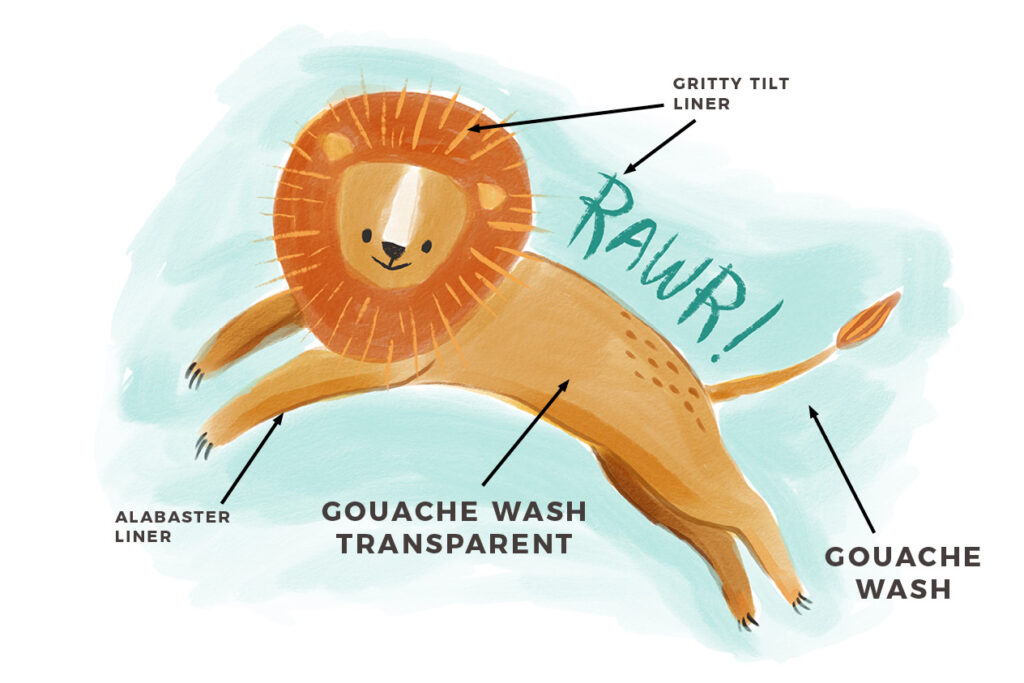
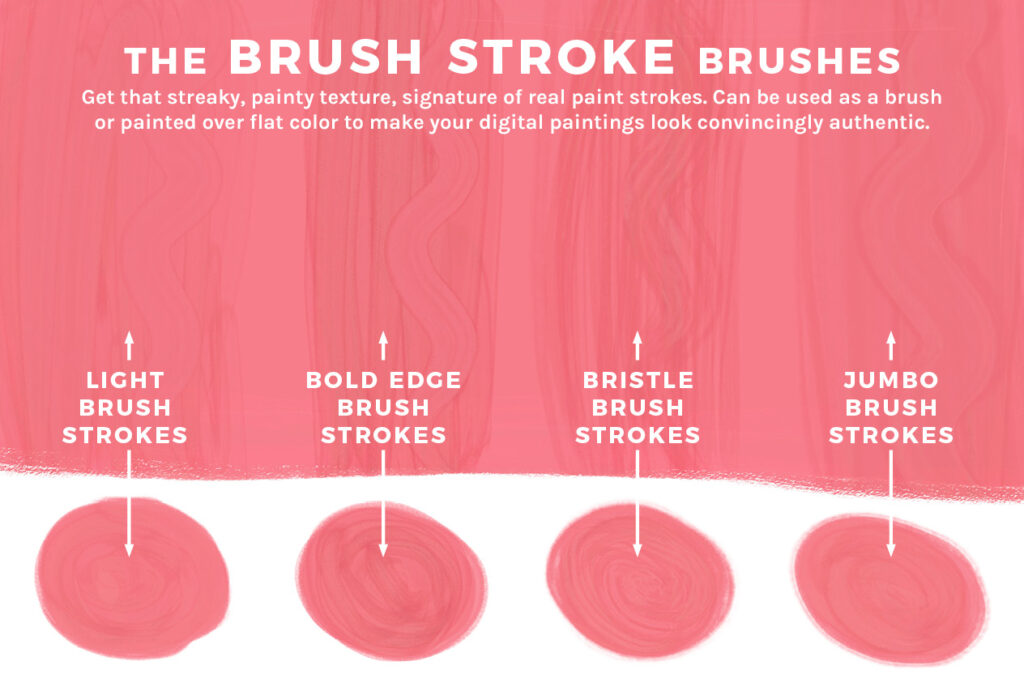
I wish now that I had used the brushes from the Gouache Paintbox panel that are labeled as Brush Strokes. I could have achieved an even more painterly effect that way.
At the end, I used the Gouache Paintbox Brush Pencil to sign the piece.
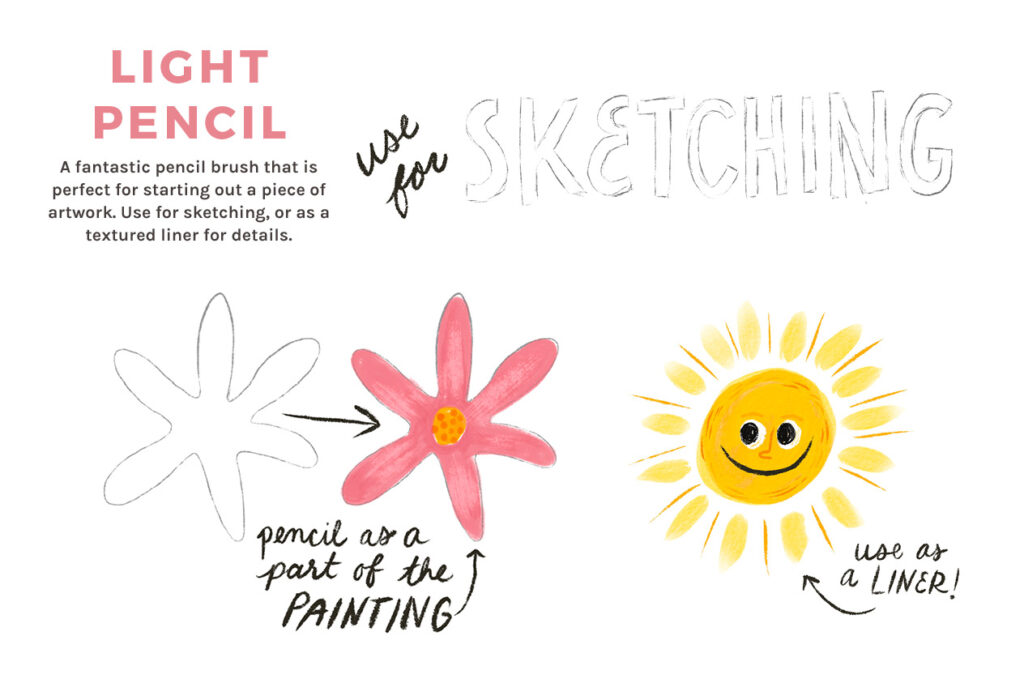
I could have also used one of Gouache Paintbox Liner Brushes. The Detail Liner Brush looks good for that.
My tree piece is not perfect. Ultimately, I’ll use clilpping masks and layer masks with my work, but at this time, I am playing with the brushes.
I did not use the Gouache Paintbox Bristle Brushes or the Textures. I’ll try that soon.
