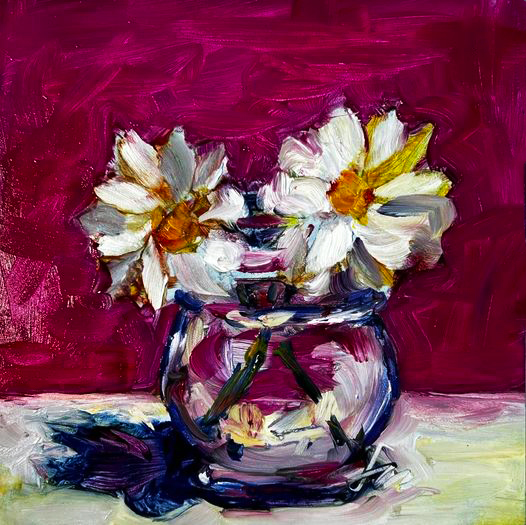
2 Daisies in a Jelly Jar – Jacki Kellum Oil on Panel
#stradaeasel Challenge Day 10
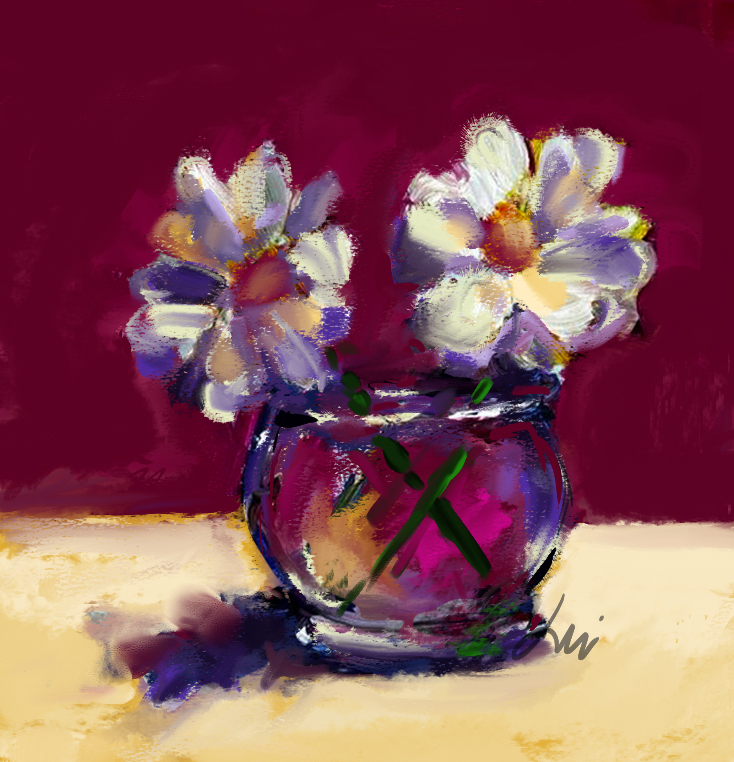
2 Daisies in a Jelly Jar – Jacki Kellum Digital Painting Created on Wacom Cintiq 16
#stradaeasel Challenge Day 12
Beginning on January 1, 2023, I jumped into the Strada Easel Challenge for 2023. For the previous 2 years, I had occupied myself with my debut picture book The Donkey’s Song, and I had neglected my art. By the time January of 2023 rolled around, I was hungry to do some art, and the Strada Easel Challenge was what I needed to get my juices flowing again.
Most of my paints had dried, and I needed to order new paints. For that reason, I began the challenge by doing a series of contour drawings. That was a great way to get my juices flowing again. Plus, it helped me to re-train my eye.
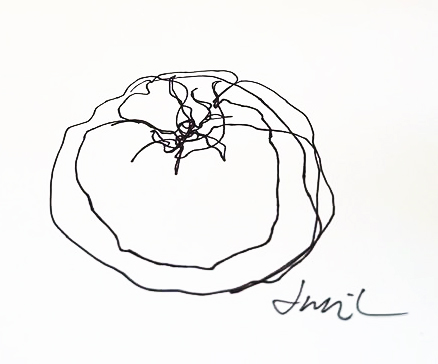
Jacki Kellum Contour Drawing Tomato – Day 1

Jacki Kellum Contour Drawing + Watercolor Wash – Yellow Pepper
Day 2

The rule for the Strada Easel Challenge is that all entries must be drawn from life. In the above photo, you see how I light my still life in my studio.

Jacki Kellum Contour Drawing Rose
Day 3

I Began Day 4 by Drawing a Closed Sunflower in a Bottle

Jacki Kellum Contour Drawing – Closed Sunflower
Day 4
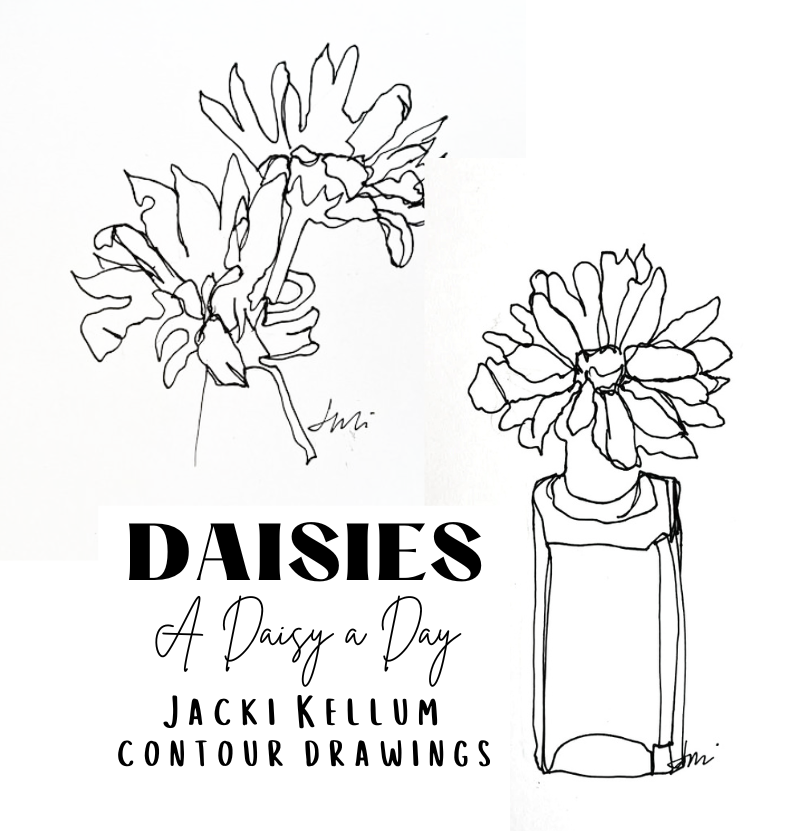
On Day 5, I began drawing and painting daisies. That was one of the best decisions I have made.

Jacki Kellum Contour Drawing – Daisy in a Bottle
Day 5
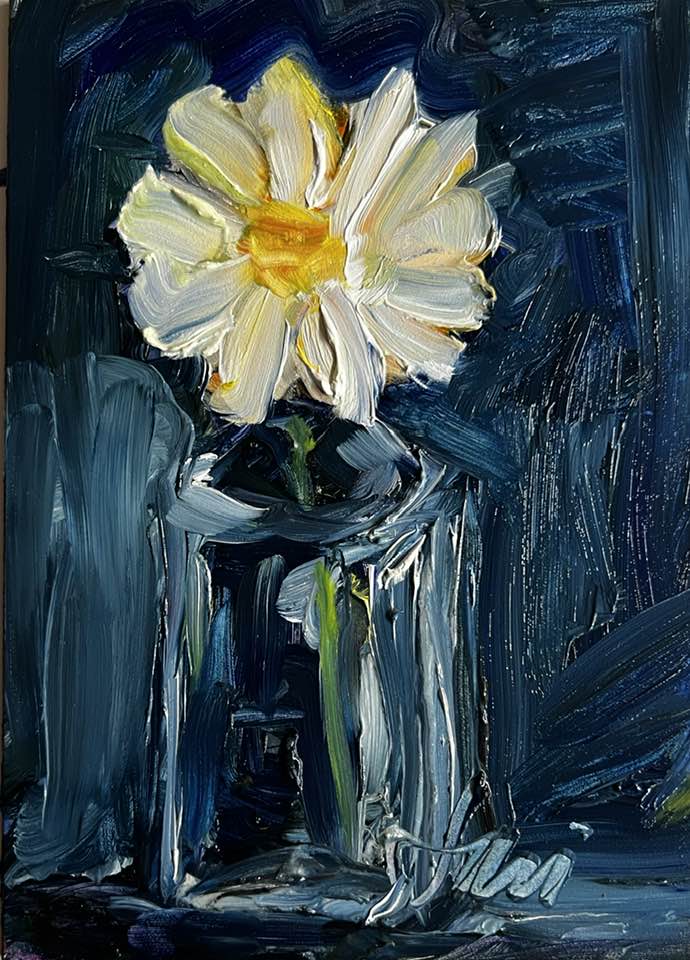
Jacki Kellum Oil Painting – Daisy in a Bottle
Day 6
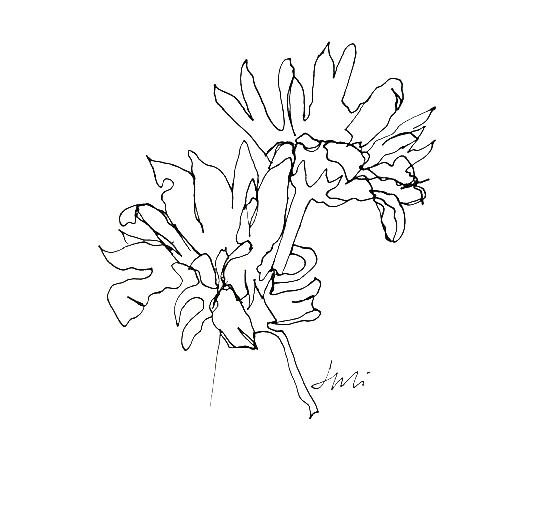
Jacki Kellum Contour Drawing – 2 Daisies in a Bottle
Day 7
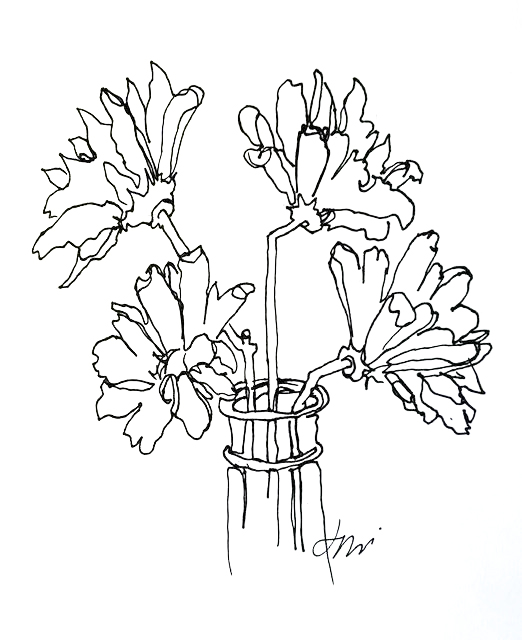
Jacki Kellum Contour Drawing – 4 Daisies in a Bottle
Day 8

Jacki Kellum Oil Painting on Panel – 4 Daisies in a Bottle
Day 9
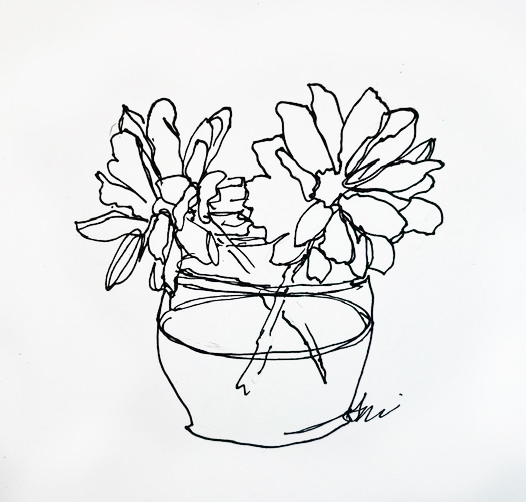
Jacki Kellum Contour Drawing – 2 Daisies in a Jelly Jar
Day 10
This is not a great contour drawing, but it sparked several pieces that I did subsequently.\

Jacki Kellum Contour Drawing – 2 Daisies in a Jelly Jar
Day 10
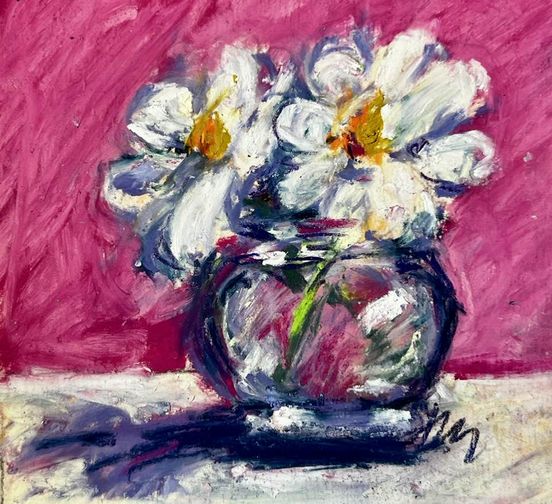
Jacki Kellum Pastel – 2 Daisies in a Jelly Jar
Day 11
Sennelier Soft Pastels
UArt Sanded Pastel Paper
For my own future reference, I am listing the pastels that I used and in what order.
- [White] – Gray #523
- [Lavender] Blue Violet – #333
- Madder Carmine – #380
- [Dark Yellow] Cadmium Yellow Deep – # 613
- [Lavender] Blue Violet – #334
- [Lavender] Blue Violet – #335
- [Dark Indigo-Like Blue] Intense Blue – #467
- [Dark Indigo-Like Blue] Intense Blue – #465
- [Light Yellow] Naples Yellow – #103
- Madder Carmine – #384
- Madder Carmine – #383
- Very Dark Green
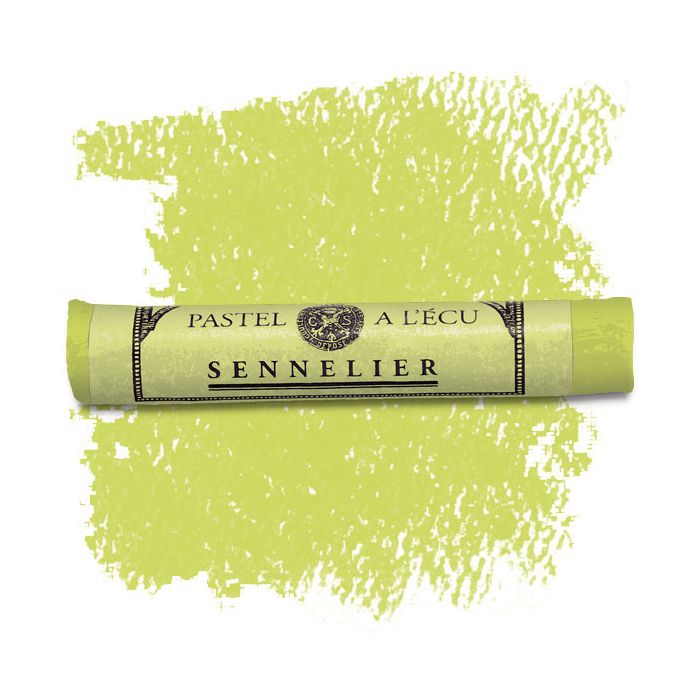
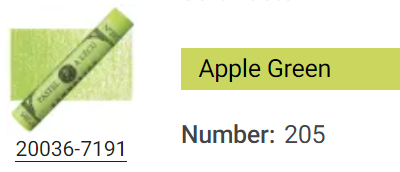
- [Light Lime-Like Green] Apple Green – #205

Gray #103 – Intense White Almost White

Naples Yellow – #103
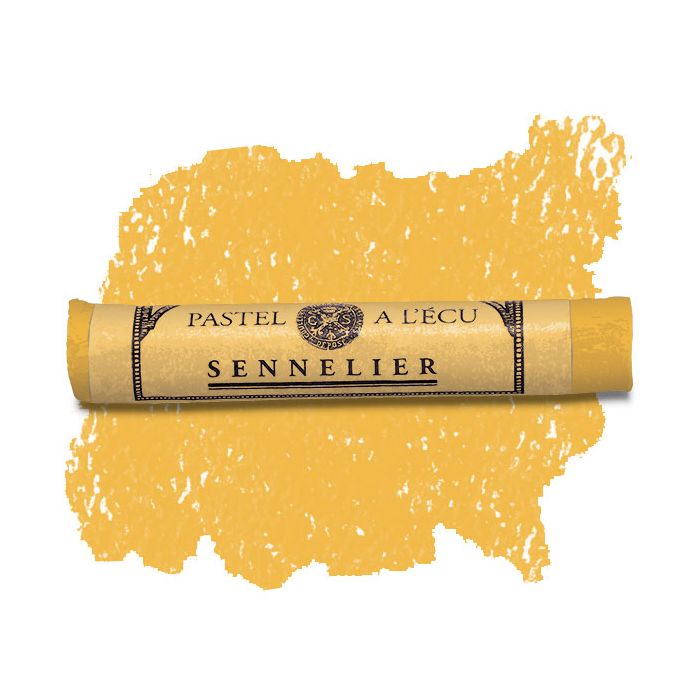
Cadmium Yellow Deep #610
 O
O
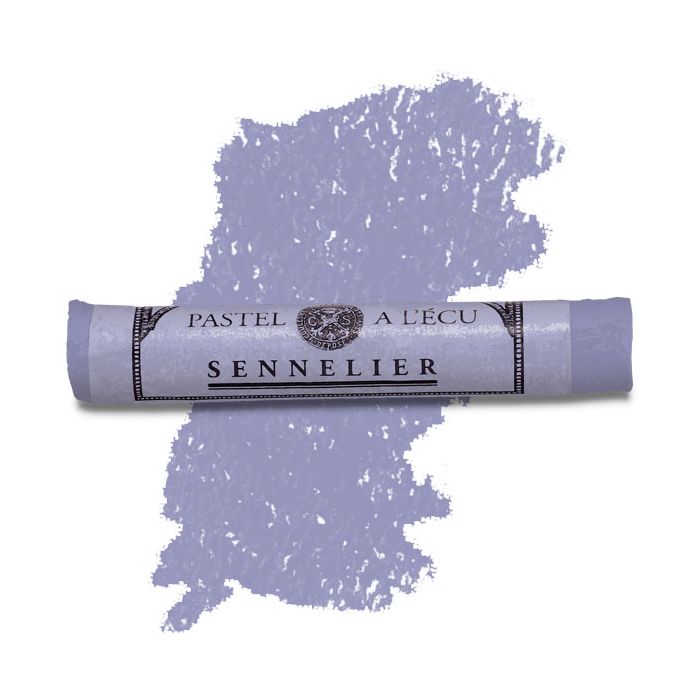
Blue Violet #333
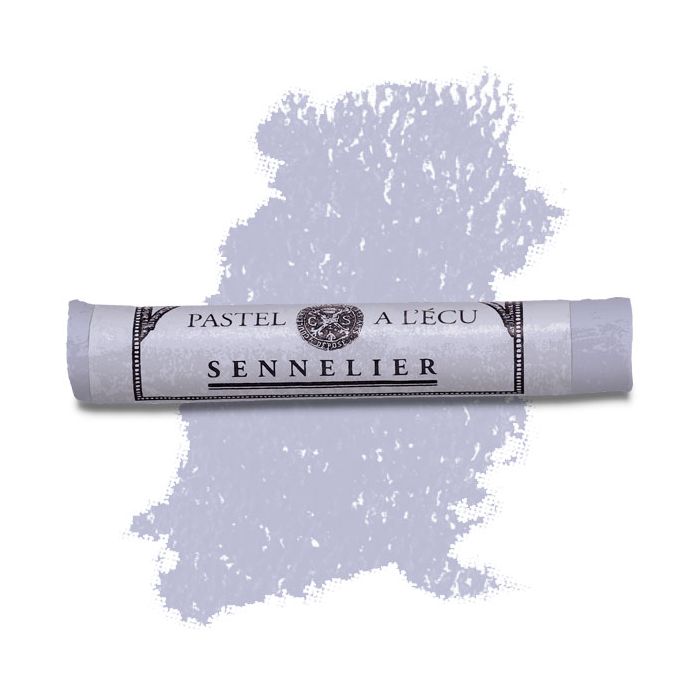
Blue Violet #334
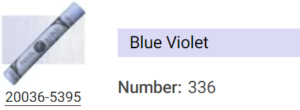
Blue Violet #336
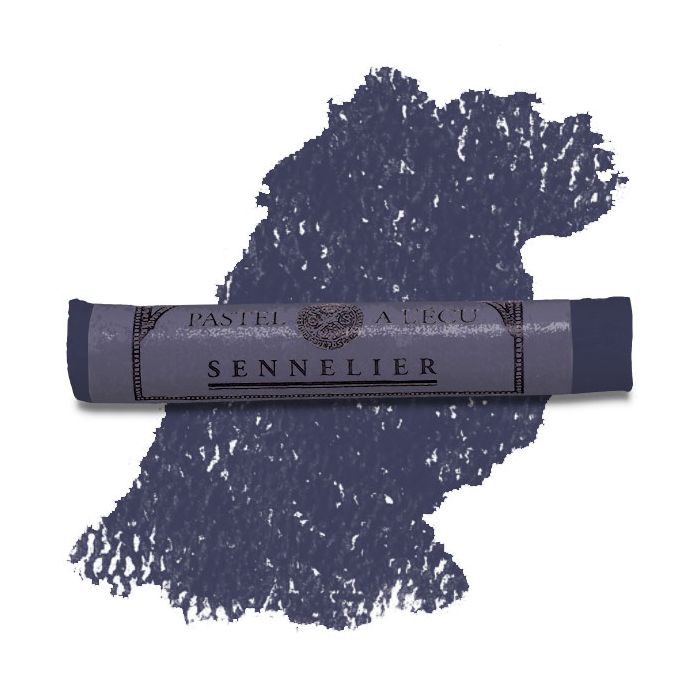
Intense Blue -#465
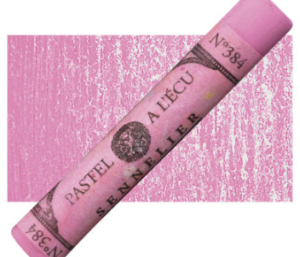
Madder Carmine #384

Madder Carmine #383
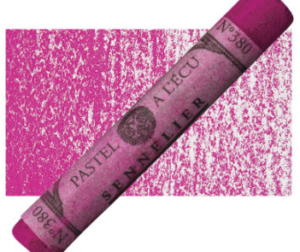
Madder Carmine #380
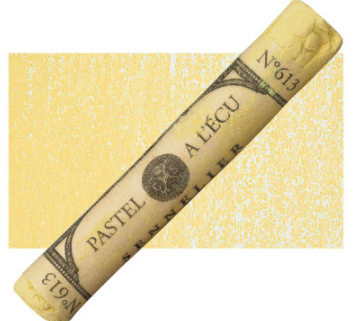
Cadmium Yellow Deep #613
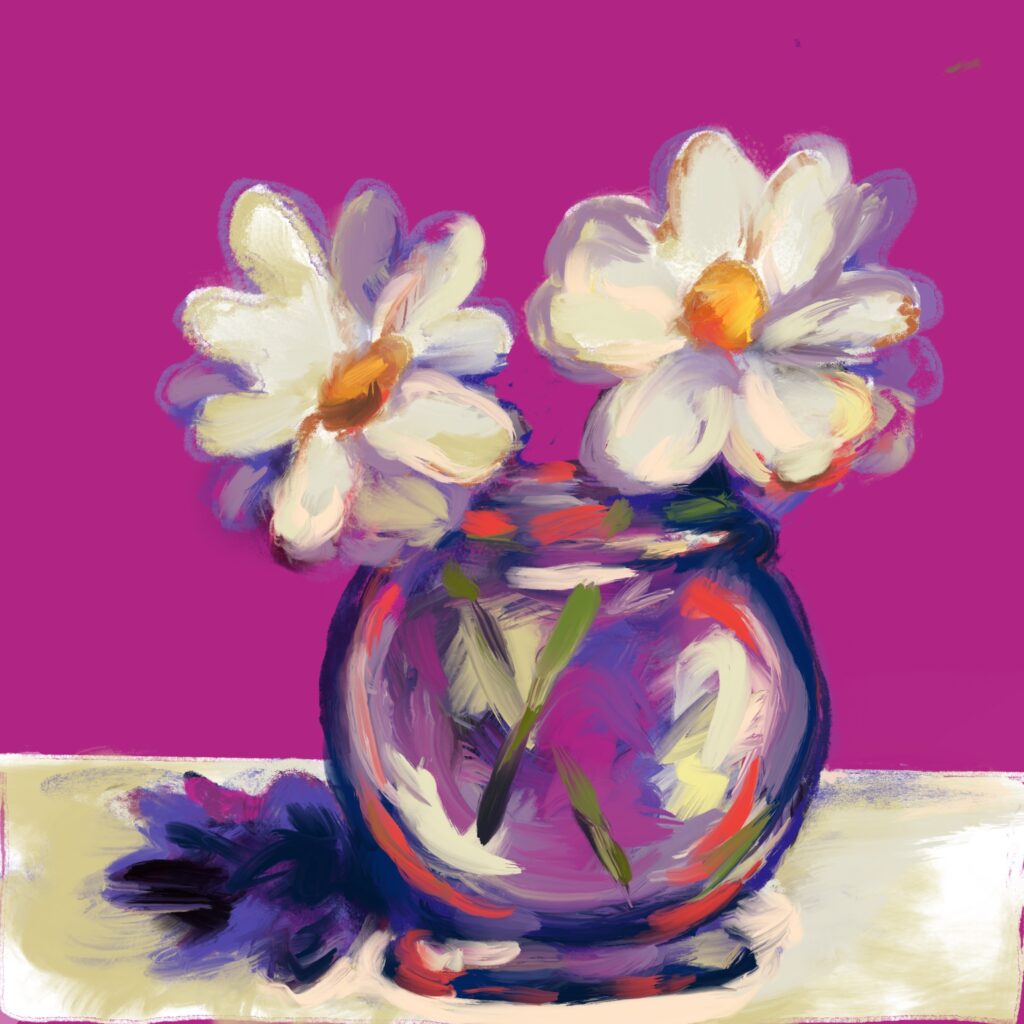
Jacki Kellum Digital Painting Done in Procreate – 2 Daisies in a Jelly Jar
Day 11
For my own reference, I’ll try to tell how I created the above Digital Painting.
- I uploaded my pastel drawing
- I created the pink background layer.
- I created a white table area above the pink background.
- In another layer, I created the lavender shaded flowers
- In a layer above that, I created the white highlight flowers
- In a layer above that, I created the yellow centers,
- In a new layer, I painted over the entire piece with oil brushes.
Note: I drew steps 1 – 6 in a #6B pencil, and I filled some shapes.
In step #7, I painted with a Procreate Oil Brush.
Note: I’m not 100% pleased with this Procreate Painting, but it is a step toward my hope to learn to paint better on procreate.

2 Daisies in a Jelly Jar – Jacki Kellum Digital Painting Created on Wacom Cintiq 16
#stradaeasel Challenge Day 12
I am much happier with the above painting created on my Wacom Cintiq 16 than I was with the one I created on my Ipad with Procreate. I do not blame Procreate. I have just begun my earnest endeavor to learn how to paint digitally. Part of the latter piece’s success is because I gained a bit of experience with my efforts with the former.
But the biggest difference is that I tried to create the Procreate painting while I was away from my studio. I thought that my sketches from the previous days would be enough,
It wasn’t.
I created the Wacom Cintiq painting in my studio. For that painting, I actually worked from life,
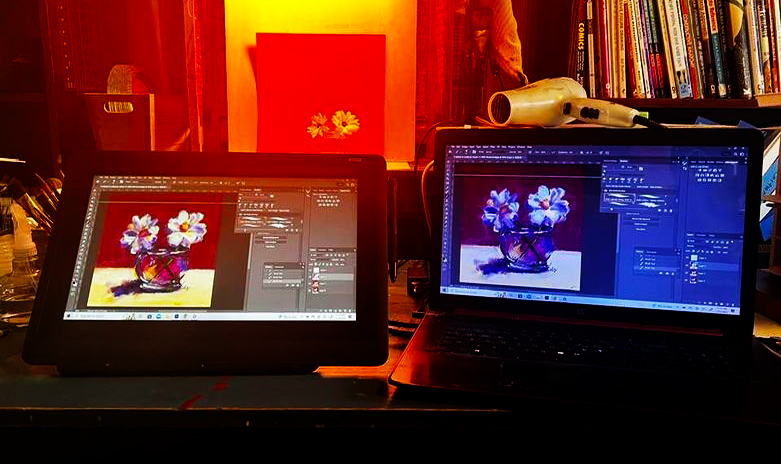
Even while creating digital art, life studies are essential.
For my own future reference, I am listing the digital bushes that I used and in what order.
I began by uploading my actual oil painting of the same subject.
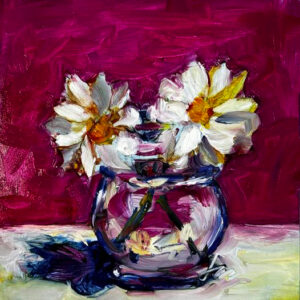
- I created a layer above the oil painting’s layer, and I completed most of the painting on that layer, and I used Kyle’s Real Oil Painting Brush for most of the painting. When the paint was too heavy and gooey, I erased some of the paint and re-painted the area.
- When I needed some precision, I used Kyle’s Ultimate Inking Brush.
- When I needed some blending, I used Kyle’s Impressionistic Blender.
- To help blend, I reduced the opacity of several of the colors.
Discover more from Jacki Kellum
Subscribe to get the latest posts sent to your email.