
1. Paint
JUMP TO: 00:00 Introduction
01:11 Painting Tools
03:28 Color
04:31 Gestures
07:34 Layers
08:14 Add Layers
15:25 Share your Art
Painting Tools (top right)
On the top right menu bar you’ll find everything you need to get started. Paint, smudge, erase, create layers of artwork, and choose colors.
1. Paint
Sketch, ink and paint with hundreds of smooth and versatile brushes. Organize your Brush Library, import custom brushes, or share your own unique brush creations.
2. Smudge
Blend your artwork and mix colors, and use the versatile Brush Library to achieve a range of effects.
3. Erase
Fix mistakes and make fine adjustments with the Eraser. Access the Brush Library to match your eraser to the style of your art.
4. Layers
Layers let you paint overlapping objects without altering work you’ve already done. Layers let you move, edit, recolor and delete individual elements.
5. Color
Select, adjust, and harmonize the color in your creation. Do this using various interface options to suit your workflow. Save, import and share palettes, plus drag and drop color into your art.
After you have selected or created a canvas, you can choose a drawing tool by clicking on the brushes icon: [marked 1 on the above image.
The Brush Tool will Open the Brushes [and pens & pencils in your procreate app:

More about the Brushes Later, but Procreate provides numerous free brushes, but you can add more brushes later.
There are several brushes beneath each set of brushes.
The 6B Pencil

I sketch most of my projects with the 6B pencil, which is included in the Sketching pencils. The 6B Pencil is pressure-sensitive.

Sidebar (left side)
The modification tools are all accessible on the left sidebar. Use the sidebar to adjust your brush sizes and opacity. Plus access Undo, Redo and the Modify button with your free hand while you work.
Increase the size of your brush tip for a thicker stroke by dragging the top slider [on the left side] up to. Make a smaller brush tip and achieve a thinner line by dragging the top slider down.

To make bigger adjustments, tap anywhere along the slider to jump to that point.
To make finer adjustments, hold the slider and drag your finger sideways. Without lifting your finger, drag up or down. Notice that the slider now moves in smaller increments.
Tap the square Modify button on the sidebar to bring up the Eyedropper . This allows you to pick colors straight from your artwork. Slide the eyedropper over a color you want to pick and release your finger to select it.
You can also hold the Modify button and tap anywhere to select a color with the Eyedropper.
You can also reprogrammed the Modify button to trigger other tools. This allows you to create your own customized shortcuts. See Gesture Controls to learn more.

To increase or decrease your brush opacity from transparent to solid, drag the bottom slider up or down. To more accurate opacity changes, hold the slider and drag your finger sideways. Without lifting your finger, drag up or down. Notice that the slider now moves in smaller increments.
Tap the top arrow to Undo the last thing you did. Tap the bottom arrow to Redo it. A notification will appear at the top of the interface to let you know which action your Undo or Redo affected. You can Undo up to 250 actions.
Tap and hold either arrow to rapidly Undo/Redo multiple actions.
Color Menu
- Active Color Button
- Active Color
- Secondary Color
- Color Disc
- History
Discover the Color Disc — a fresh way to choose the perfect hue and control color saturation.
1. Choose a Color
On the right hand side of the top menu, you’ll see the Active Color. Tap it to open the Color Panel. By default, the Color Panel shows Procreate’s Color Disc. [But if you do not open in the color disc, you can selecte it from one of the color access menus below the colors panel:
Procreate offers multiple color interfaces tailored to suit the way you work, giving you a variety of ways to choose, save, and adjust colors.
Color Panel
The Color Panel is where you choose, modify, and save colors.
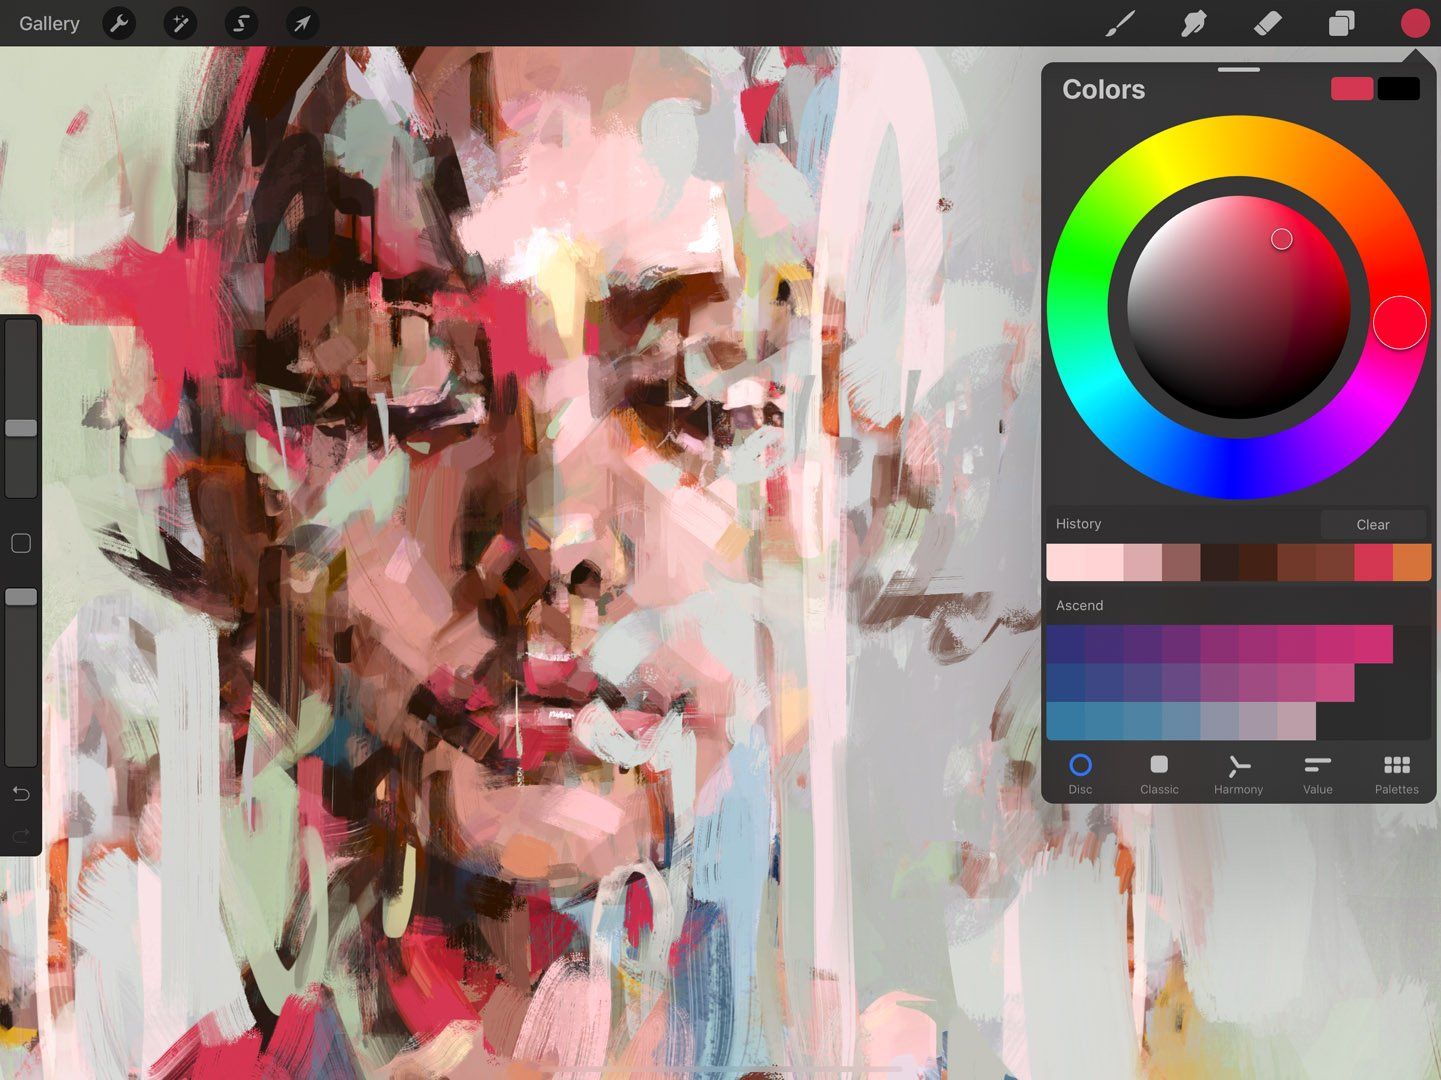

1. Color Button – Show Current Color
Tap the Color Button to open the Color Panel.
2. Active Color
In the top right corner of the Color Panel, a pair of side by side rectangles display your active color (left) and secondary color (right).
3. Secondary Color
Learn more about using a secondary color in Color Dynamics .5
5. History
The History section displays the last ten colors you’ve used.
When you first open a new document, the History section is empty. Colors are added automatically as you select them, until the ten most recent colors are displayed. Each new color chosen after that point will bump the oldest color off the grid.
The History can be found in the Color Panel on the Disc, Classic, Harmony, and Value tabs.
Tap Clear to wipe the History clean.
Compatibility
History is available on all iPad Pros, excluding the iPad Pro 9.7″.
Default Palette
At the bottom of the Color Panel, the current default palette is displayed.
The Default Palette can be found at the bottom of the Color Panel on the Disc, Classic, Harmony, and Value tabs. It can also be seen on the Palettes tab.
You can change the Default Palette on the Palettes tab.
Learn more about Palettes
.
7. Color Disc / Classic / Harmony / Value / Palettes
Procreate offers a number of different ways to explore and select new colors.
When you first open the Color Panel, you see the Color Disc by default. The below options are explored more fully in the Handbook sections to follow.
Color Disc offers an outer Hue ring around an inner zoomable Saturation disc, allowing for fine touch control over your color selection.
Classic presents a traditional take on color selection, offering Hue / Saturation / Brightness sliders combined with a standard square color picker.
Harmony gives you pleasing color suggestions based on your currently selected shade.
Value offers precision sliders along with numerical and hexadecimal values for exact color matching.
Palettes gives you access to sets of color swatches. Procreate includes several standard palettes. You can also import palettes, and create your own. The current Default palette is displayed at the bottom of each of the above Color Panel modes.
You can quickly switch to any of the above modes using the tabs at the bottom of the Color Panel.
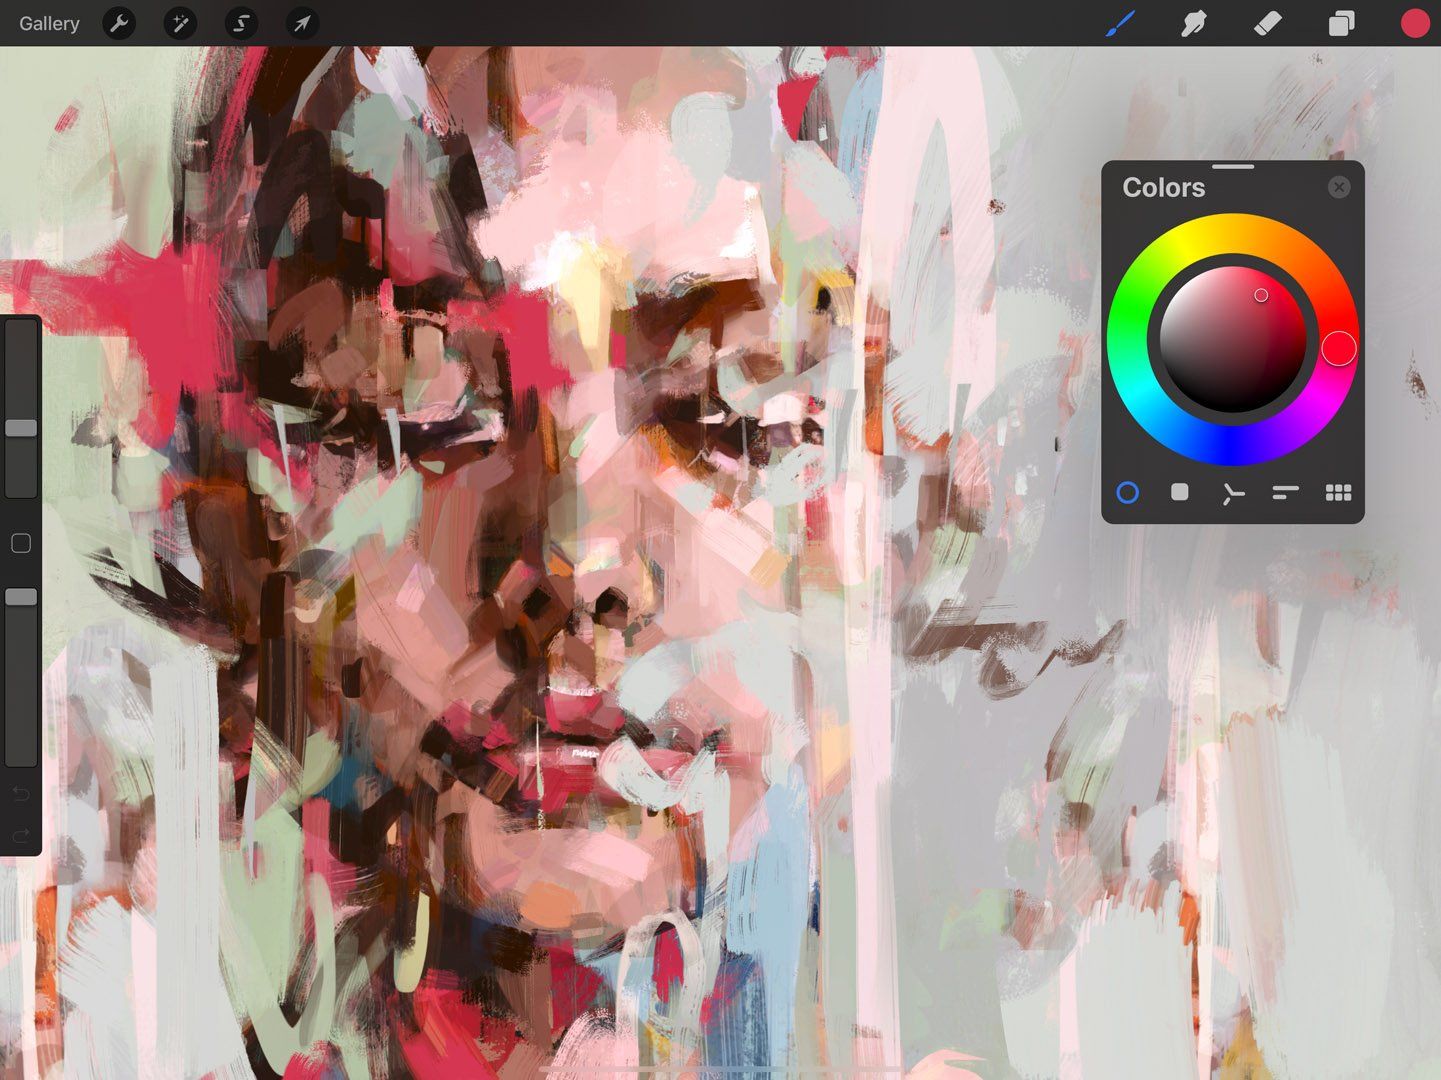
Color Companion
Now you can take your Color Panel with you.
When invoked, the Color Panel pops up in the top right of the screen. To reposition it anywhere on the canvas, drag the small grey bar at the top of the Color Panel. The entire Color Panel will detach from the top menu bar and shrink to a smaller, simplified version that you can drag anywhere on the screen: the Color Companion.
To return it to its original dock, tap the X button at the top right of the Color Companion.
Color Button
In the top right of the Procreate interface, the Color Button displays your active color. Press and hold it to switch between your current and previous color, or drag it onto the canvas to invoke ColorDrop, a speedy way to flood-fill areas of your artwork.
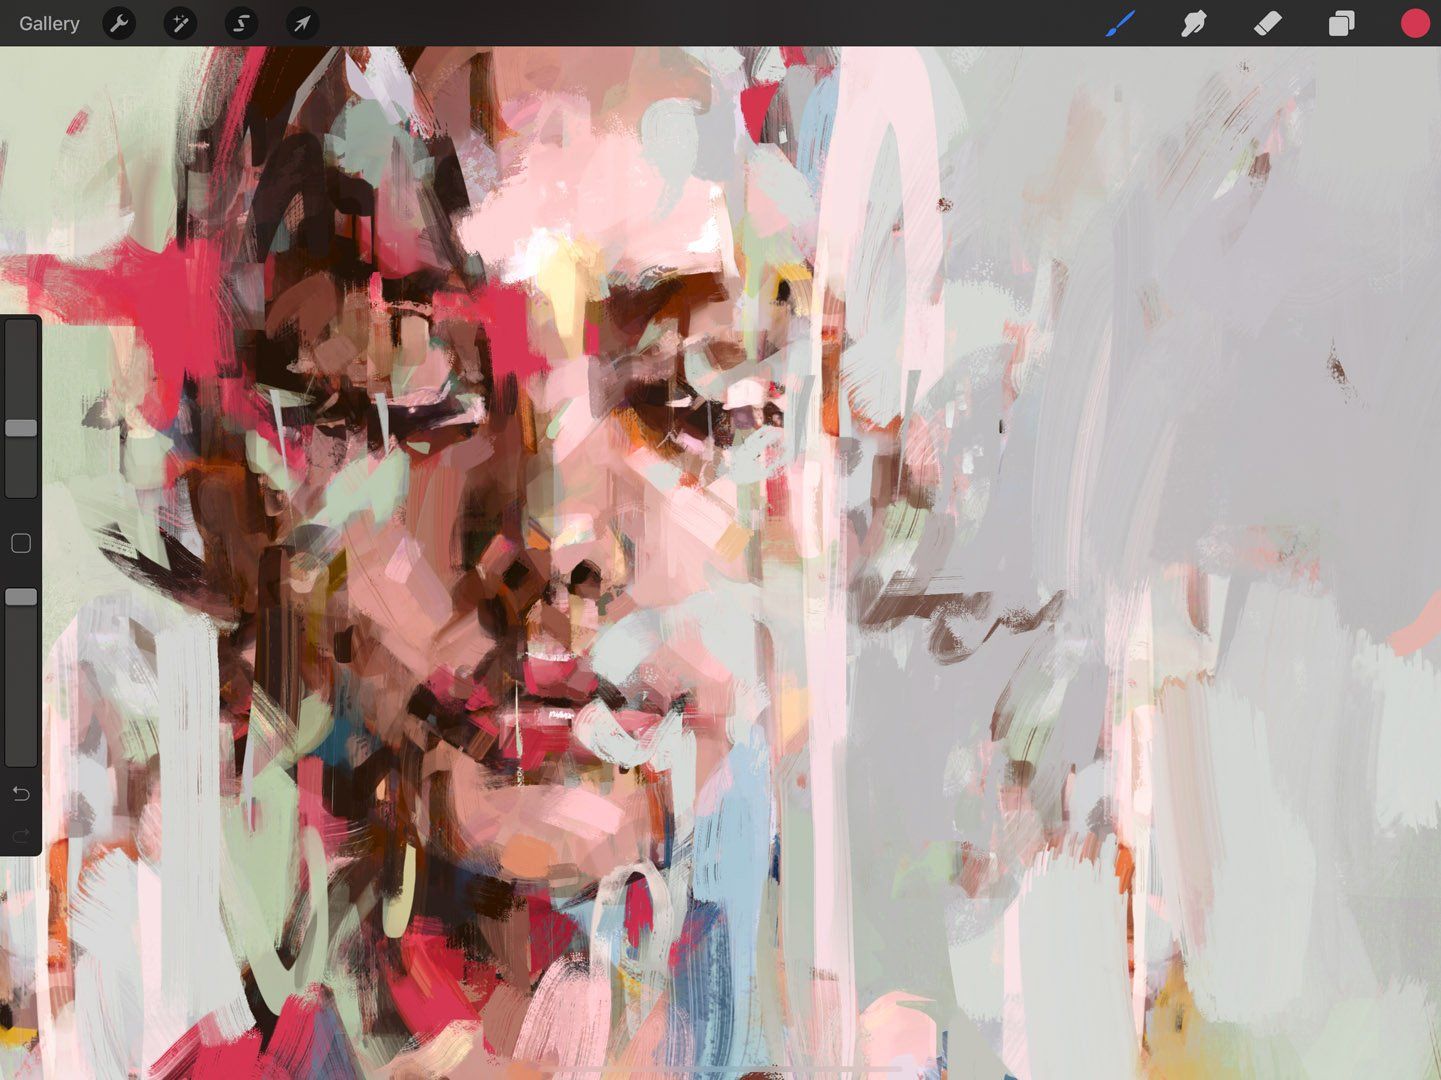
Color Button
The Color Button displays your currently selected color.
Tap the Color Button to open the Color Panel.
Switch to Previous Color
Press and hold the Color Button to switch between your current and previous color.
Color Drop
Drag the Color Button into any area of your artwork and release it to flood-fill that area with your selected color.
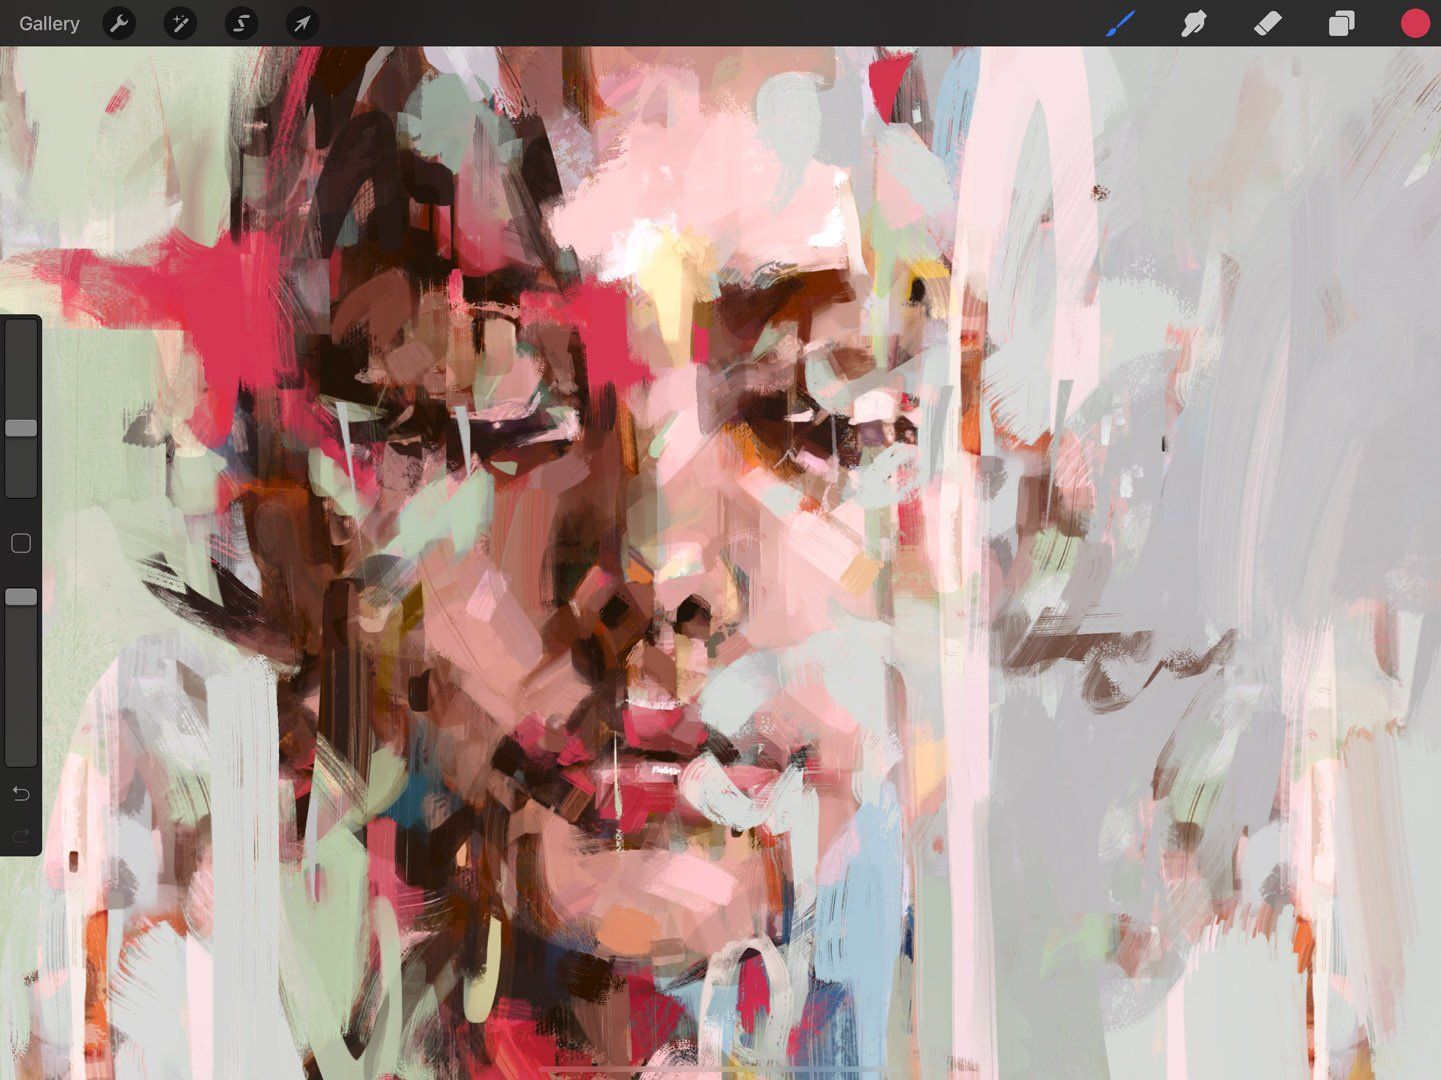
The color will spread outwards until it hits a boundary – for example, an outline, or an area of different color.
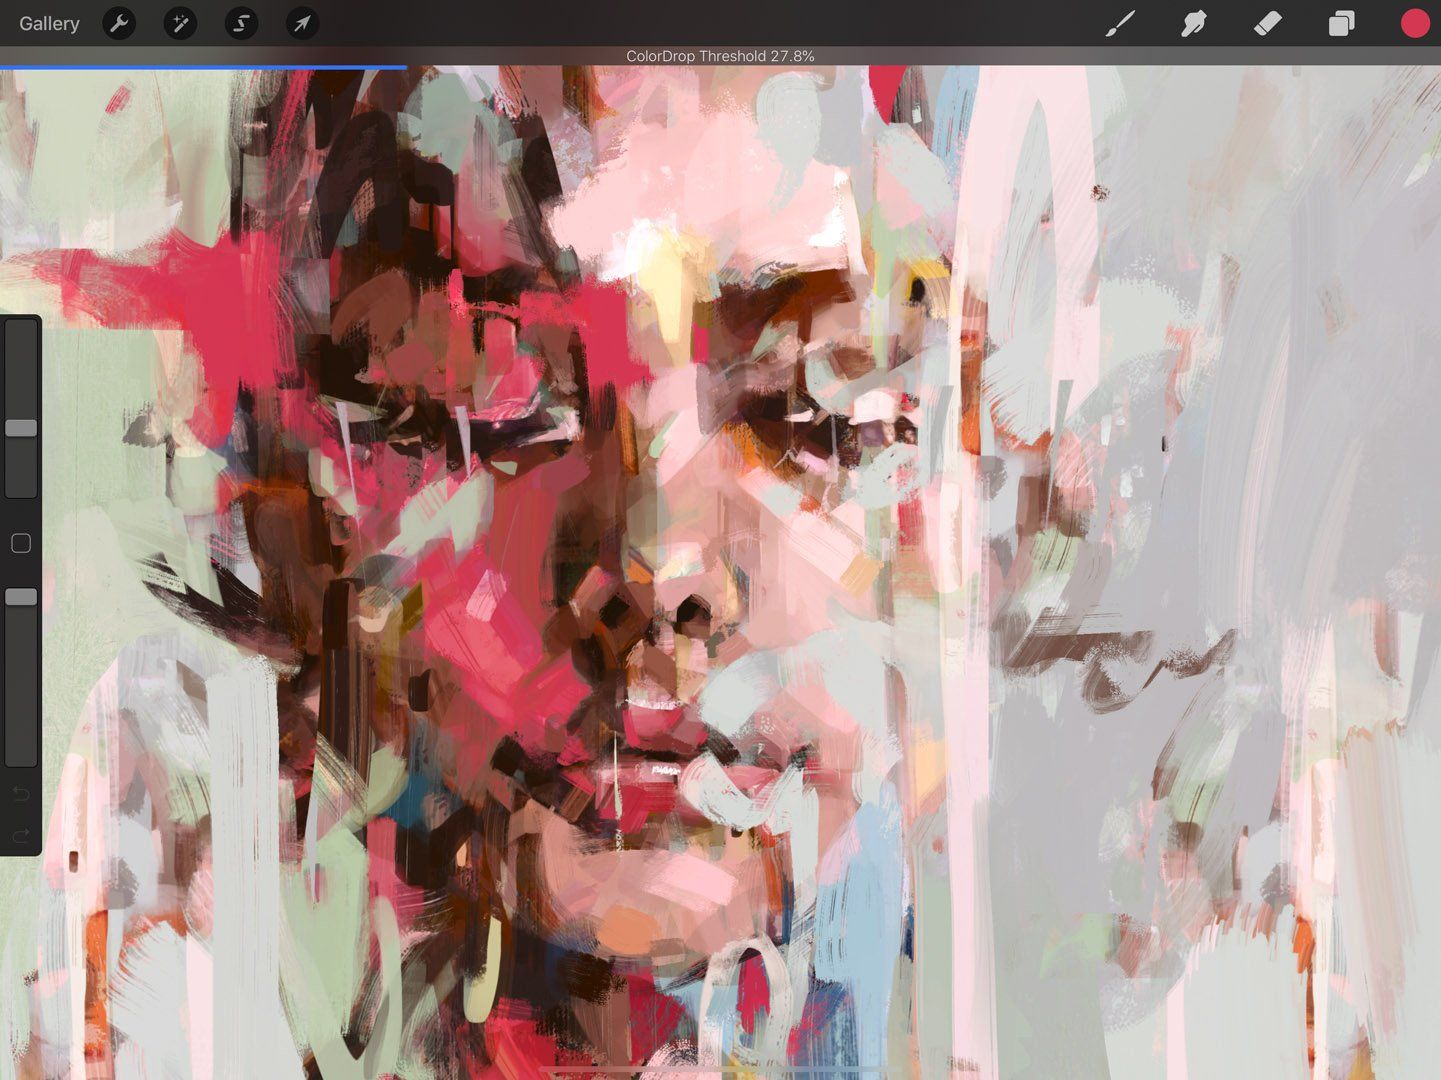
ColorDrop Threshold
You can control how much your ColorDrop fill bleeds into and over the edges of your artwork using ColorDrop Threshold.
At lower thresholds, the color will confine itself to smaller areas. At higher thresholds, the color will bleed into outlines and break through them to fill neighboring areas.
To activate Threshold, drag the Color Button over the area you want to fill, but don’t release it. After a moment, ColorDrop Threshold will activate.The threshold amount is represented by a thin bar above the artwork. Drag your finger to the left to fill less area, and to the right to fill more area. Lift your finger to commit the fill.
ColorDrop will remember your chosen Threshold setting until you change it again. If you have it set to 100%, it will save at 97.6% to avoid color overflow.
Pro Tip
Use ColorDrop in conjunction with Reference Layers to easily keep your inks and colors separate.
Eyedropper
Instantly sample a new color from anywhere on your canvas.
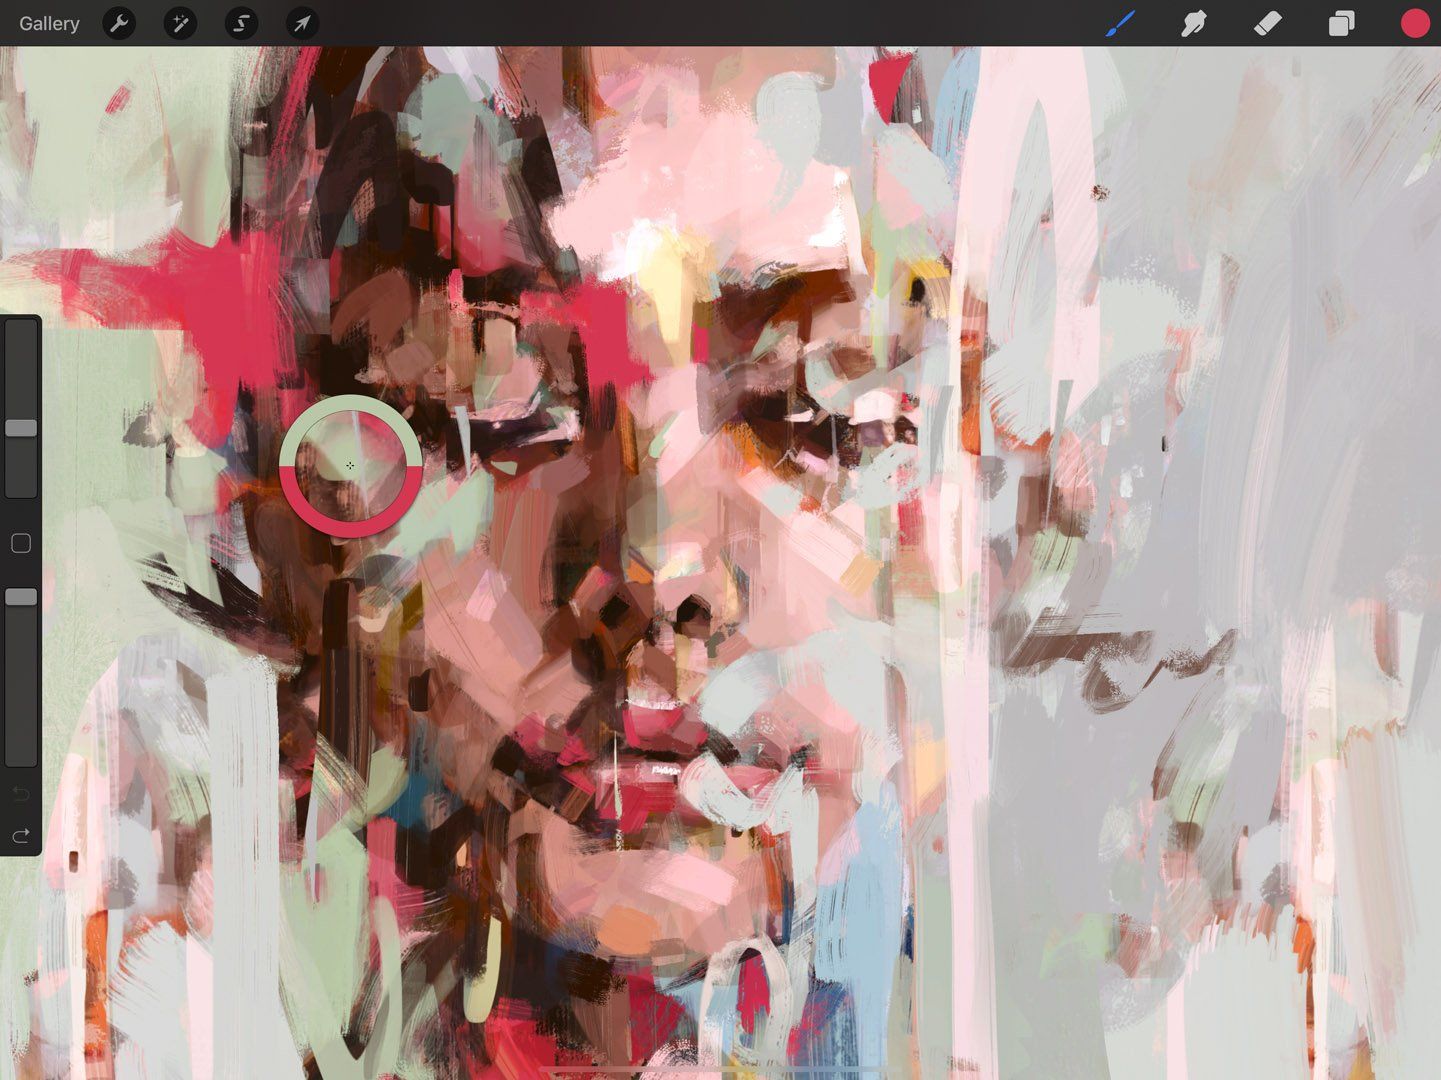
Sample Color with Touch-and-Hold
Tap and hold anywhere on your canvas to invoke the Eyedropper instantly.
Once the Eyedropper appears, drag it to any location on the canvas, and release to select your color.
Your new color is displayed on the top half of the loupe and the current color on the bottom half. As soon as you let go, your new color is selected.

Sample Color by Holding Modify Button
Hold the Modify button on the sidebar. With your other hand, tap anywhere on the canvas to instantly invoke the Eyedropper.
If you hold your finger on the canvas, you can drag the Eyedropper to your desired location and release to select a color.
Your new color is displayed on the top half of the loupe and the current color on the bottom half. As soon as you let go, your new color is selected.

Sample Color by Tapping Modify Button
This method is a one-handed variant of the above.
Tap the Modify button to invoke a floating Eyedropper. It will remain floating until you touch and drag it to your desired color.
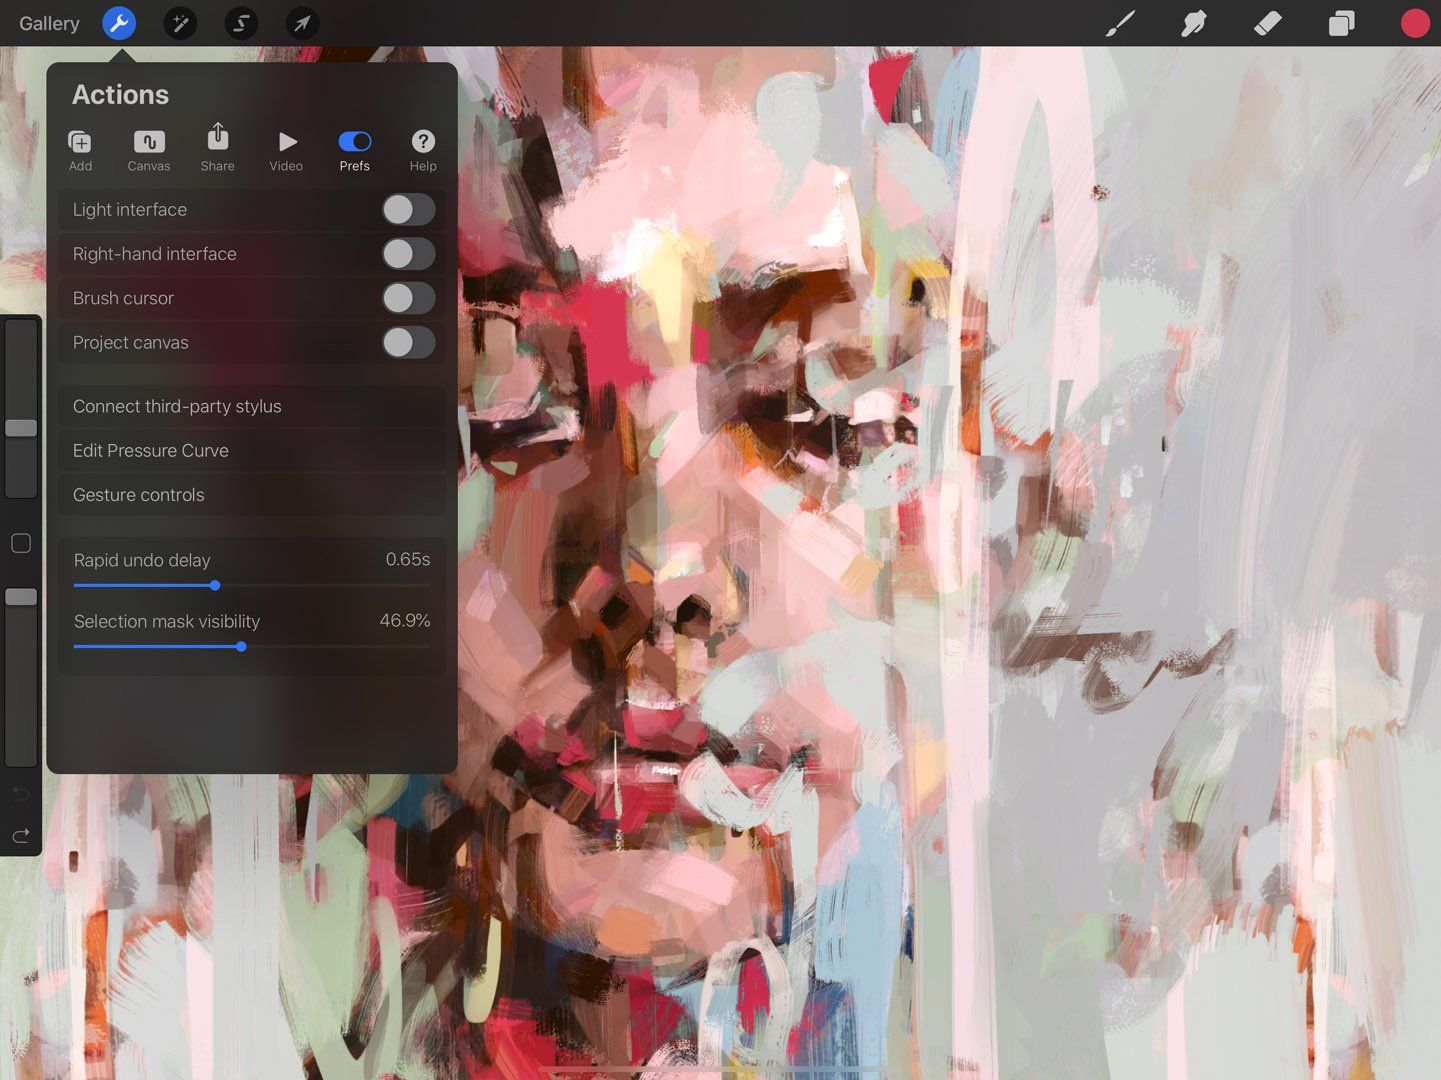
Eyedropper Settings
Set up Touch and Pencil shortcuts to integrate Eyedropper into your workflow, your way.
For finer control over Eyedropper, navigate to Actions > Prefs > Gesture Controls > Eyedropper
Hue Ring and Saturation Disc
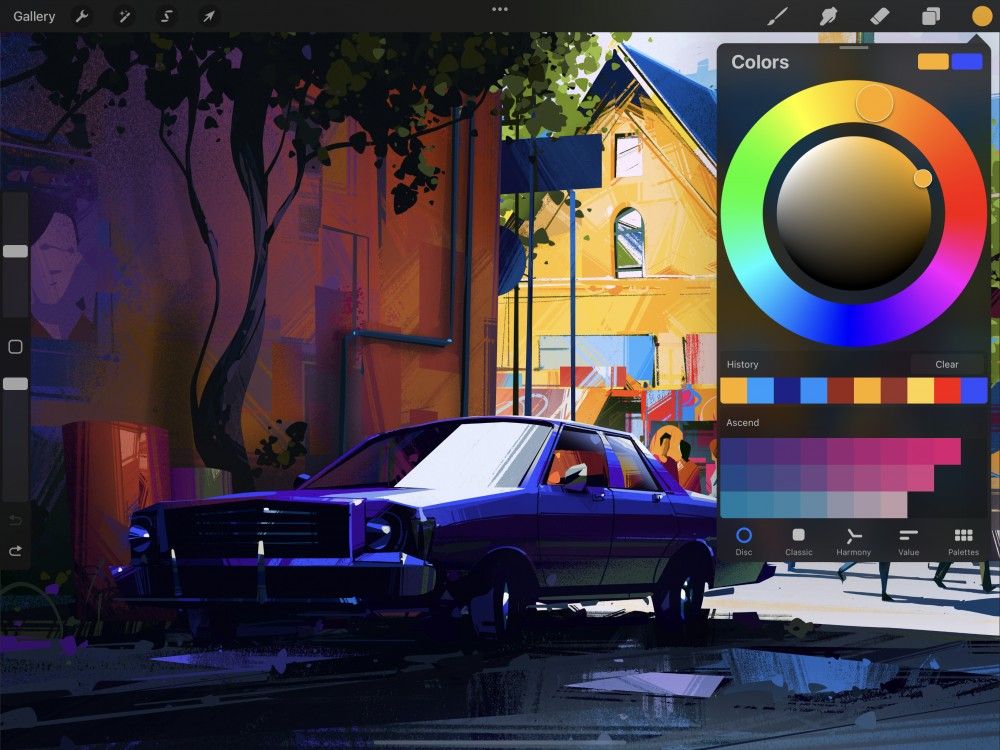
The Color Disc consists of an outer Hue ring around an inner Saturation disc.
Each contains a reticle: a clear circle you can slide around to set your chosen color. Choose your base color with the Hue ring. Now adjust how light, dark, or saturated it appears using the Saturation disc.
Primary and Secondary Color
The rectangles on the top right of Color Disc display your primary and secondary colors.
Once you’re happy with your chosen color, tap anywhere outside the Color Panel to close it.
Fine Color Control
When you’ve found a hue you like, use the zoomable saturation disc for a wider range of color choices.
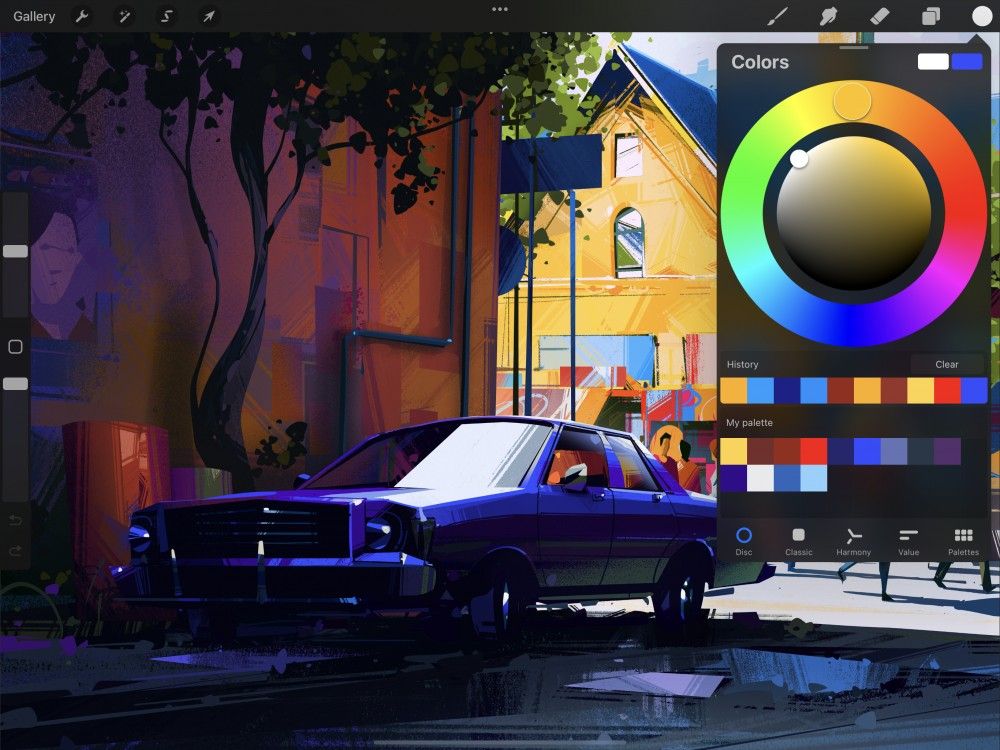
Zooming the Saturation Disc
Pinch the saturation disc to expand it out to full size.
Once expanded, the saturation disc works the same as always. The only difference is you have more control over fine adjustments. As soon as you exit the Color Panel, the saturation disc will zoom back out to the default setting.
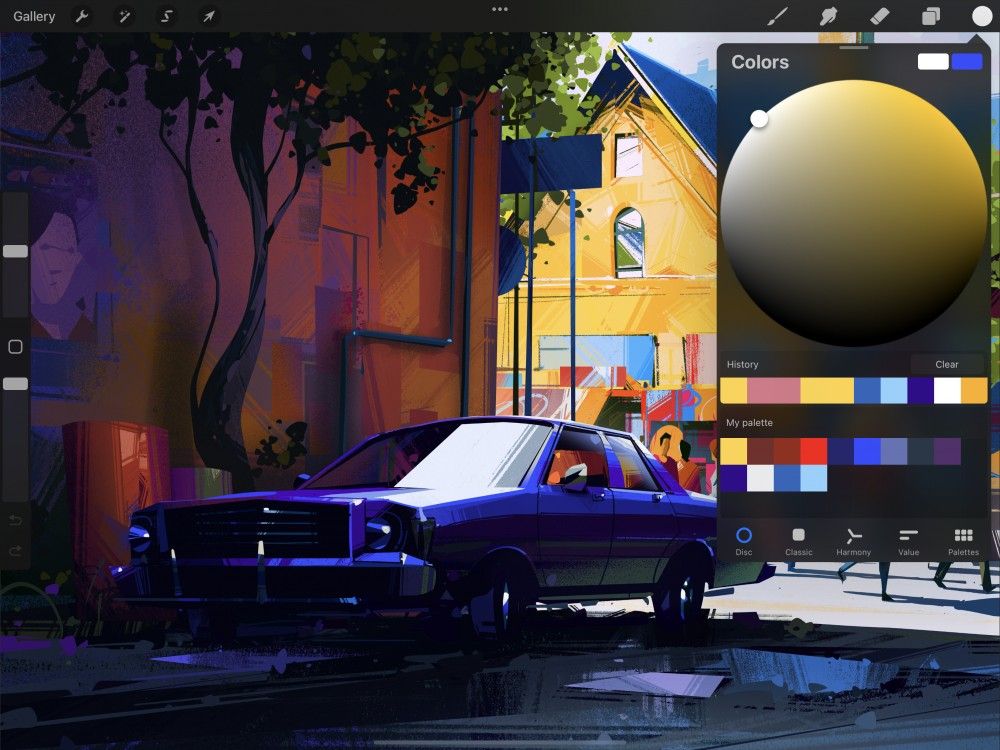
Snapping the Saturation Disc
Getting pure values is easy with saturation disc snapping.
Double-tap around the saturation disc to snap to the ‘perfect’ value closest to your current selection. For example, pure white, pure black, mid-gray, half-saturation, and full-saturation.
Pro Tip
Double-tapping is a quick way to get to commonly-used pure tones. Do this without needing to zoom in or enter precise numerical values.
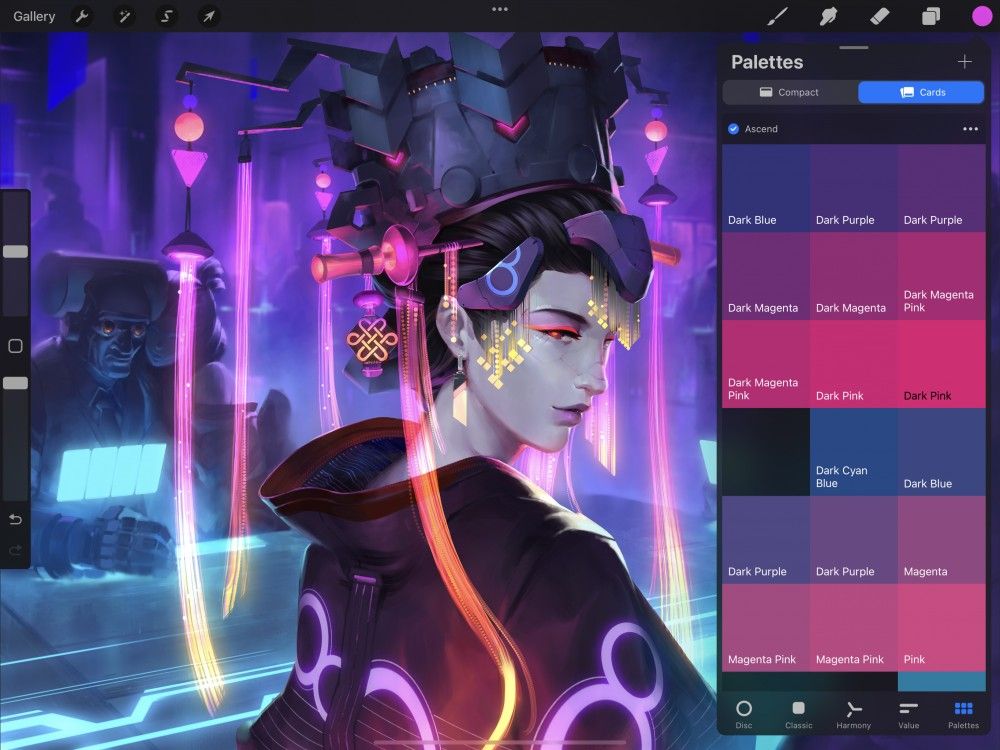
Color Cards
Color Cards display larger swatches in Palettes. They also display the color’s title on the swatch. Cards can help the vision impaired and color blind use color more easily in Procreate.
Discover more from Jacki Kellum
Subscribe to get the latest posts sent to your email.
